
Waffles With Self Rising Flour
These Waffles with Self-Rising Flour are made with only 6 ingredients and come out perfectly crisp yet light every time! These simple waffles will quickly become your new favorite recipe!

Are you team waffle or team pancake? That seems to be the question, but no matter which team you are on, you are going to love these waffles! No need to use leavening agents, self rising flour has it in it already. The flour gives these waffles the lift they need, yet they stay light and fluffy as well!
Self rising flour is one of my new favorite ingredients to keep in my pantry. You can use it to make 2 ingredient biscuits, pancakes with self-rising flour, zucchini bread with self rising flour, banana muffins with self-rising flour, banana bread with self-rising flour, and even cookies with self-rising flour!
Jump to:
Why You'll Love This Waffle Recipe with Self Rising
- They only have a few simple ingredients. No need to worry about whether or not your baking powder or baking soda is still active, these waffles don't need it!
- They are freezer friendly! These waffles can be made in advance and frozen for a quick breakfast down the line.
- They have a simple flavor! Since they don't have any strong flavors, they are great to jazz up! Serve them with any of your favorite toppings, and you can even serve them with fried chicken!
Ingredients You'll Need

- Self Rising Flour. You can find many different brands of self rising flour in the grocery store these days or you can make your own homemade self rising flour. All purpose flour vs self rising flour is a bit confusing, so make sure you are using self-rising flour in this recipe, NOT all purpose flour.
- Sugar. To sweeten the waffles just a little.
- Milk. Whole milk, 2%, or your favorite non dairy milk can be used.
- Eggs. To keep the waffles together.
- Melted Butter.
- Vanilla extract. Pure vanilla extract is best since you will be able to taste the vanilla in the waffles.
Different Types of Flour
Self-rising flour is all purpose flour that has baking powder and a small pinch of salt already in it. Classic southern recipes usually use self-rising flour instead of regular flour. Even though some people may think it is self-raising flour, it is actually self-rising flour.
King Arthur is my favorite variety of self-rising flour. If you don't have a bag of it in your pantry, you can make your own self-rising flour really easily!
Cake Flour is used to make cakes. It is a finer flour so the cakes stay nice and light and airy. It usually has a lower protein content as well so cakes don't get tough.
Bread flour is used to make breads like sourdough bread. It has a higher protein content which helps develop the gluten in bread. Bread flour is also made from a harder grain, so it holds up better to making bread and the kneading process.

Equipment To Gather
Let's Make Waffles With Self Rising Flour
Preheat your waffle maker according to the manufacturer's instructions.
In a large bowl, mix together the melted butter, milk, eggs, and vanilla extract until fully combined. Add the sugar and mix again.


Pour in the self rising flour and mix until just combined. It's ok if there are a few lumps left in the batter, you do not want to overmix.
Spray the waffle maker with nonstick cooking spray or spread on melted butter. Add the batter to the waffle maker. Cook based on your waffle maker instructions. Serve with maple syrup and butter.


Tips and Tricks
- I have a large waffle maker, so I was able to make 5 waffles with this batter. If you have a smaller waffle maker, you might be able to get 8-10 waffles out of this batter.
- Do not overmix the batter. If you overmix the batter, you run the risk of making tough waffles that are not light and fluffy.
- An ice cream scoop is helpful to evenly scoop out the batter and make sure the waffles are even.
Variations
- Add chocolate chips! Chocolate chips make all things better!
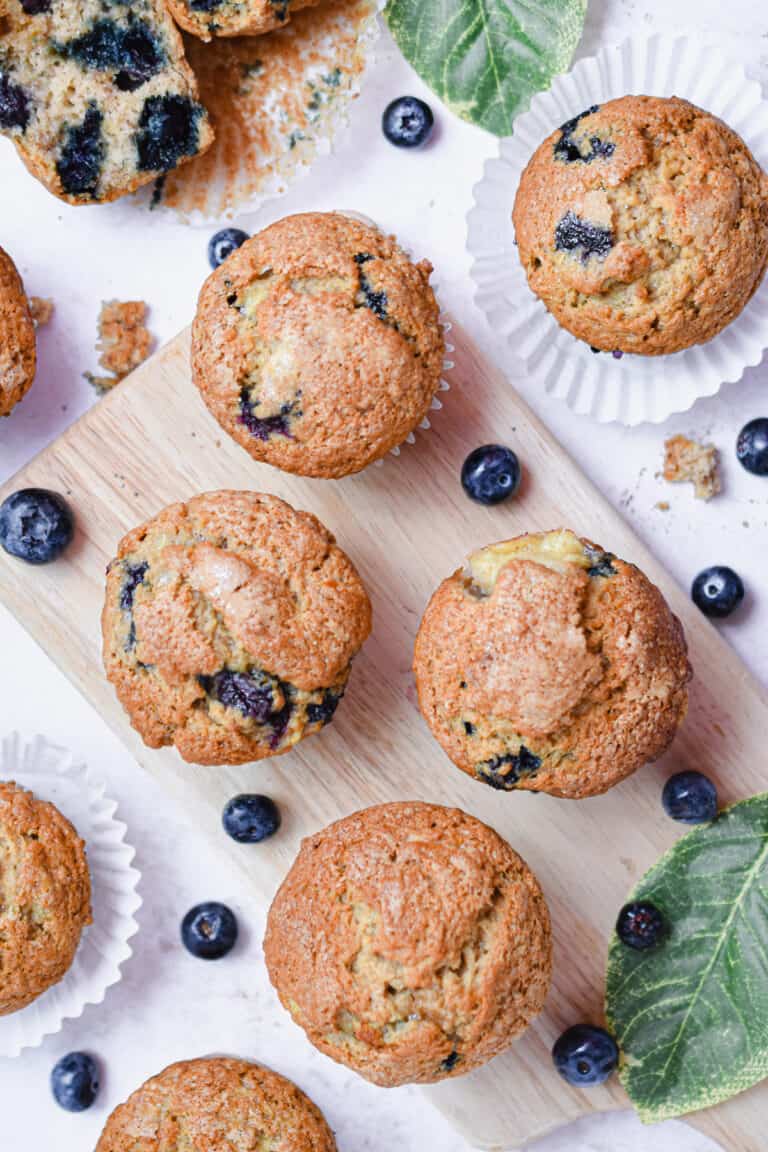
- Add blueberries! Frozen or fresh blueberries are a great options.
- Instead of melted butter, you can use vegetable oil or coconut oil.
- To make these chocolate waffles, add two tablespoons of cocoa powder to the batter when you add the flour.

Storage Tips
- Making the batter ahead of time. To make the batter ahead of time, mix all the ingredients together and then place it in an airtight container. The batter can be kept in the refrigerator up to 24 hours. If the batter is too thick after being in the refrigerator, simply add a few tablespoons of milk to thin out the waffles.
- Making the waffles ahead of time. The waffles can be kept in the refrigerator once they are cooled. Place them in an airtight container and keep them in the refrigerator up to 4 days. To reheat the waffles, place the in the toaster oven for 1-2 minutes until they are warm and crispy.
- Freezing the waffles. Allow the waffles to cool to room temperature. Then wrap the waffles in plastic wrap and place them in a gallon Ziploc bag. They can be frozen for 3 months. To reheat, place them in the toaster oven right from frozen. Toast them for 2 minutes or until completely thawed.
How To Serve Waffles
- With maple syrup and butter.
- Freshly made whipped cream is delicious with waffles!
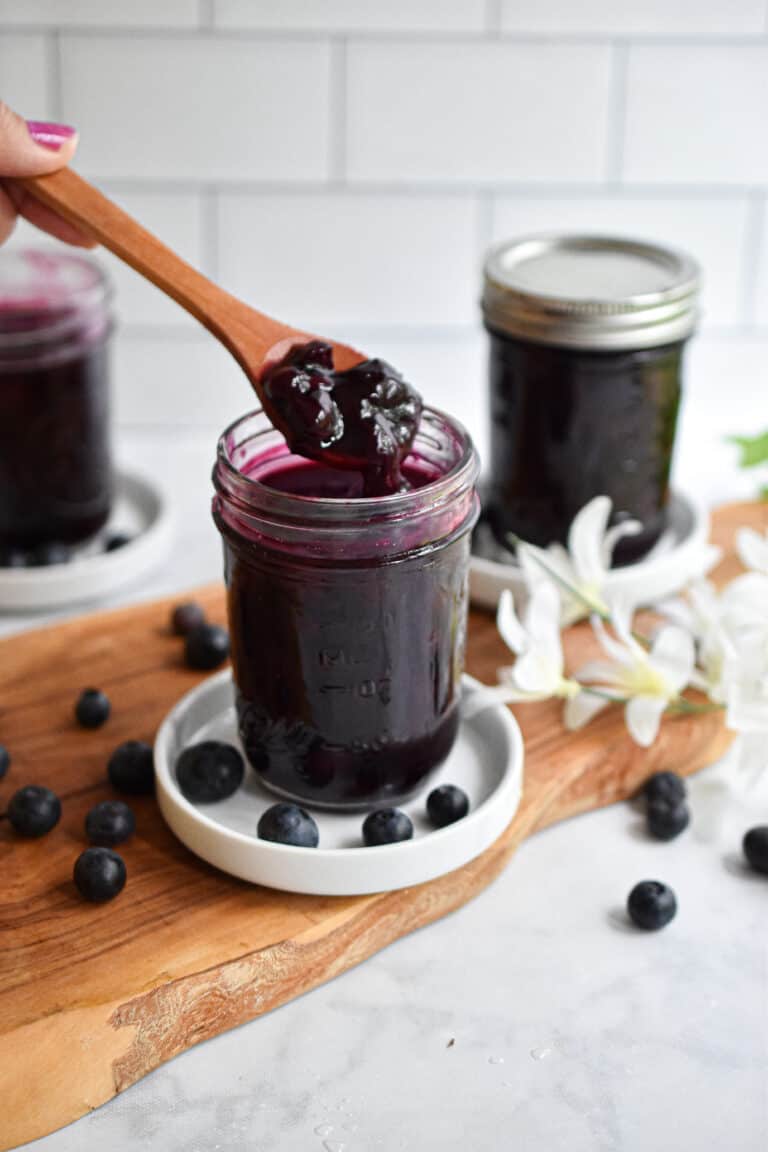
- Top with your favorite jam. We love mixed berry jam, peach jam, strawberry jam, or blueberry jam.
- Topped with fresh berries and fresh slice bananas.

Frequently Asked Questions
If your waffle maker doesn't have a light that shows when the waffle is done, the easiest way to tell is when you see steam coming out of the waffle maker. This is the waffle getting crispy, and then the waffle is done.
Tongs are a great tool to get the waffles out of the waffle maker. You can also use a fork if you don't have a tong handy.
Preheat the oven to 200 degrees. As you cook the waffles, place the waffles on a baking sheet and then place them in the oven. This will make sure the waffles stay crisp and they don't get mushy. Don't turn the oven too high, otherwise the waffles will get too crispy and hard. You just want to keep the waffles warm.
More Waffles Recipes
- Pumpkin Waffles with Pancake Mix
- Nutella Waffles
- Sourdough Pumpkin Waffles
- Light and Crisp Sourdough Waffles
Did you make this recipe and love it?
If you did, don't forget to leave a 5-star review and comment below! Show me your creation on Instagram or Facebook. Just mention @Lynn'sWayofLife or use this hashtag #lynnswayoflife.
More From Lynn's Way of Life
📖 Recipe

Waffles with Self Rising Flour
Ingredients
- 2 cups Self Rising Flour
- 2 tablespoon Sugar
- 1 ⅓ cup Milk
- 2 Eggs
- 5 tablespoon Butter Melted
- 2 teaspoon Vanilla Extract
Instructions
- Preheat your waffle maker according to the manufacturer's instructions.
- In a large bowl, mix together the melted butter, milk, eggs, and vanilla extract until fully combined. Add the sugar and mix again.
- Pour in the self rising flour and mix until just combined. It's ok if there are a few lumps left in the batter, you do not want to overmix.
- Spray the waffle maker with nonstick cooking spray or spread on melted butter. Add the batter to the waffle maker. Cook based on your waffle maker instructions. Serve with maple syrup and butter.
Video

Notes
- I have a large waffle maker, so I was able to make 5 waffles with this batter. If you have a smaller waffle maker, you might be able to get 8-10 waffles out of this batter.
- Do not overmix the batter. If you overmix the batter, you run the risk of making tough waffles that are not light and fluffy.
- An ice cream scoop is helpful to evenly scoop out the batter and make sure the waffles are even.


Tried these yesterday. First time I ever made waffles from scratch. Made for my daughter, who is on the spectrum and can be persnickety. I stirred mini chocolate chips into the batter. She practically inhaled them. I asked her if they were better than the frozen ones, she gave me a thumbs up, as she continued to devour them. I’m so tickled, this is going to be my go to recipe. I stumbled across this, looking for a recipe that called for self rising flour, because I’m all out of regular. Thank you! (Made with a mini waffle maker, you get ten waffles)
Delicious! Thank you for the recipe.
I am so happy you enjoyed it! Thanks for making my recipe!
These are the best homemade waffles I've ever made. So light and fluffy! Thanks for this delicious recipe!
Came out perfect. Used half and half because that's all I had and crispy on the outside and soft on the inside. Great recipe
Idk what I did wrong but I followed the recipe perfectly and used the self rising flour and there is a gross taste right when you taste the bite. I’m assuming it’s the self rising flour I used, but such a bummer since they looked perfect coming out! Any suggestions on how to fix?
Sounds like it might be the type of self rising flour? Was it homemade or store bought? Maybe the flour wasn't mixed into the batter well? I'm sorry it didn't come out well!
Only change I made is buttermilk instead of regular milk. Delicious
Ran out of flour. Glad tonseevI can use self rising flour. Getting ready to make for dinner. Thanks
These are delicious!! Instead of sugar I used a ripe, mashed banana. Came out perfect!
BEST RECIPE EVER!!!!
BEST RECIPE EVER!!!! And so damn easy, did add a 1/2 tsp salt, just perfection!
I am so happy you enjoyed them!
This is a fabulous recipe! Thank you so much for sharing! Yum!
I am so glad you enjoyed them!
I made these waffles for my grandson who is so picky about his waffles and pancakes. I have yet to find a recipe he gave a thumbs up to. He loved these and wanted seconds!
Yay! I am so happy you all enjoyed them!
I am officially team waffle! This is a delicious way to use my new waffle maker and I am so thrilled with how it came out. So fluffy and tasty!
I am so glad you loved them!
I'm a big fan of crispy waffles. These look fabulous. Crispy on the outside, light and fluffy on the inside.
I love crispy waffles too!
You had me at only 6 ingredients! These waffles look so good with such an amazing texture.
The easier the better!
These froze so well! Made a big batch of freezer waffles for my kids.
Great idea!
Love that tip for keeping waffles warm! I always hate having a sad pile of cold waffles. Thank you for the delicious recipe!