
Sourdough Discard Pumpkin Bagels (Chewy, Never Dense)
Sourdough discard pumpkin bagels have become my favorite fall bake, and as someone who grew up in New Jersey eating real bagels my whole life, I do not say that lightly! A good bagel has to be chewy on the inside with a shell that actually has some bite to it, not those soft doughy versions that fall apart. So when I set out to make a pumpkin version using my sourdough discard, I tested batch after batch until I got that same chewy texture I grew up eating.
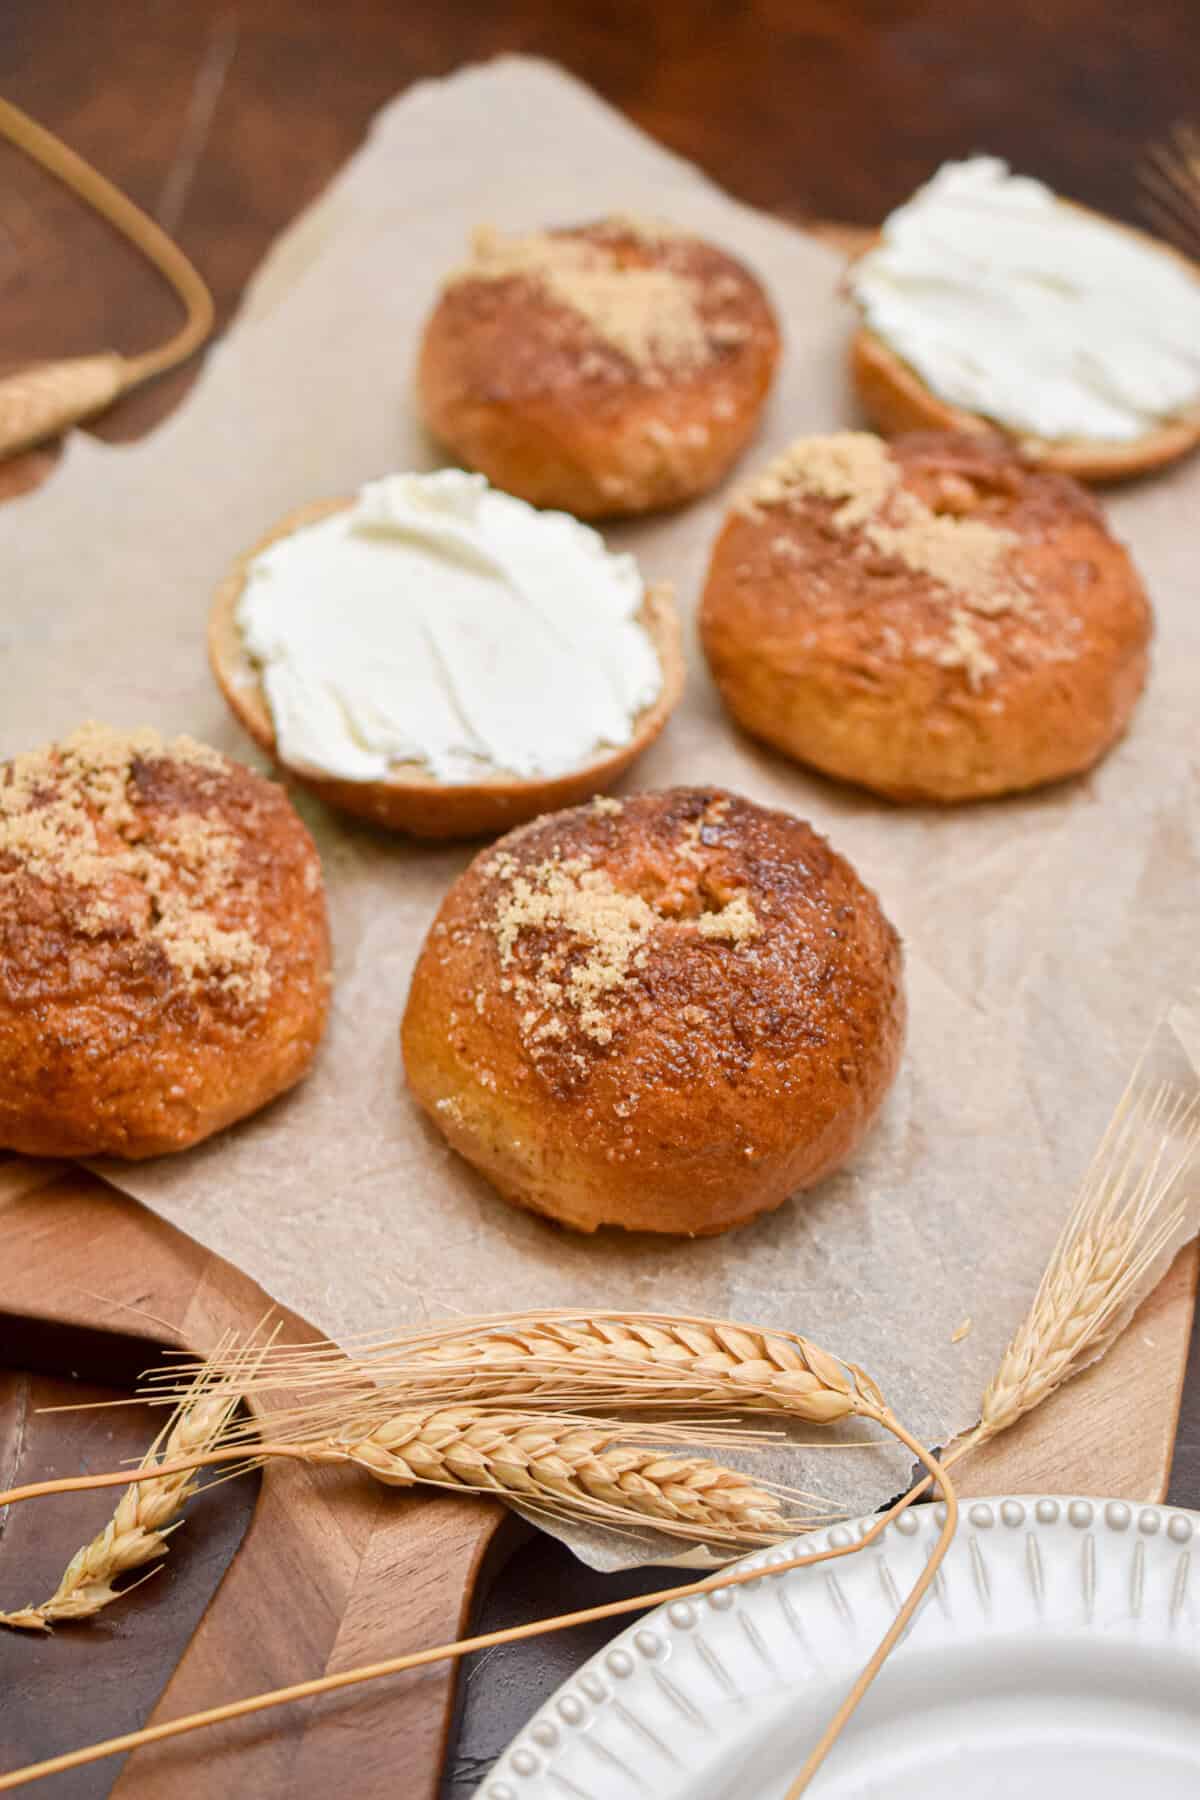
The brown sugar and cinnamon crust on these gets deeply caramelized in the boiling and baking process, giving you that crunch right before you sink your teeth into a soft, chewy center. These are the bagels I make every fall, and my family fights over the last one every single time.
If you love a regular bagel, check out my sourdough discard bagel recipe too!
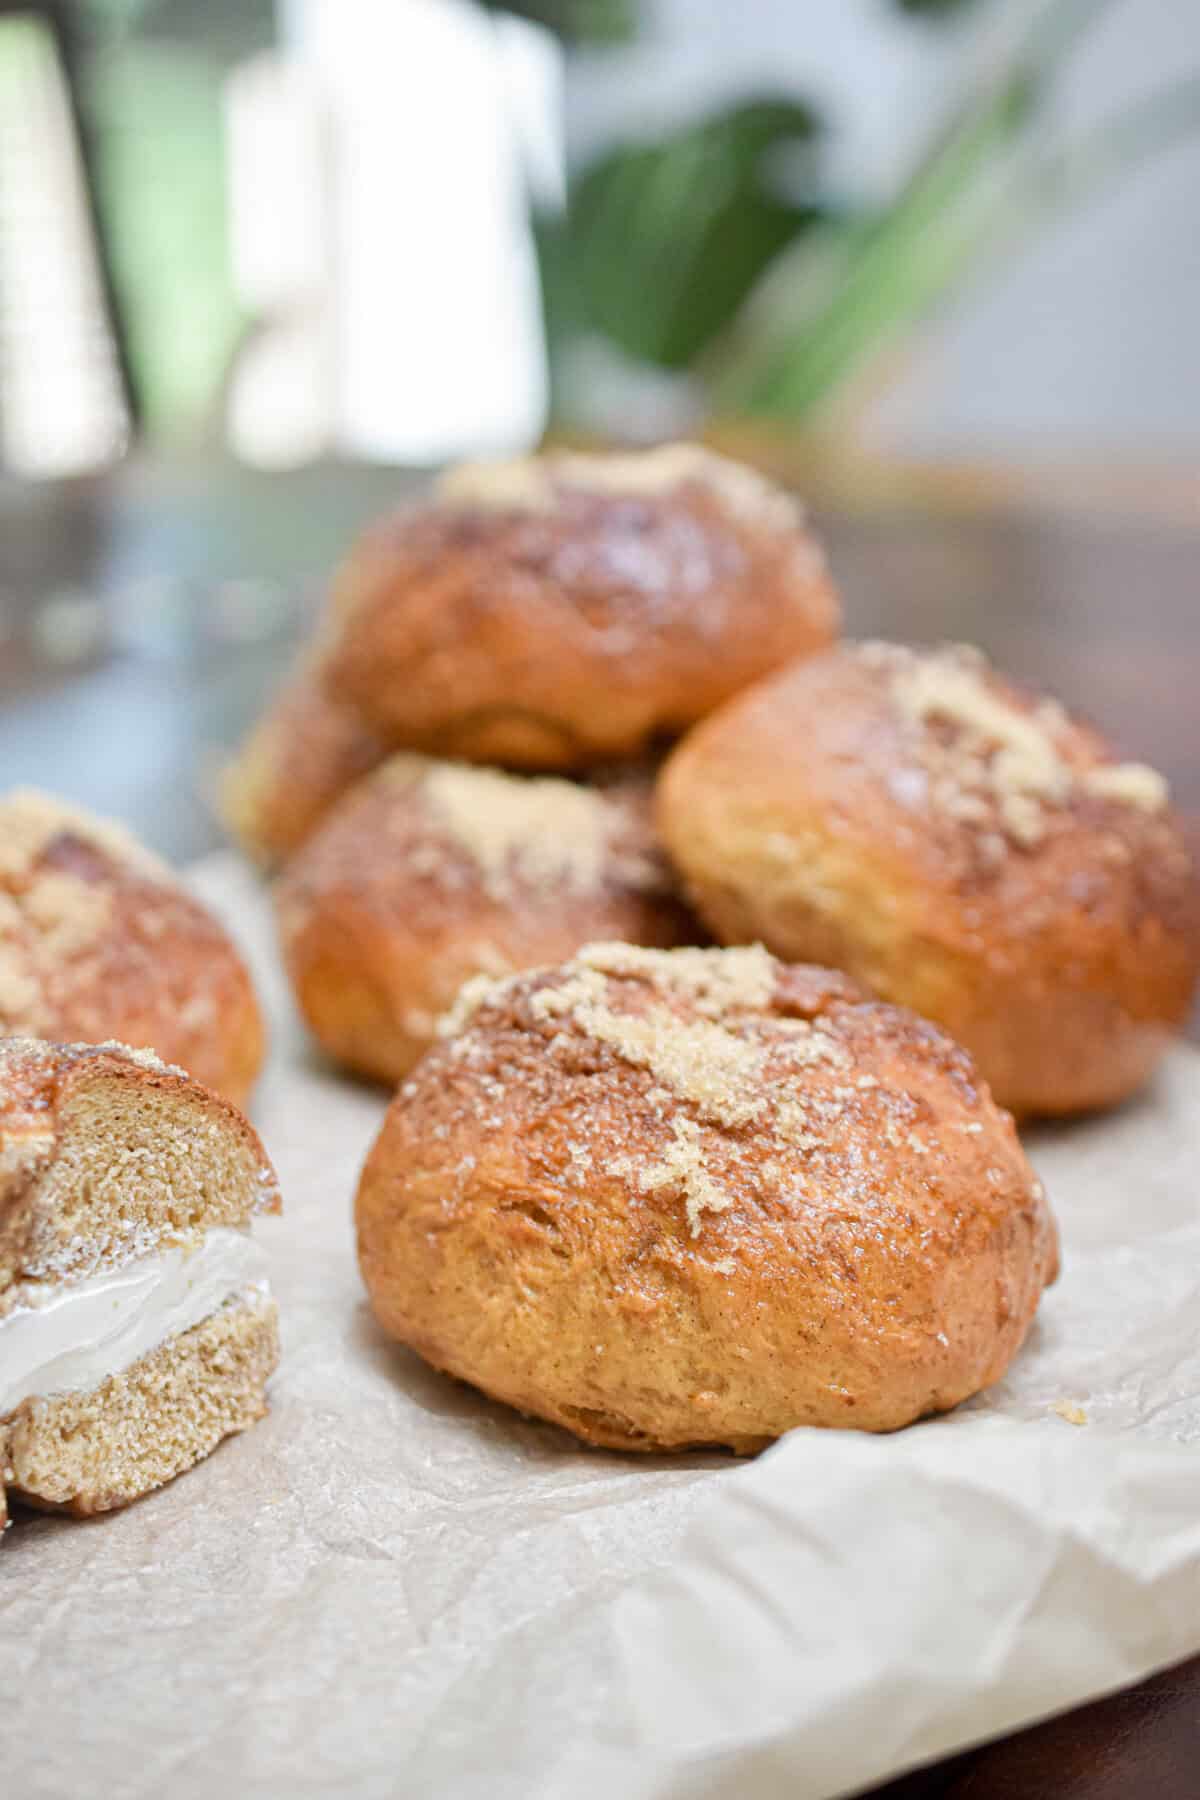
I have made more bad batches of pumpkin bagels than I would like to admit before I figured out what actually makes them dense instead of chewy. If you have tried a pumpkin bagel recipe before and ended up with something closer to a hockey puck than a bakery bagel, you are not alone and it is not your fault! There is one step almost every recipe glosses over, and I am going to walk you through exactly where it goes wrong!
These bagels use sourdough discard so you do not need an active, bubbly starter to make them work. But if you do have active sourdough starter, just use it to make sourdough pumpkin bagels instead, you'll need some extra time too! These chewy bagels come together in one afternoon, no overnight ferment required, and they have that shiny, chewy crust with a soft pumpkin spiced crumb inside!
Jump to:
Why This Recipe Works
This recipe works because the sourdough discard adds a yummy tang and helps create that classic chewy bagel texture without needing a starter at its peak.
Boiling the bagels (just like in my sourdough bagels) before baking sets the crust so it can properly caramelize in the oven, and pressing the brown sugar and cinnamon mixture on right after boiling lets it stick and crisp up instead of sliding off.
Using canned pumpkin keeps the dough moist without throwing off the hydration, so you still get that dense, chewy crumb instead of something cakey. Every step is there to protect the texture that makes a real bagel a real bagel!
Ingredients to Gather
- Bread flour. Bread flour has more protein than all purpose, which is what gives bagels their chew. You can use all purpose in a pinch but your bagels will be softer and less chewy. All purpose flour vs bread flour can be confusing, but you can really use either here.
- Sourdough discard, unfed and at room temperature. If you've got some leftover, make a loaf of sourdough discard bread too!
- Pumpkin puree. Use plain canned pumpkin, not pumpkin pie filling, which has added sugar and spice already mixed in and will throw off the liquid and the seasonings in the bagel.
- Warm water. Not too warm because it could kill the yeast, but if it is too cold it will take a lot longer to make the bagel dough rise.
- Brown sugar. Plus a little more for the topping.
- Instant yeast. Active dry yeast will work too!
- Salt. For some flavor and to help control the yeast.
- Pumpkin pie spice. You can use homemade pumpkin pie spice or store bought. Either will work!
- Baking soda, for the boiling water
- 1 large egg, beaten, for the egg wash
- Optional toppings: cinnamon sugar (highly recommended!), everything bagel seasoning, or roasted pumpkin seeds
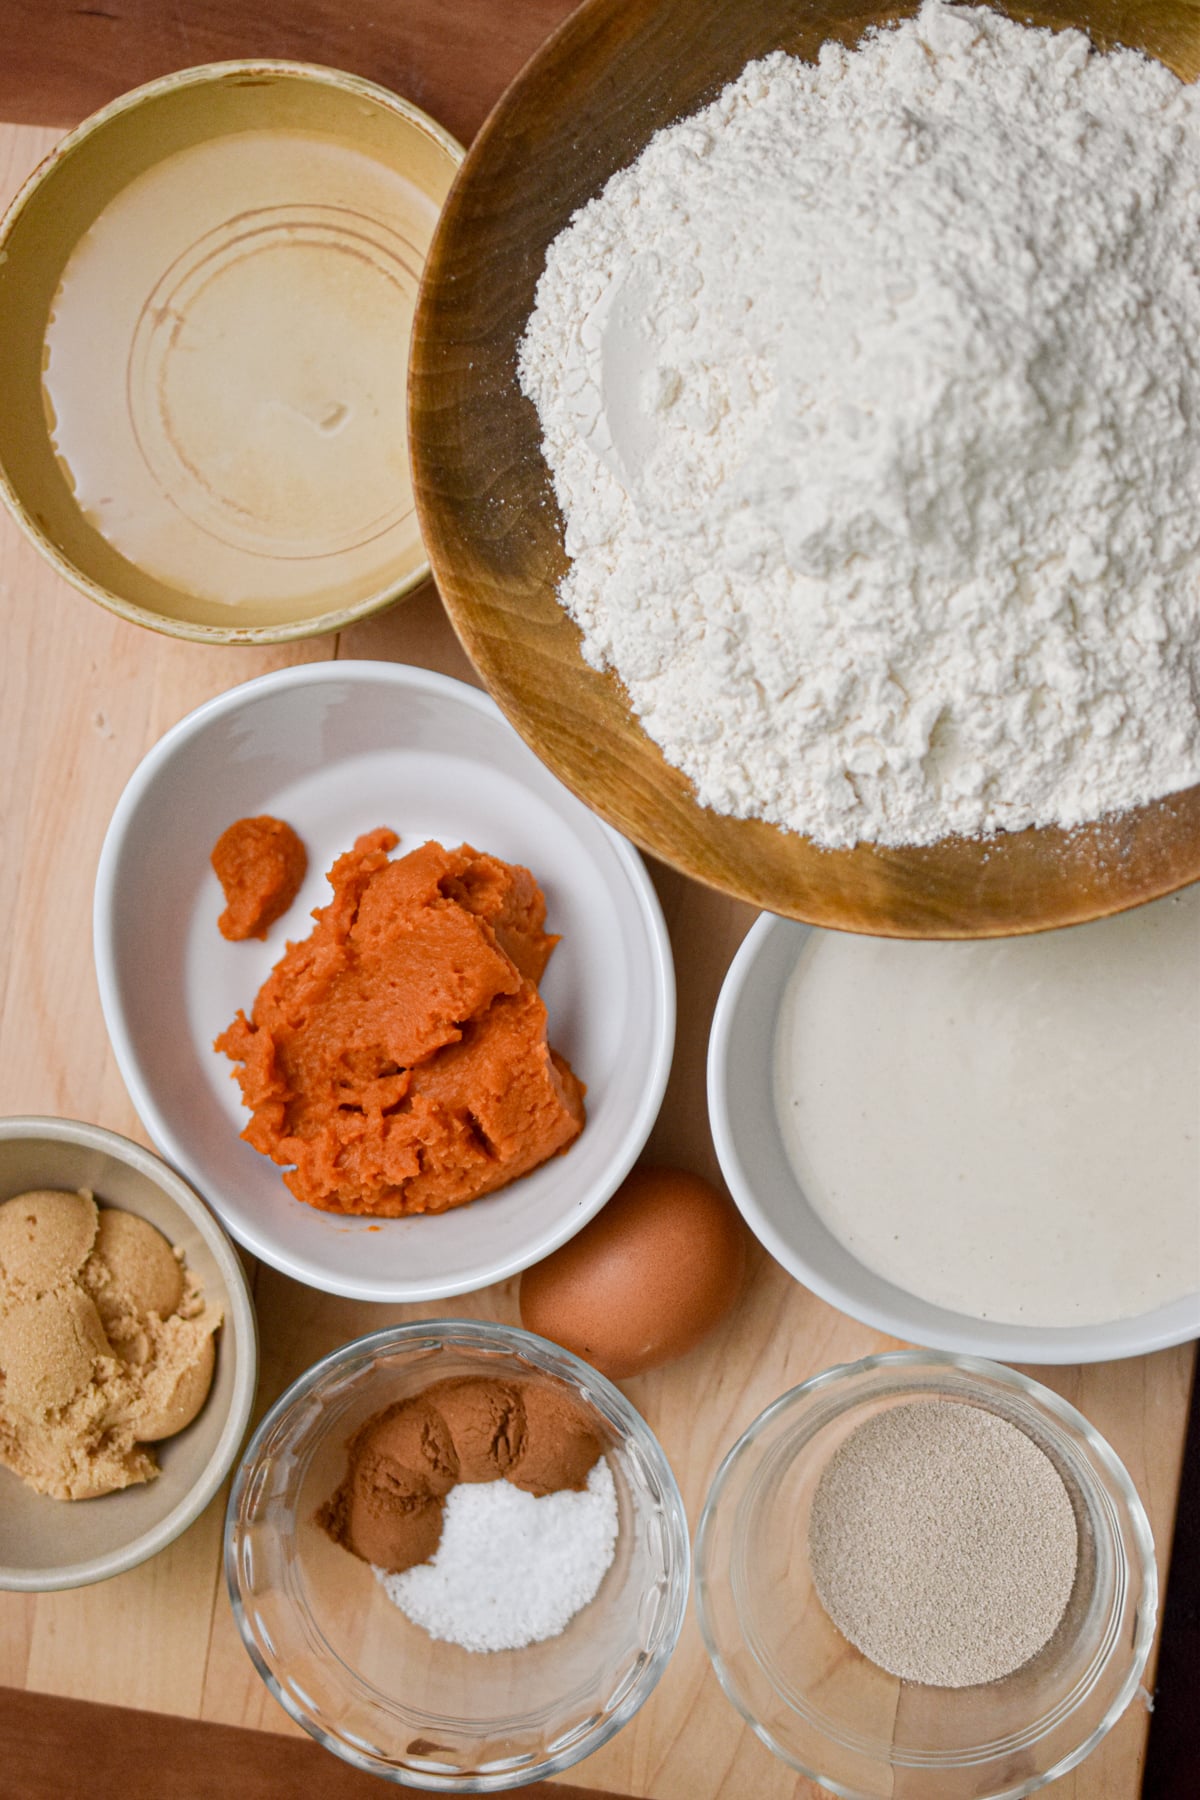
Be sure to check out the printable recipe card for full recipe information on ingredients and quantities.
Substitutions and Variations
- Bread flour to all purpose flour. You can swap it 1 to 1, but expect a slightly softer, less chewy bagel since all purpose flour has less protein.
- Pumpkin pie spice to cinnamon. Use the same amount of ground cinnamon if that is what you have on hand. You will lose a little of the clove and ginger warmth but it still tastes like fall so don't worry!
- Instant yeast to active dry yeast: Use the same amount, just bloom it in the warm water with a pinch of the sugar for 5 minutes before mixing it into the dough.
- Sourdough discard to active starter. Swap in an equal weight of bubbly active starter and skip the instant yeast. Your rise time will run longer since the starter is doing all the lifting on its own. A bagel with sourdough starter will take about 8-10 hours to rise, while this is just a few hours.
- Brown sugar to maple syrup. Swap in the same amount of maple syrup for a slightly deeper, less caramel forward sweetness.
How to Make Sourdough Discard Pumpkin Bagels
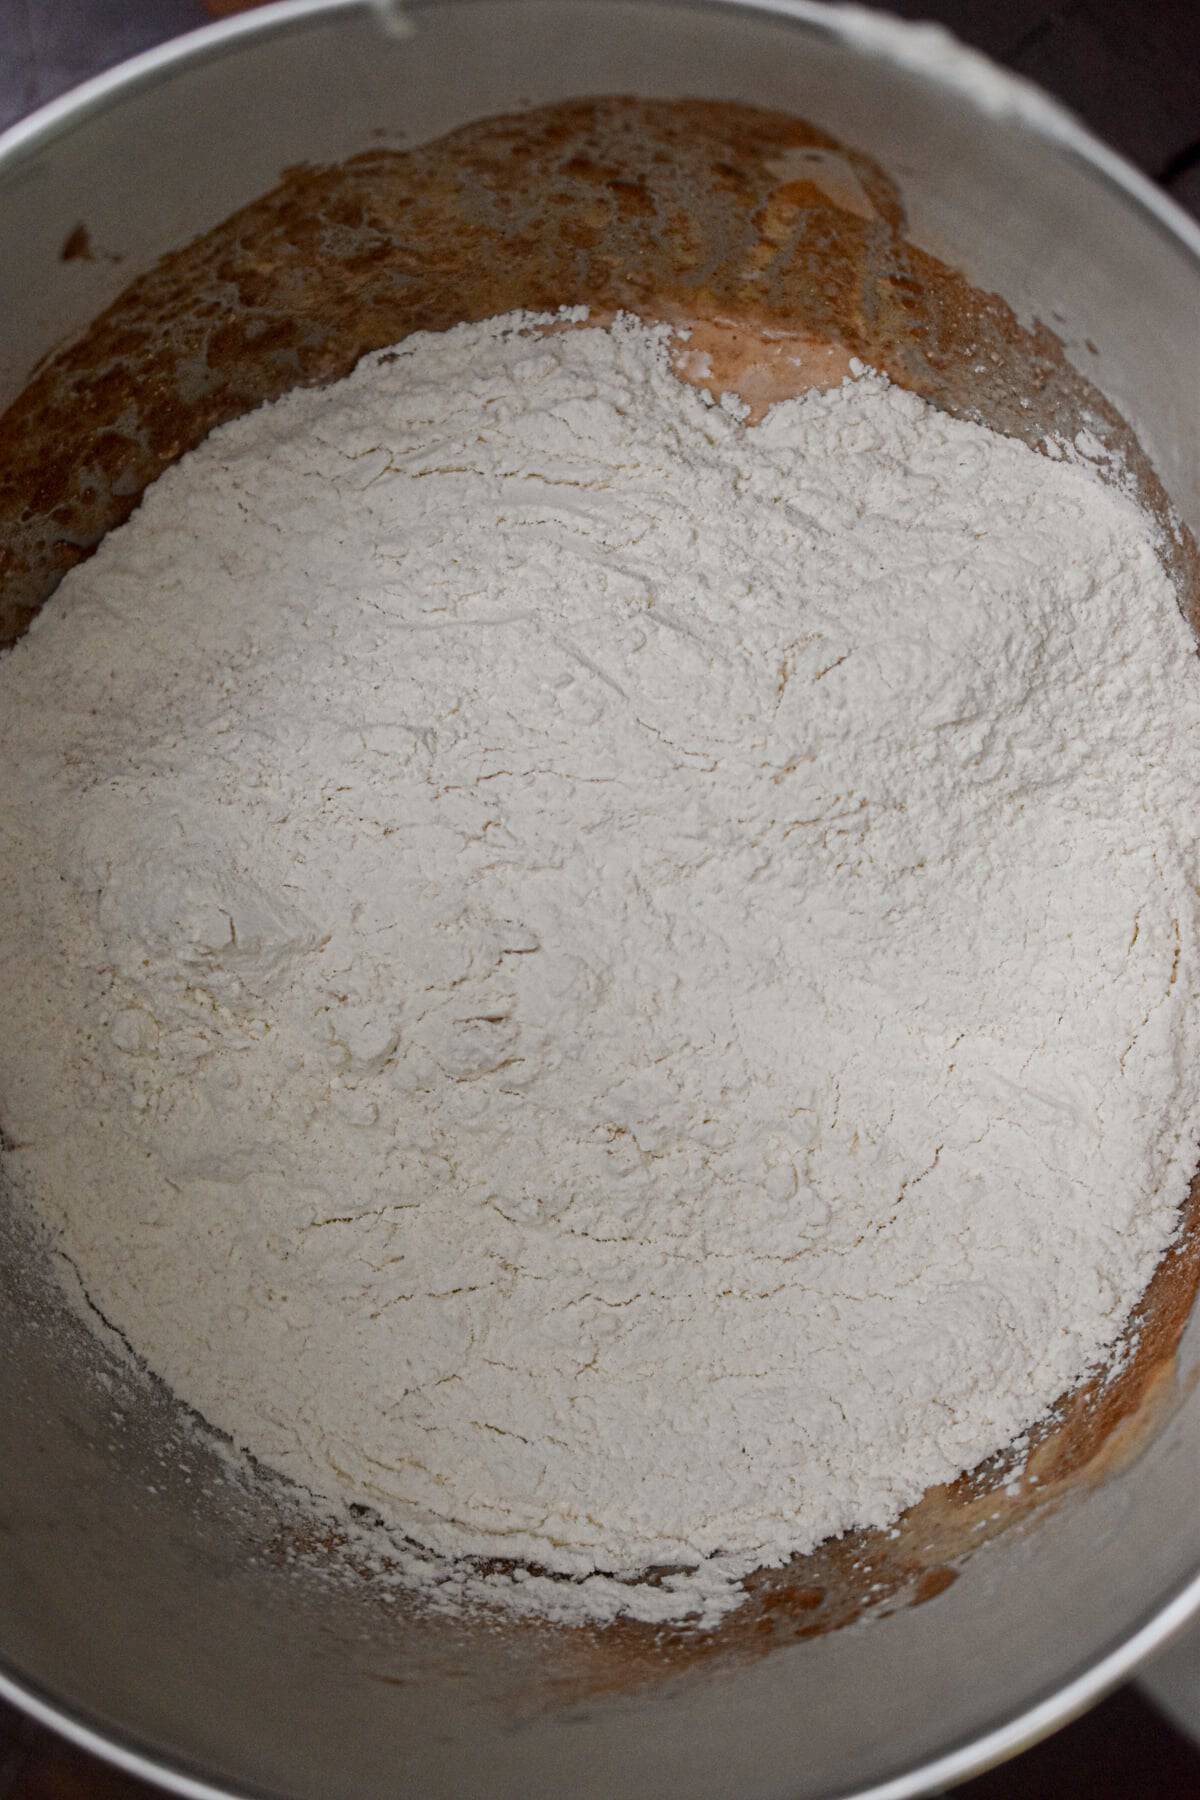
- Step 1: Combine the flour, discard, pumpkin puree, water, brown sugar, yeast, salt, and pumpkin pie spice in the bowl of a stand mixer. Mix until a shaggy dough forms, then knead for 8 to 10 minutes until the dough is smooth and stiff.
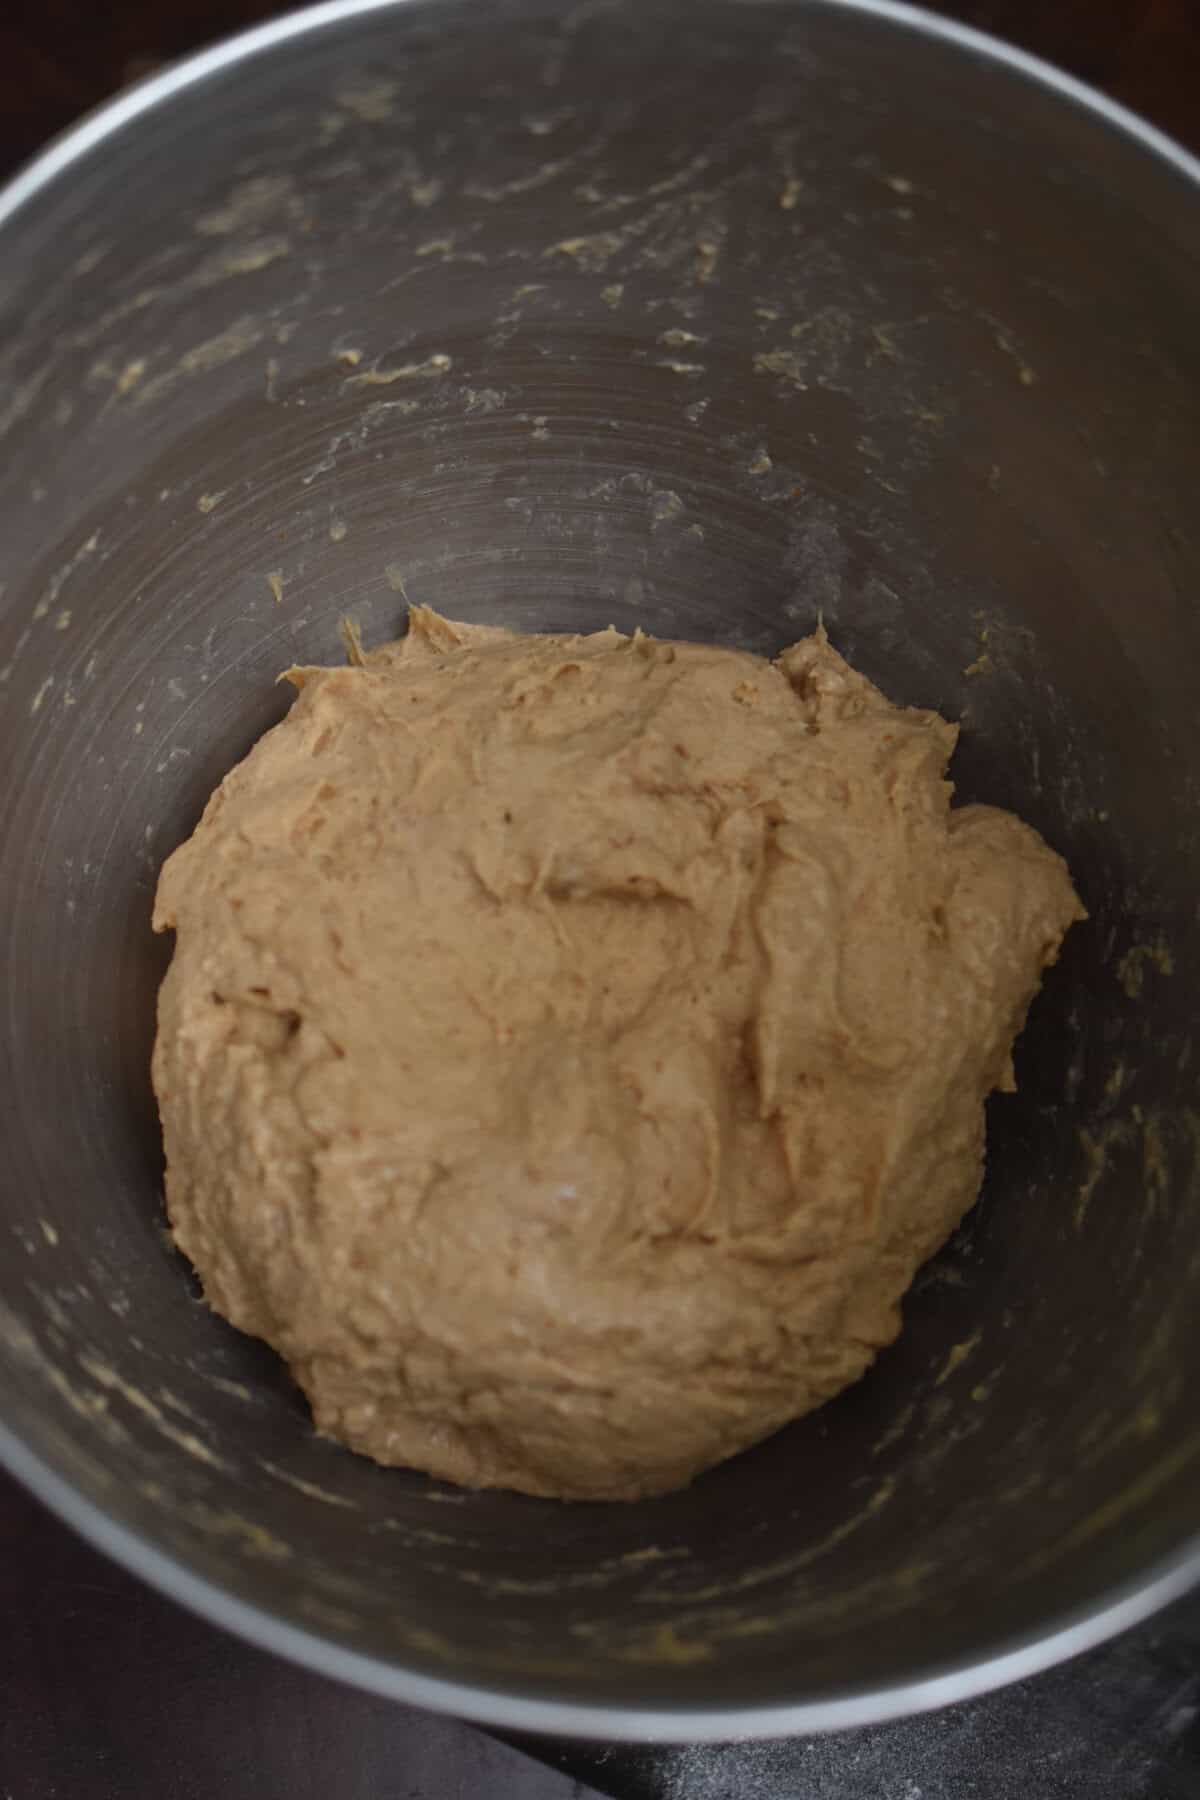
- Step 2: Cover and let rise until puffy and nearly doubled, about an hour in a warm kitchen.
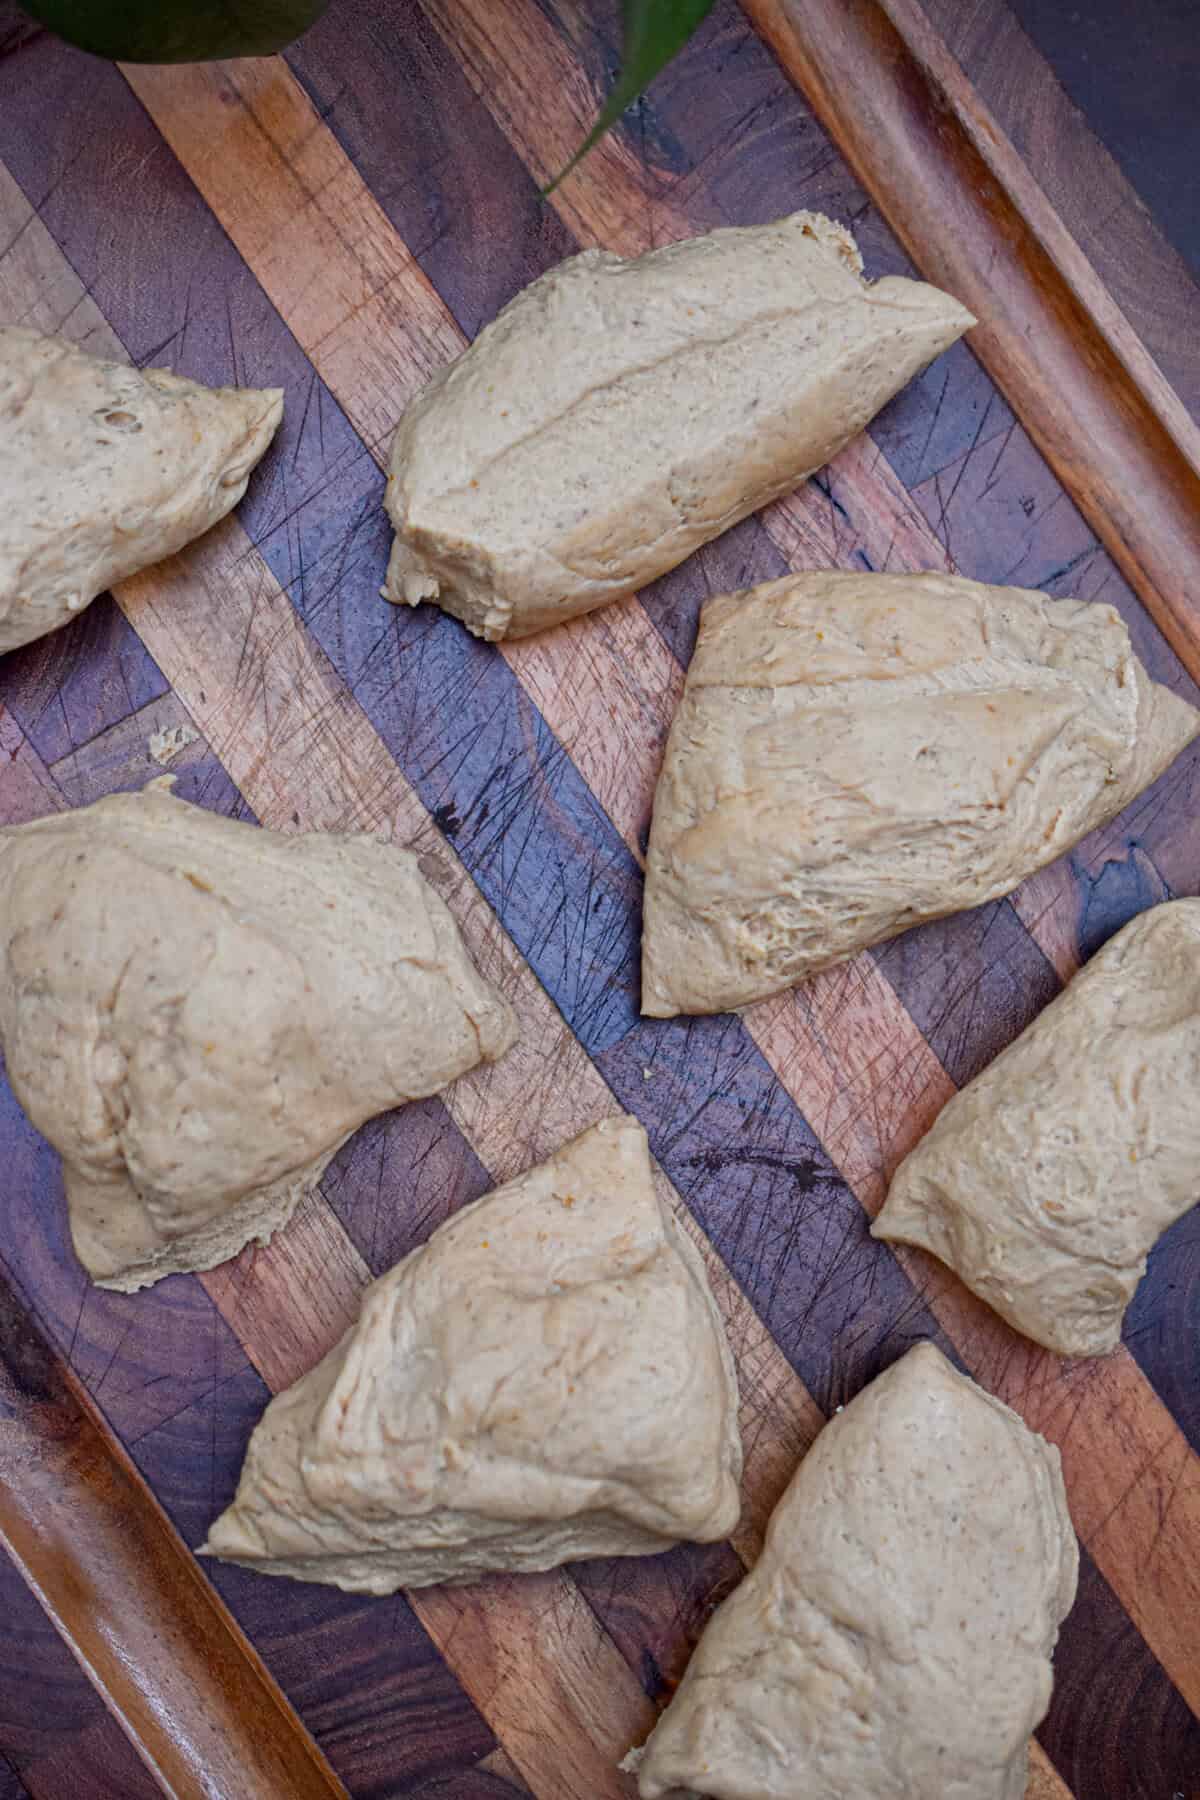
- Step 3: Divide into 8 pieces. Roll each into a smooth ball, then poke your thumb through the center and stretch the hole wider than feels natural. It will shrink back during boiling and baking.
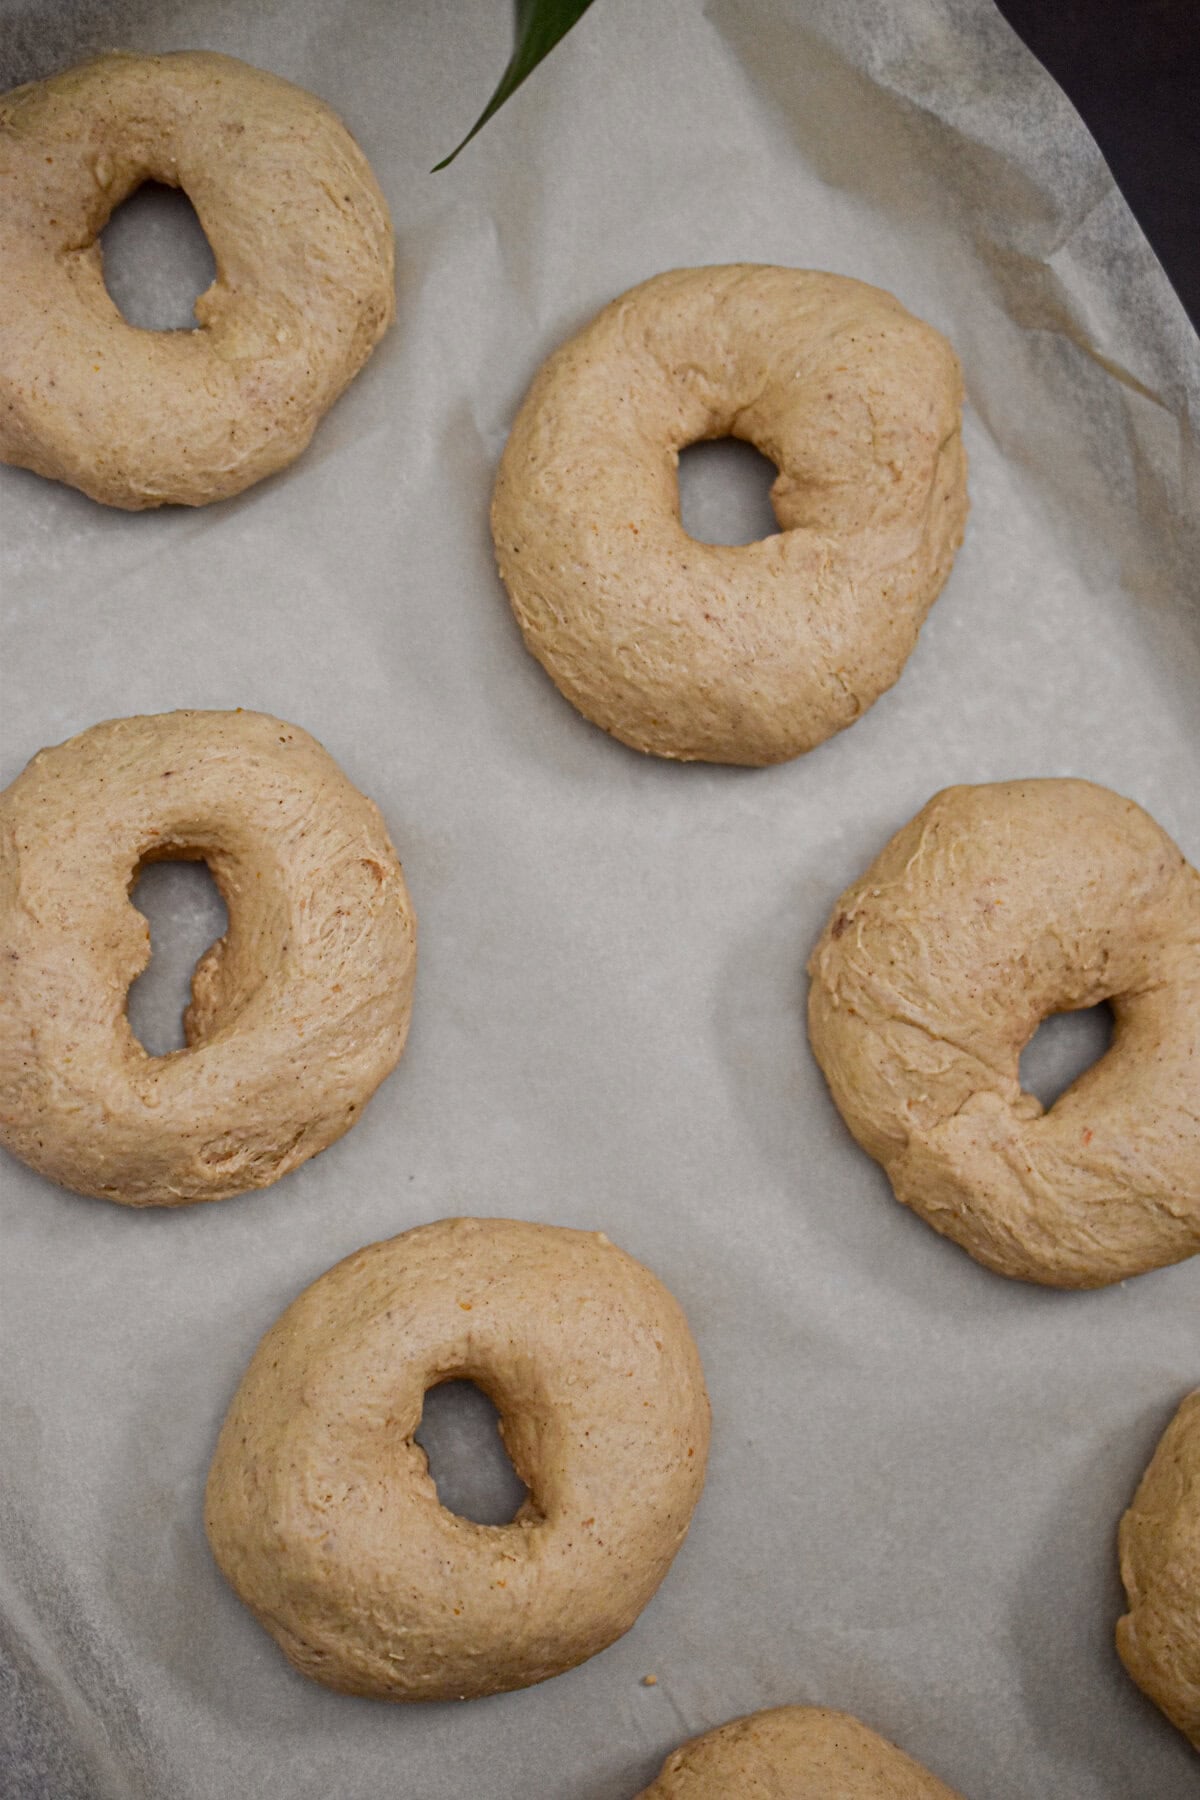
- Step 4: Let the shaped bagels rest for 15 to 20 minutes while your water comes to a boil.
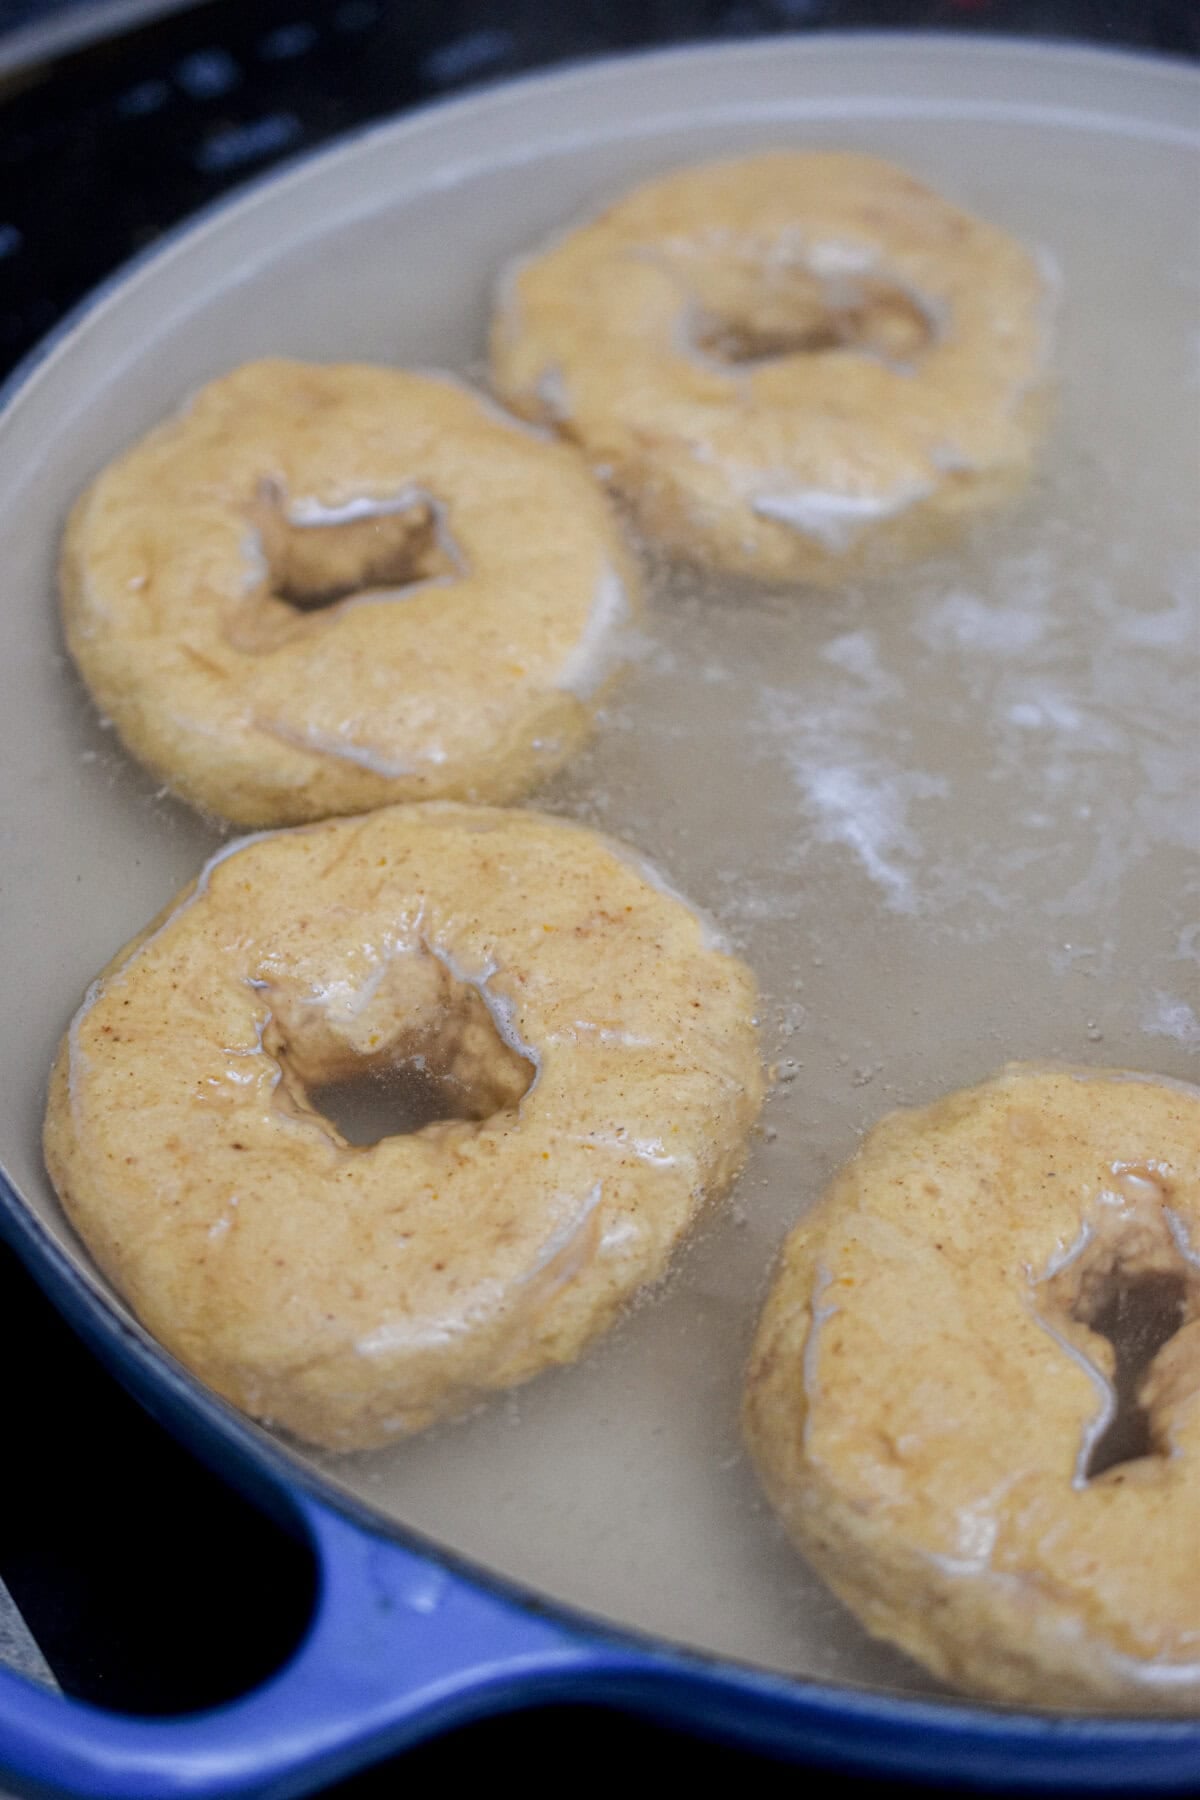
- Step 5: Add the baking soda to a large pot of boiling water. Boil the bagels for 60 to 90 seconds per side. This step is what gives bagels their signature chewy crust, so do not skip it or shorten it.
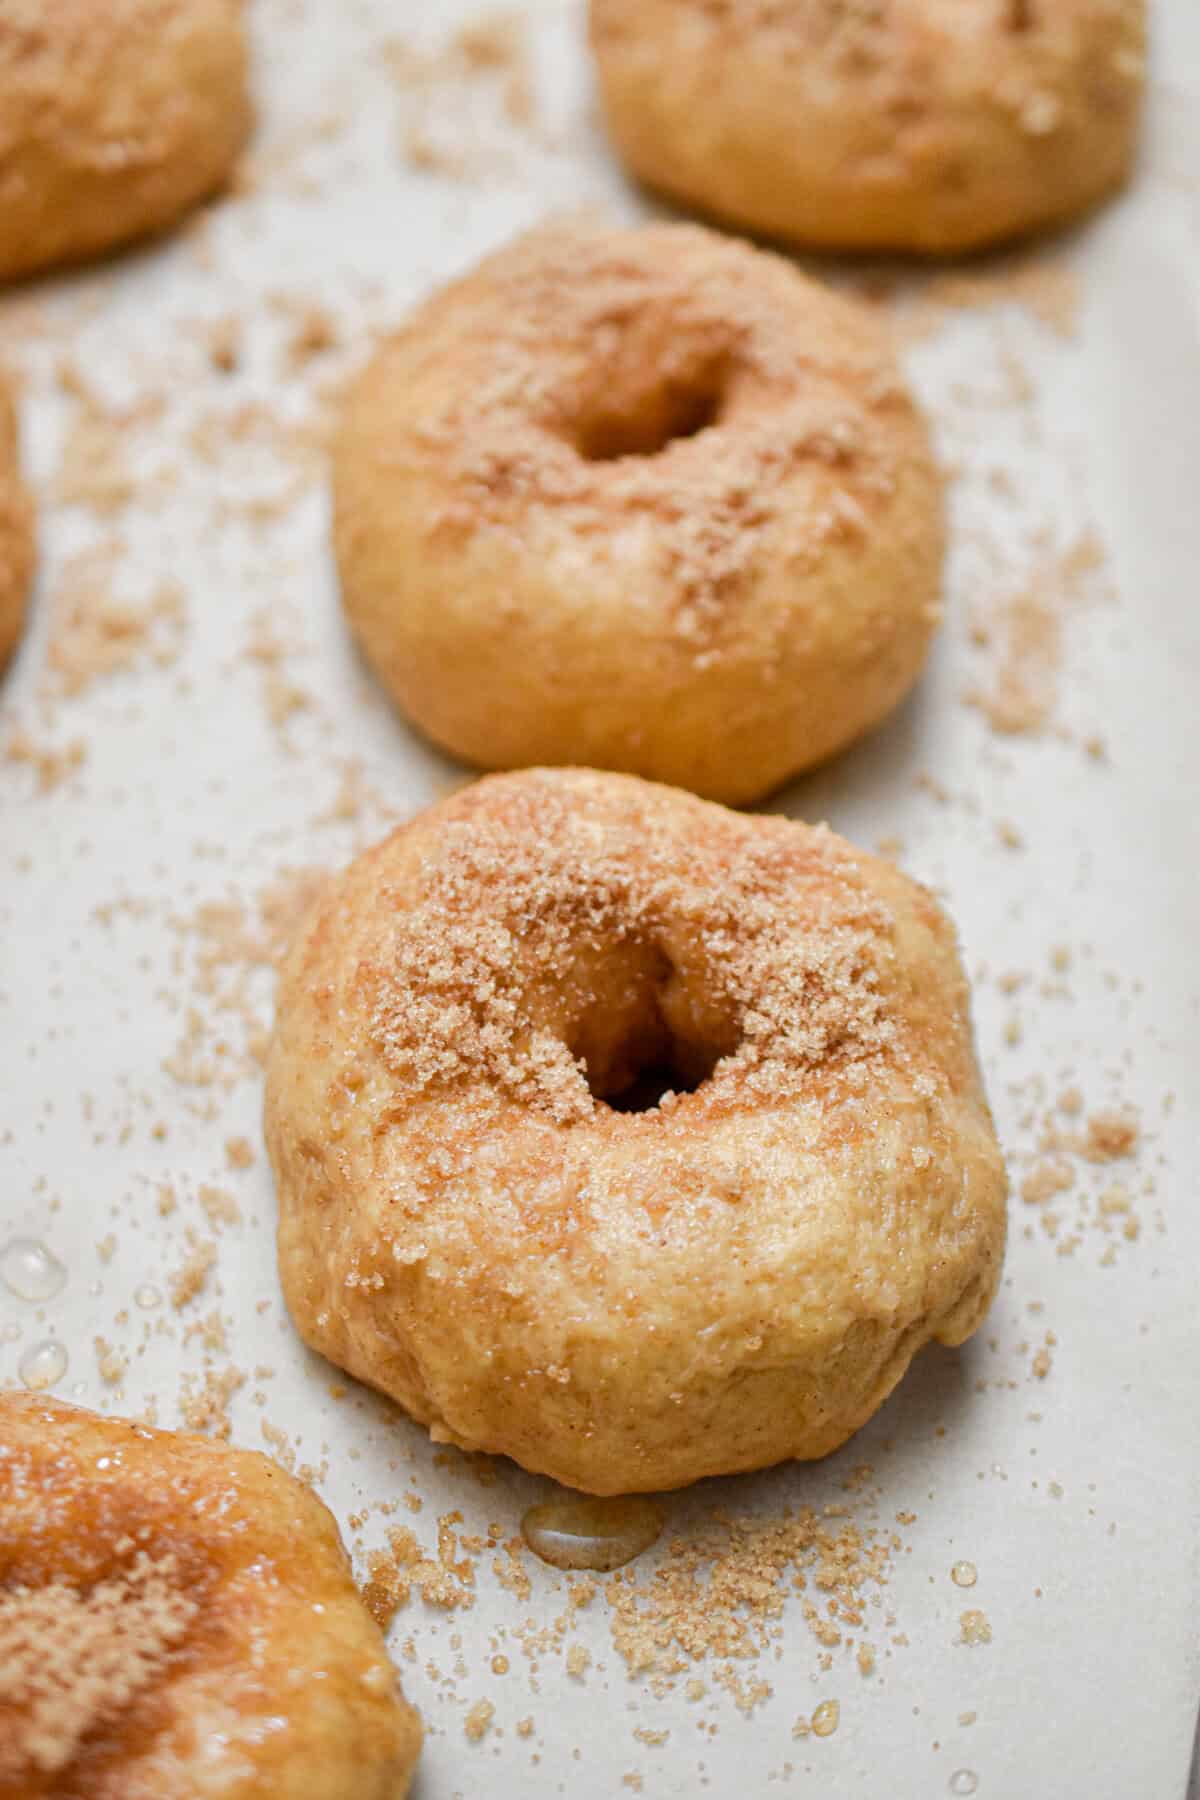
- Step 6: Brush each boiled bagel with egg wash and add your topping of choice. I like to add some brown sugar and cinnamon. Bake at 425F for 18 to 20 minutes until deep golden brown.
Tips and Tricks
- Weigh your pumpkin puree if you can. Canned pumpkin varies a lot by brand. Some of the hold more water than others. That variation is the single biggest reason two people can follow the same recipe and get different results.
- Keep the dough stiffer than you think it should be. If it feels soft and easy to stretch like sandwich bread dough, add flour a tablespoon at a time until it tightens up. The stand mixer makes mixing the dough really easy, but you can mix it by hand if you want a workout!
- Do not skip the rest before boiling. Those 15 to 20 minutes let the gluten relax so your bagels do not shrink back into tight little dough balls the second they hit the water.
- Stretch the center hole bigger than feels right. It always shrinks during boiling and baking, and a hole that looked too big while shaping usually ends up perfect once baked.
- Boil in batches of 2 to 3 so the bagels have room to float freely. Crowding the pot keeps them from puffing up properly.
Can I Freeze the Dough Before Baking
Yes, and this is genuinely one of the best things about this recipe! After you shape the bagels but before you boil them, place them on a parchment lined tray in the freezer until solid. Then transfer to a freezer bag. When you want fresh bagels, take them straight from the freezer into your boiling water. You'll want to add about 30 extra seconds per side, then egg wash and bake as usual. No need to thaw first.
If you would rather have warm bagels first thing in the morning, shape them the night before, place on a tray, cover, and refrigerate overnight. In the morning, let them sit at room temperature for 20 minutes, then boil and bake straight away.
Storage Info
Once fully cooled, store bagels in a sealed bag at room temperature for up to 3 days. You can also freeze the whole baked bagels for up to 3 months. I like slicing them before freezing so a half can go straight into the toaster with no thawing needed. I say 3 months to be safe, but you can definitely freeze them for longer.
Why Are My Bagels Dense or Gummy in the Middle
Dense, gummy bagels almost always come down to one of three things.
- The dough had too much liquid in it, which happens easily since pumpkin puree varies quite a bit in moisture depending on the brand.
- The dough was not kneaded long enough, since bagel dough needs a longer knead than regular bread dough to build enough gluten structure to hold its shape through boiling.
- Or the bagels were undercooked in the center. This happens when they look golden brown on the outside before the inside has actually finished baking.
The fix for all three is the same. Keep your dough stiff rather than soft. Add flour a tablespoon at a time if it feels tacky. Then knead the full 8 to 10 minutes, and if you want a guarantee your bagels are done all the way through, an instant read thermometer inserted into the center should read about 190F when they come out of the oven.
Frequently Asked Questions
Yes, swap the discard for an equal amount of active, bubbly starter and skip the instant yeast. Your rise time will take longer since you are relying on the starter alone for lift. Plan for closer to 8 to 10 hours instead of 1.
Boiling sets the crust before the bagel goes in the oven, which is what gives bagels their dense, chewy exterior instead of a soft bread roll texture. Skipping this step is the difference between a bagel and a dinner roll shaped like one.
Pumpkin puree brands vary in moisture, so add flour a tablespoon at a time until the dough feels stiff and only slightly tacky, not wet or loose. A stiffer dough is exactly what you want for a chewy bagel.
Drop one bagel into the boiling water before doing the rest. If it floats within a few seconds, your dough has risen enough. If it sinks and stays down, give the batch another 10 to 15 minutes to rise before boiling the rest.


📖 Recipe

Sourdough Discard Bagels with a Cinnamon Sugar Crust!
Ingredients
- 500 g Bread Flour or all purpose flour
- 227 g Sourdough discard Unfed
- 122 g Pumpkin puree
- 118 g Warm water Not too hot
- 3 tablespoon Brown sugar
- 2 ¼ teaspoon Active Dry Yeast
- 2 teaspoon Salt
- 2 teaspoon Pumpkin Pie Spice
- 1 tablespoon Baking soda
Brown sugar crust
- ⅓ cup Brown sugar
- 1 tablespoon Cinnamon
Instructions
- Add the flour, discard, pumpkin puree, water, brown sugar, yeast, salt, and pumpkin pie spice in the bowl of a stand mixer. Mix until a shaggy dough forms, then knead for 8 to 10 minutes until the dough is smooth and stiff.
- Cover and let rise until puffy and nearly doubled, about an hour in a warm kitchen. If your kitchen is a little cooler, it might take up to 2 hours.
- Divide into 8 pieces. Roll each into a smooth ball, then poke your thumb through the center and stretch the hole wider than feels natural. It will shrink back during boiling and baking. If you want smaller bagels, cut the dough into 10-12 pieces.
- Let the shaped bagels rest for 15 to 20 minutes while your water comes to a boil.
- Add the baking soda to a large pot of boiling water. Boil the bagels for 60 to 90 seconds per side. This step is what gives bagels their signature chewy crust.
- Brush each boiled bagel with egg wash and add your topping of choice. I like to add some brown sugar and cinnamon. Bake at 425F for 18 to 20 minutes until deep golden brown.
Notes
- Do not rush the boil, it is what gives these bagels their signature chewy texture and sets the crust for caramelizing.
- Add the brown sugar and cinnamon mixture as soon as the bagels come out of the boiling water so it sticks and gets that crunchy caramelized finish.
- Pure pumpkin keeps the hydration right so your bagels stay chewy instead of turning cakey.
The cinnamon sugar crust is SO GOOD!