Pumpkin Muffins with Self-Rising Flour
These pumpkin muffins with self rising flour are on repeat in my house every fall, and after testing batch after batch, this is the recipe that never lets me down! Using self-rising flour takes the guesswork out of baking since the leavening is already mixed in, which has been a lifesaver on busy mornings with my kids. I tweaked the pumpkin, oil, and spices until these came out soft, moist, and full of real fall flavor, and they disappear so fast I almost always make a double batch!
Give my blueberry muffins with self rising flour a try too!
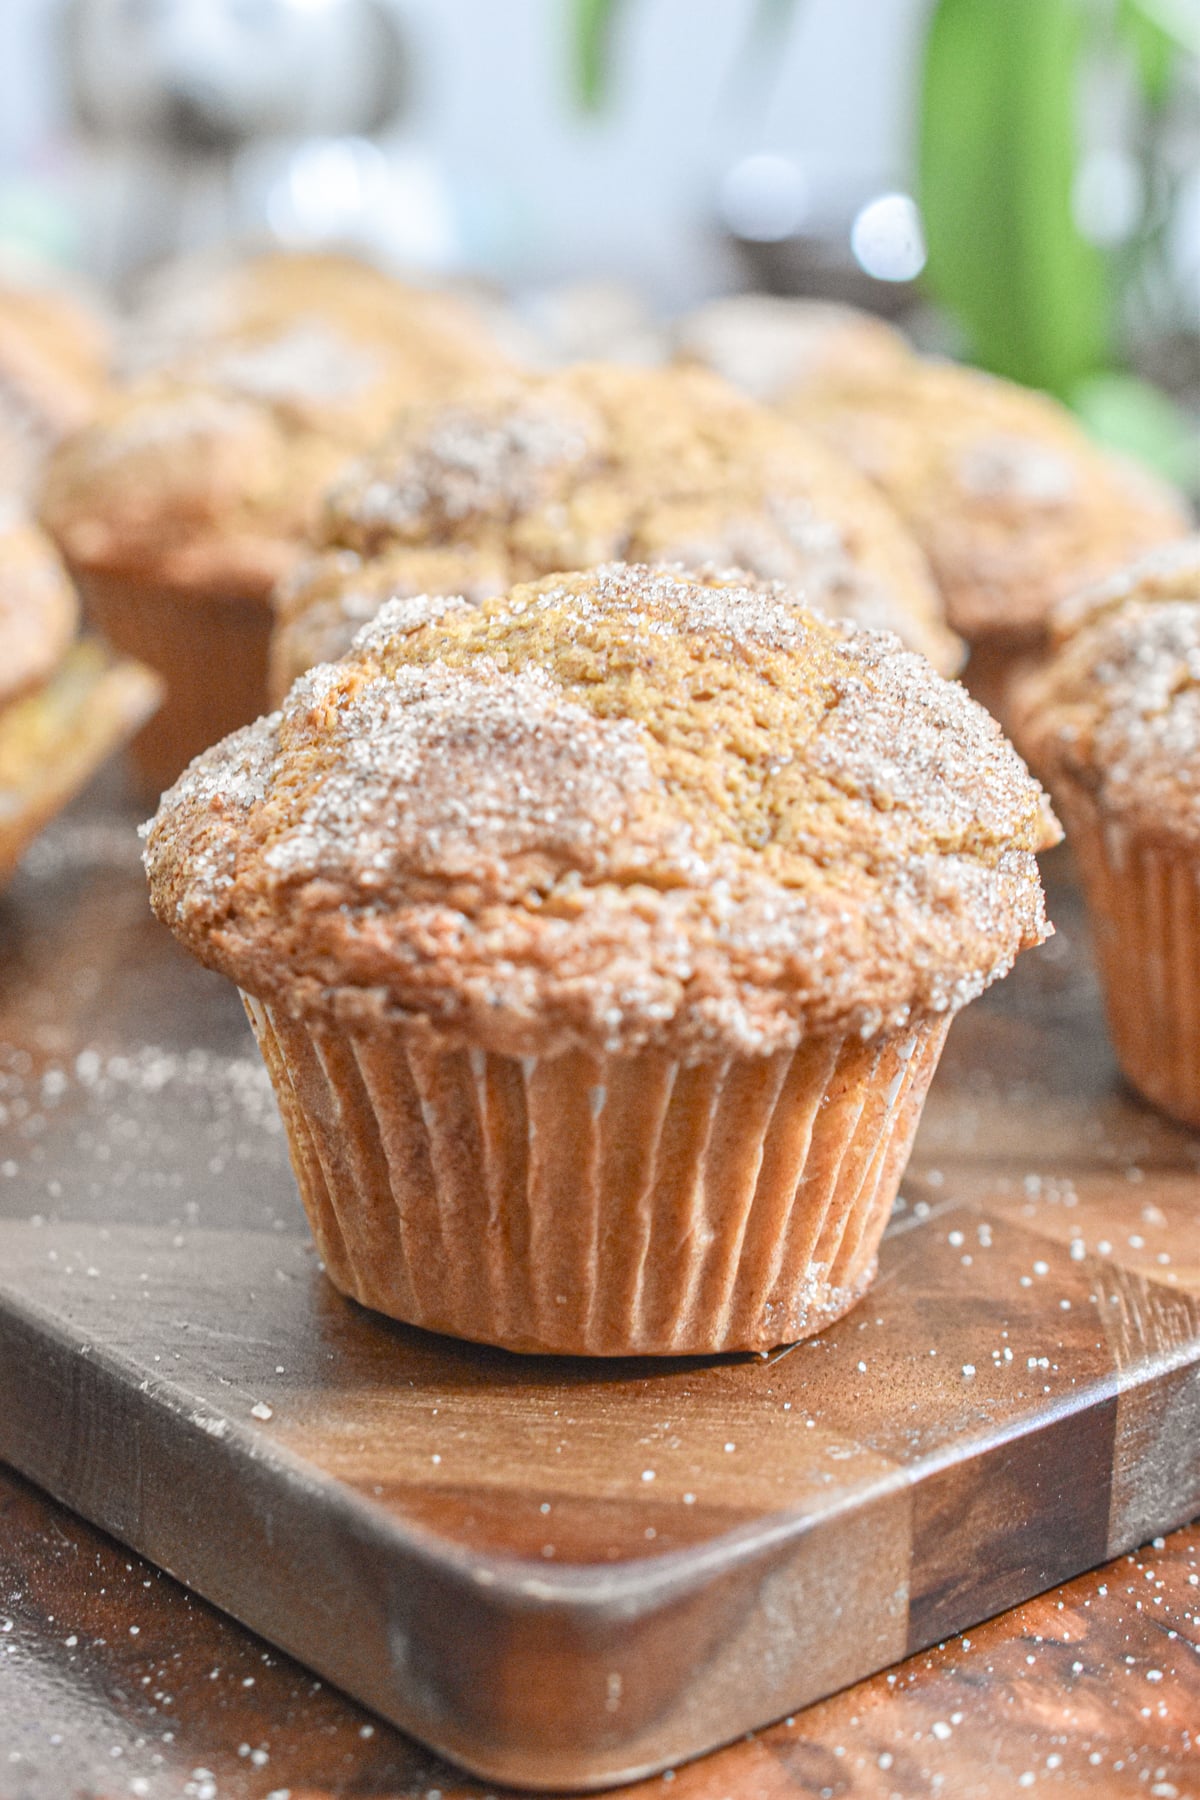
The minute I pull out the can of pumpkin, my kids know what’s coming and start hanging around the kitchen waiting for the first batch. The whole house smells like cinnamon and nutmeg, and there’s something so cozy about having a basket of warm muffins on the counter on a chilly fall morning.
Using self-rising flour is my favorite shortcut for these. Since the baking powder and salt are already mixed right in, there’s less to measure, fewer ingredients to pull out, and less chance of forgetting something when I’m baking in a hurry. It also gives the muffins a nice, even rise and a soft, tender crumb every single time, which is exactly what I want when I’m feeding a busy family.
I always have a bag of self rising flour in my pantry! It's great to make self rising flour banana bread, pancakes with self rising flour, and even chocolate chip cookies with self rising flour. There is really nothing that a bag of self rising flour can't make!
Jump to:
Why You’ll Love These Pumpkin Muffins
- One bowl, no mixer. No need to get out the stand mixer for this recipe. All you need is a large mixing bowl and whatever your favorite mixing spoon is.
- Fewer ingredients. Self-rising flour already has the baking powder and salt mixed in, so there’s less to measure. We will be using a little baking soda, but that's just for an even higher muffin.
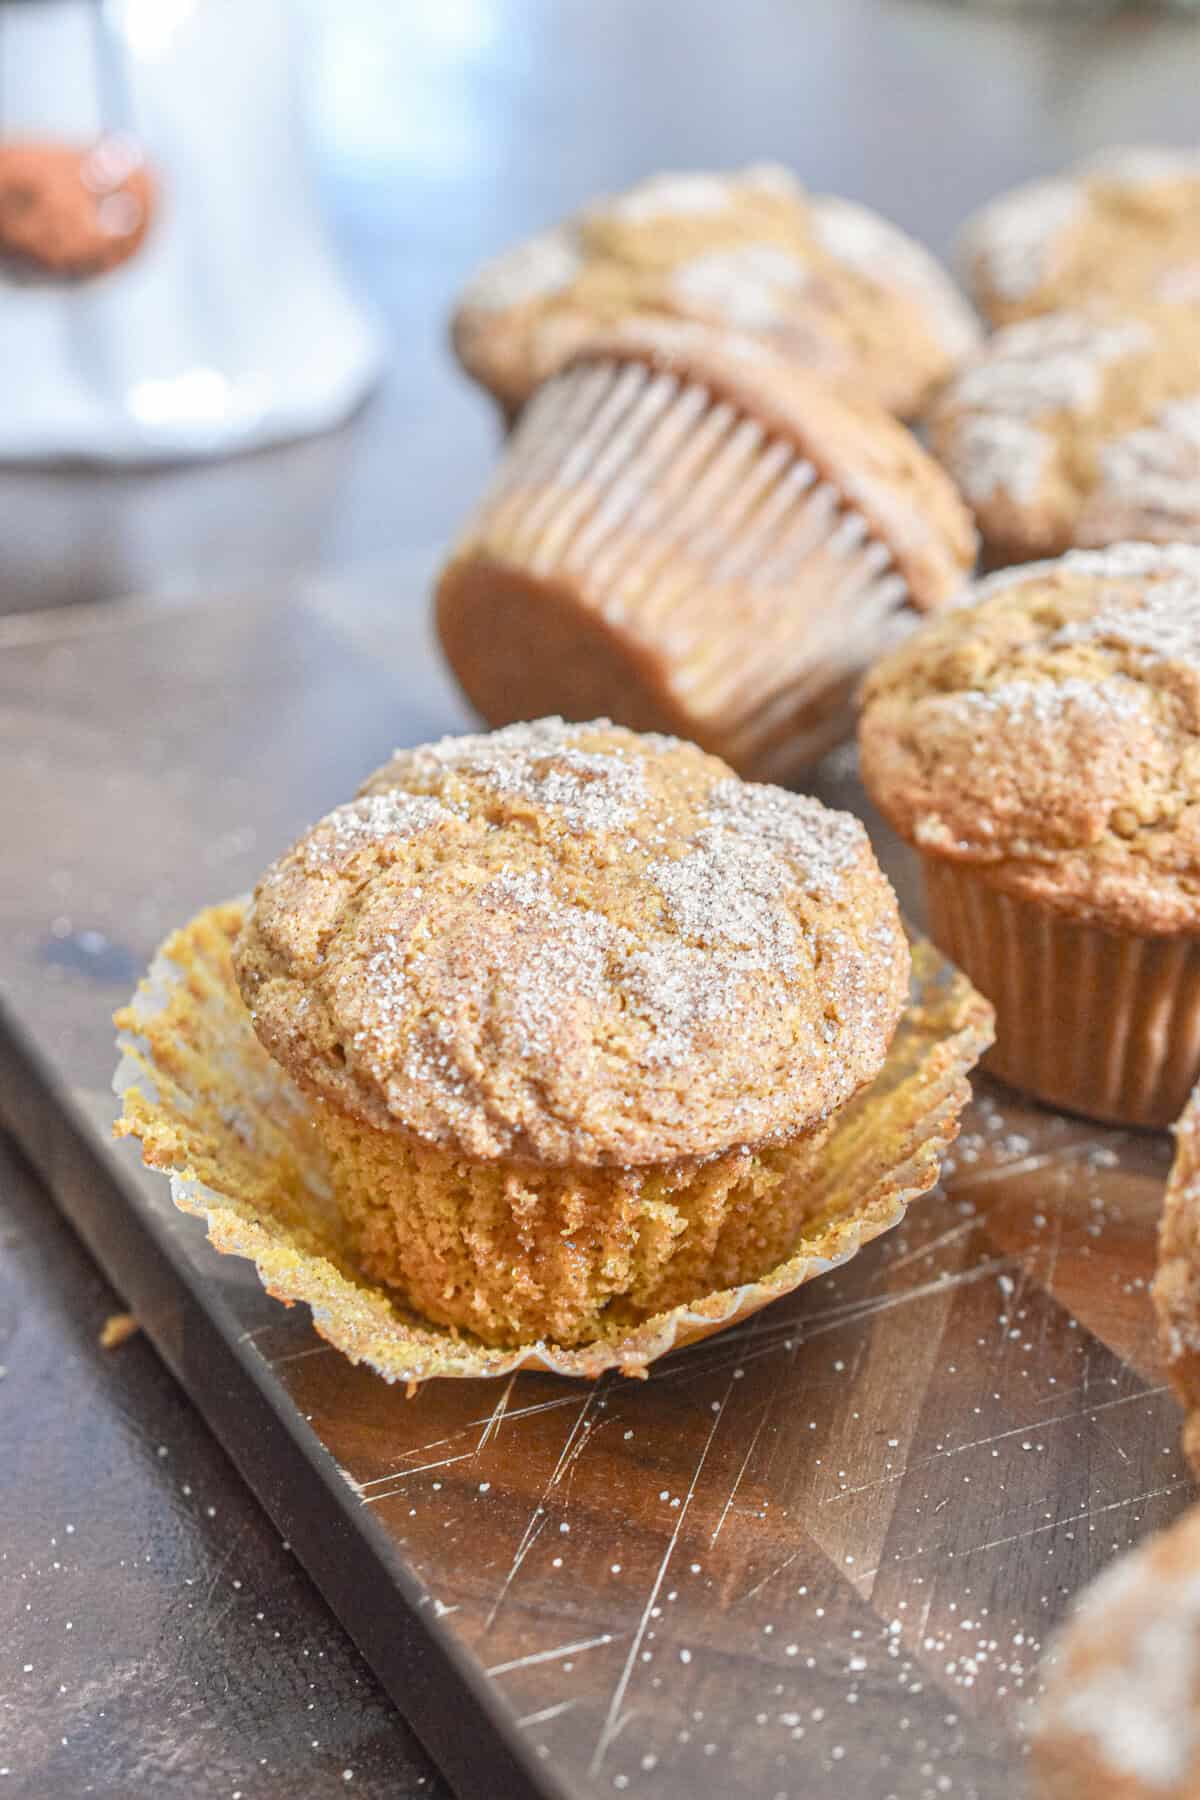
- Bakery-style tops. Starting at a higher oven temperature gives you those tall, domed muffins. That's the key. A really high temperature at the beginning and then a lower temperature for the rest of the baking.
- Ready in 30 minutes. Perfect for a busy school morning or a last-minute bake sale.
Self Rising Flour Pumpkin Muffin Ingredients
- Self-rising flour. This does all the heavy lifting. Spoon it into your measuring cup and level it off. Scooping straight from the bag packs in too much flour and makes dry muffins. It MUST be self rising flour.
- Pumpkin puree. Use plain canned pumpkin, not pumpkin pie filling, which is already sweetened and spiced. If you have some extra, make 5 ingredient pumpkin bread too!
- Granulated and brown sugar. The brown sugar adds moisture and a little caramel flavor.
- Melted butter. Melted butter keeps these muffins moist for days. If you don't want to use butter, use your favorite neutral oil like avocado oil or vegetable oil.
- Eggs. Room temperature eggs mix in more evenly.
- Milk. A splash loosens the batter just enough. I like to use whole milk or 2% milk because it is what I have in my fridge most of the time.
- Pumpkin pie spice and cinnamon. For that cozy fall flavor.
- Baking soda. Just a little boost to help the heavy pumpkin batter rise and brown.
- Vanilla extract. It rounds out the spices. Measure with your heart, of course!
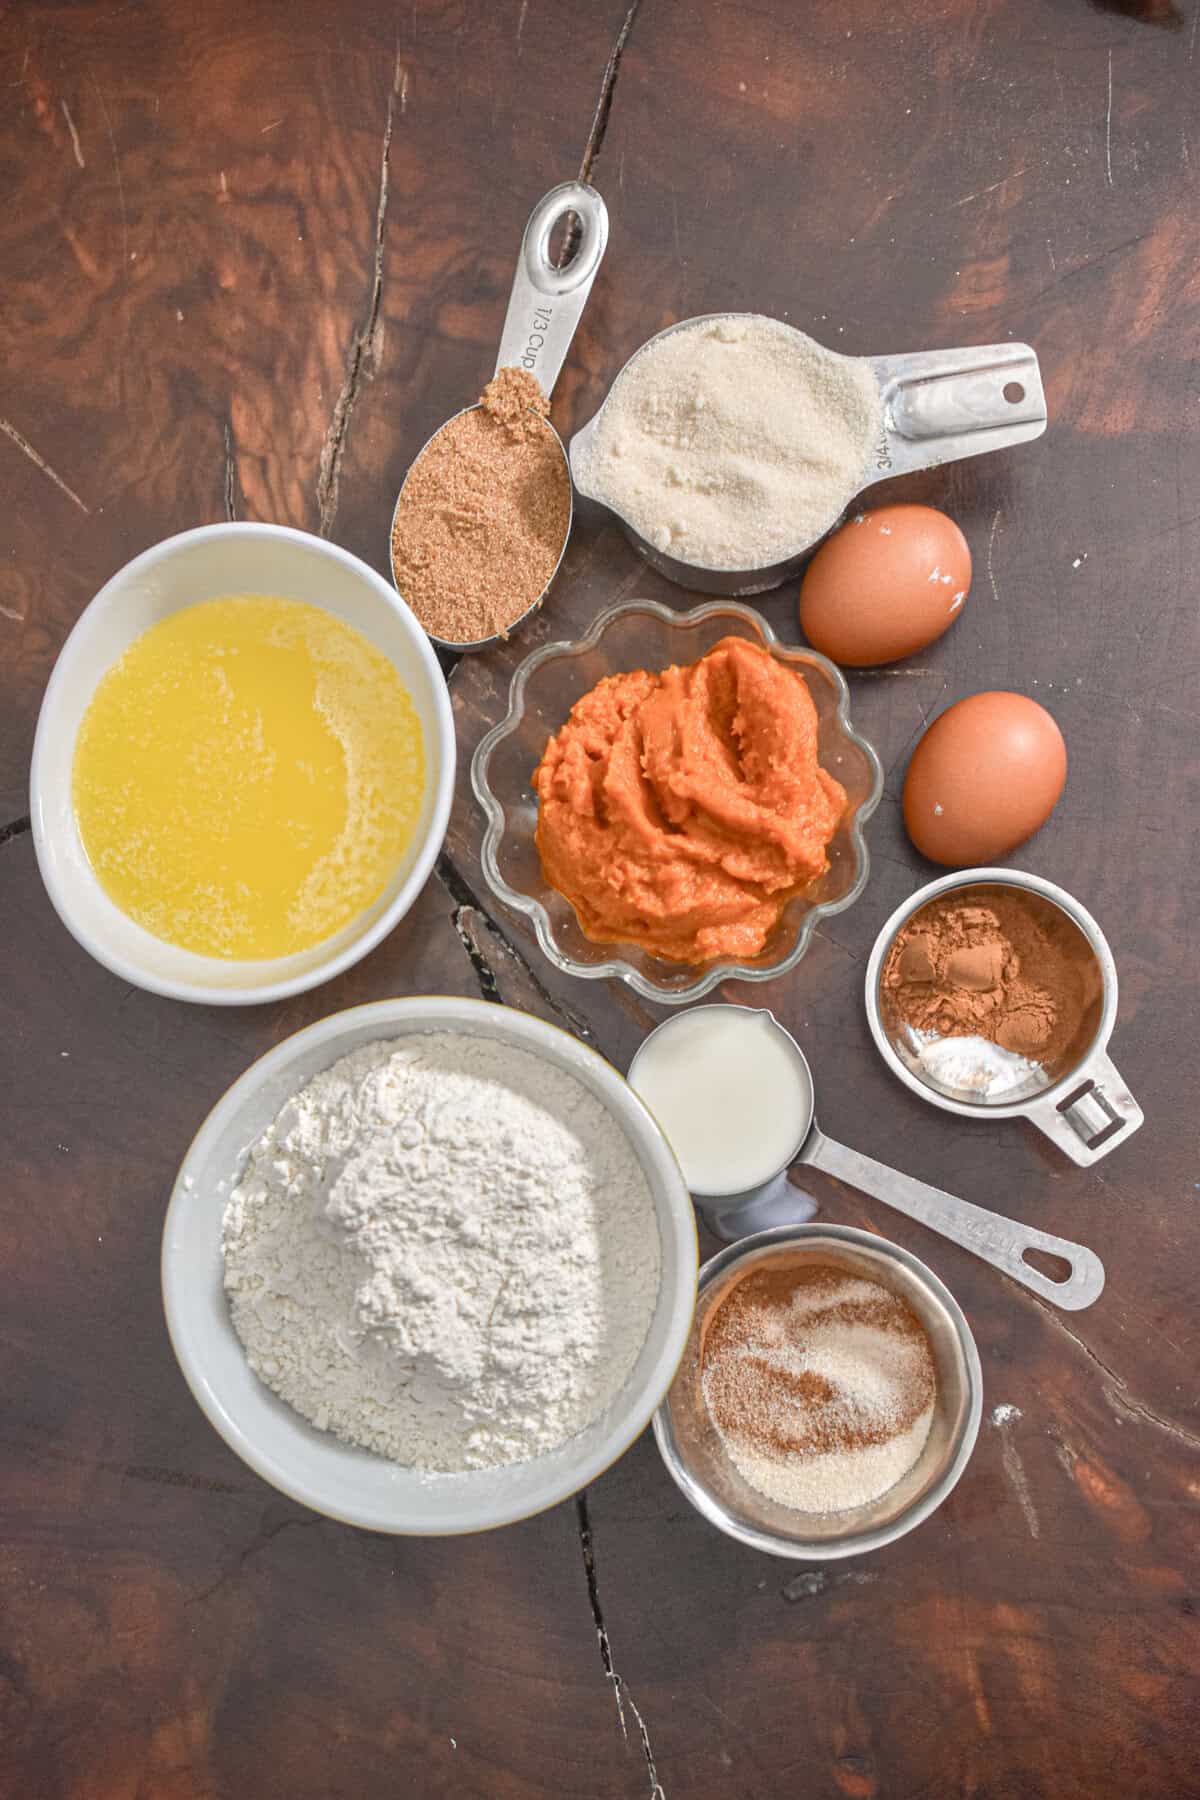
Be sure to check out the printable recipe card for full recipe information on ingredients and quantities.
Substitutions and Variations
- Chocolate chip pumpkin muffins. Fold in ¾ cup of chocolate chips. This is how my kids like them best. Chocolate and pumpkin go so well together! I love making chocolate chip pumpkin cookies too!
- Streusel topping. Muffins are just better with streusel topping! Just like in my apple cinnamon sourdough muffins, top these with a streusel topping. Mix ¼ cup flour, ¼ cup brown sugar, 2 tablespoons cold butter, and ½ teaspoon cinnamon until crumbly, then sprinkle on before baking.
- Cream cheese filling. Drop a teaspoon of sweetened cream cheese into the center of each muffin before baking.
- Add nuts. Fold in ½ cup chopped pecans or walnuts.
How to Make Pumpkin Muffins with Self-Rising Flour
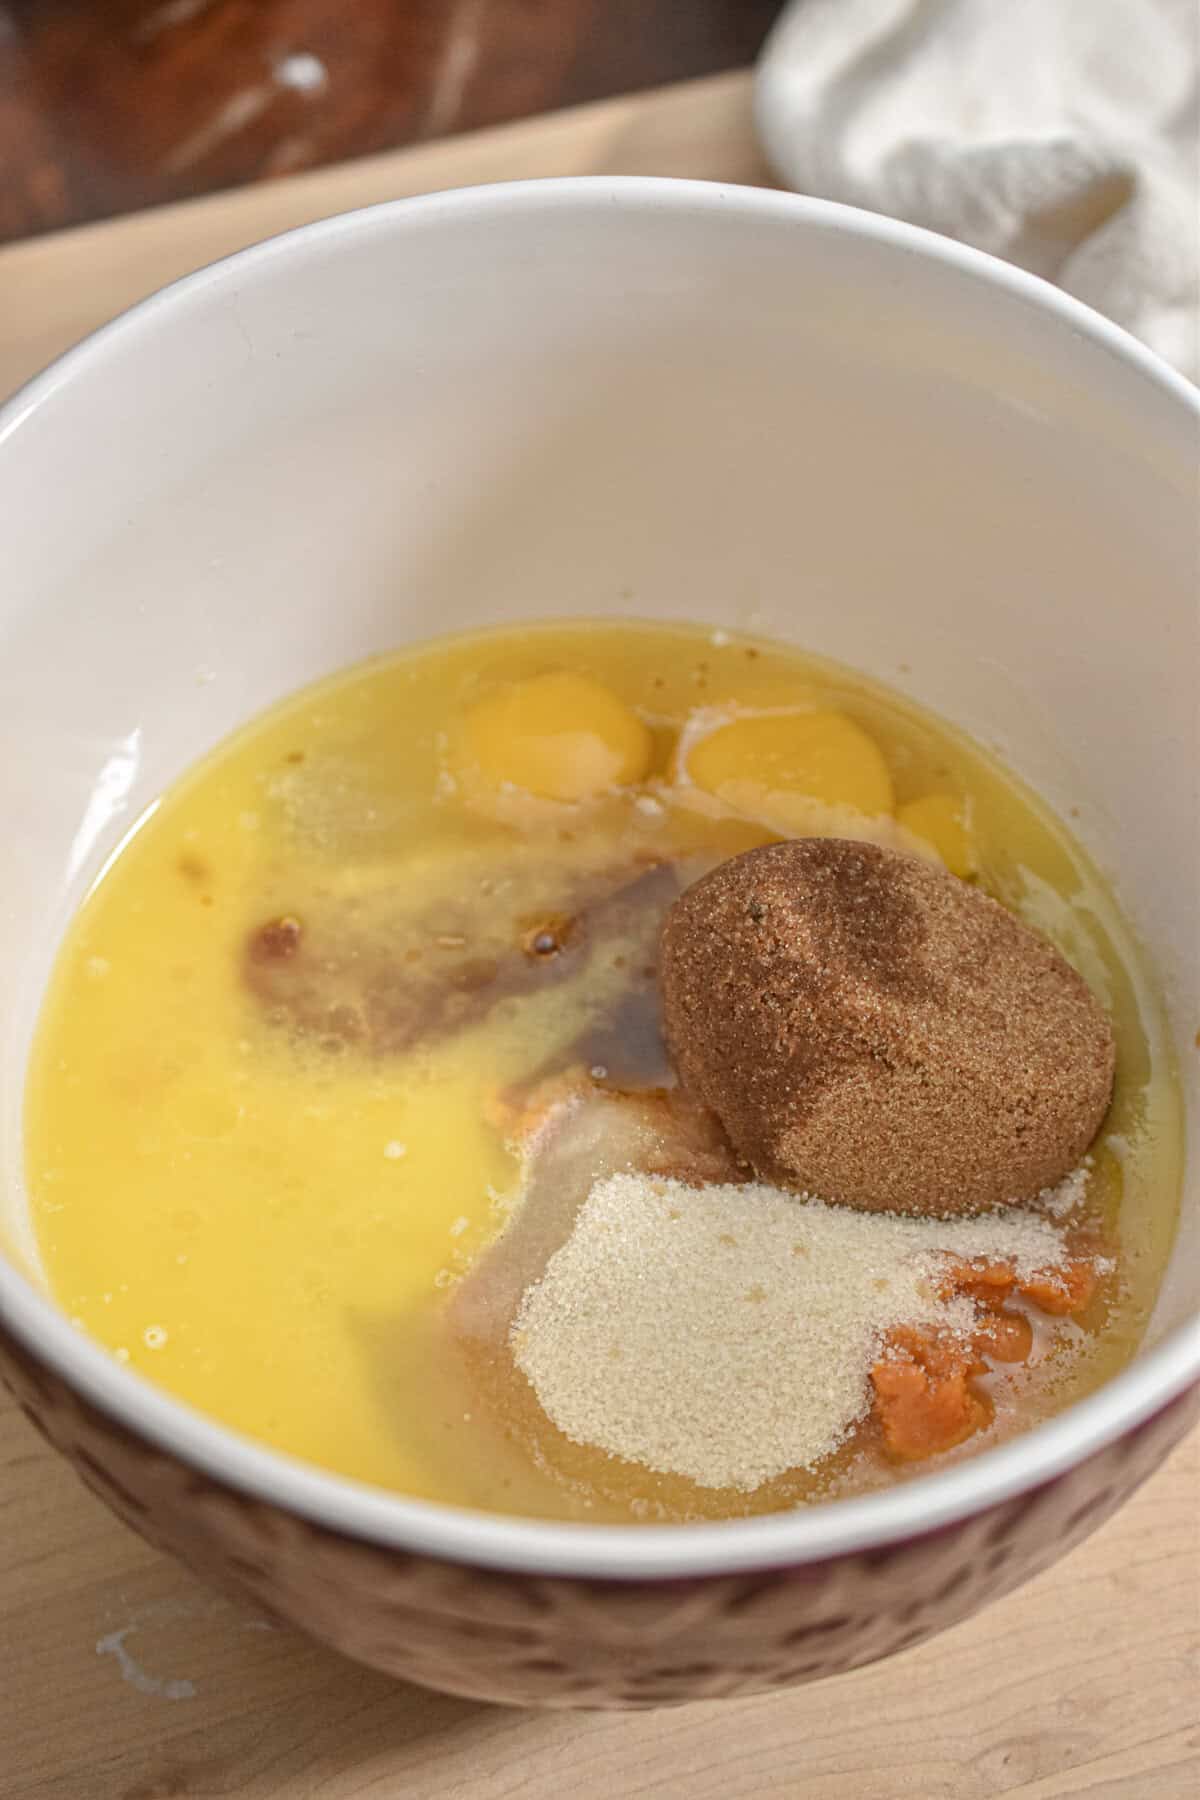
- Step 1: Heat your oven to 425°F and line a 12-cup muffin pan with liners. In a large bowl, whisk the pumpkin, melted butter, eggs, both sugars, milk, and vanilla until smooth.
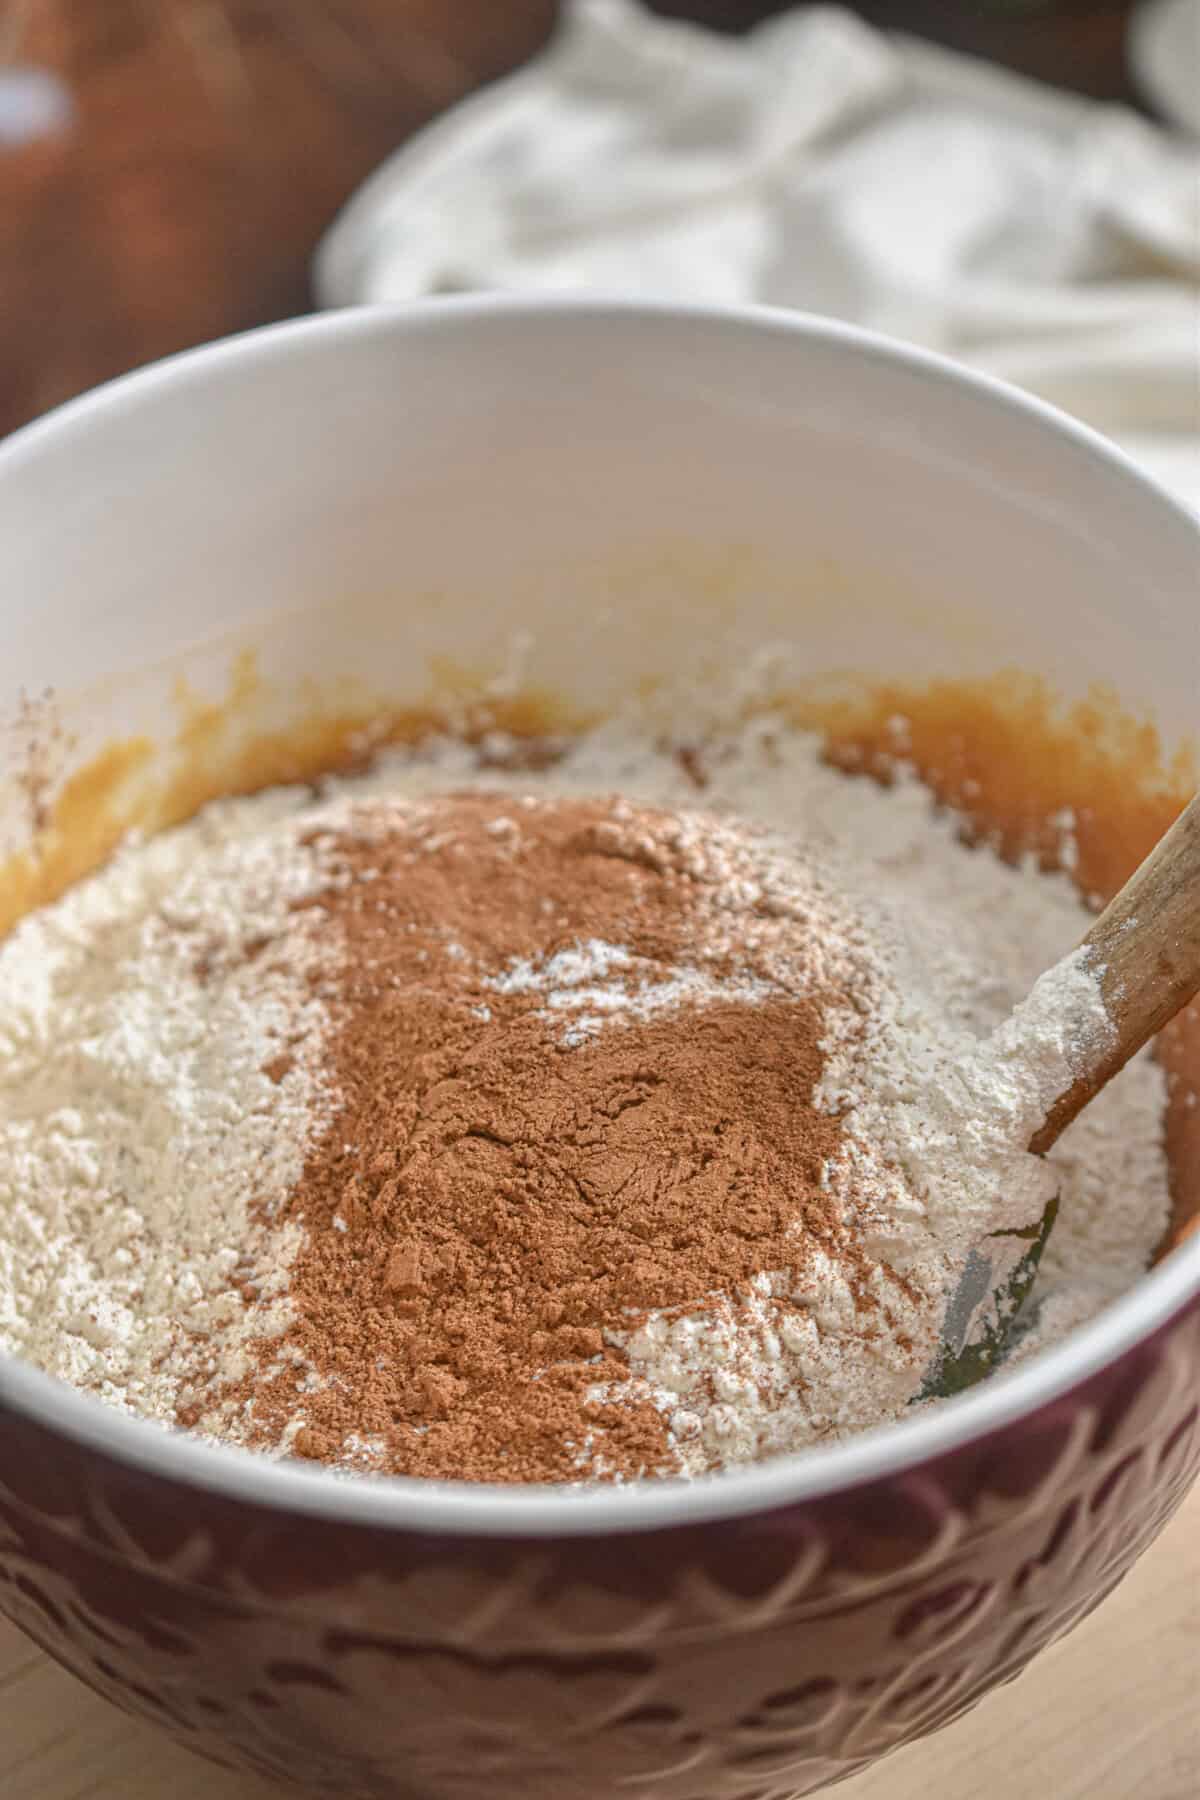
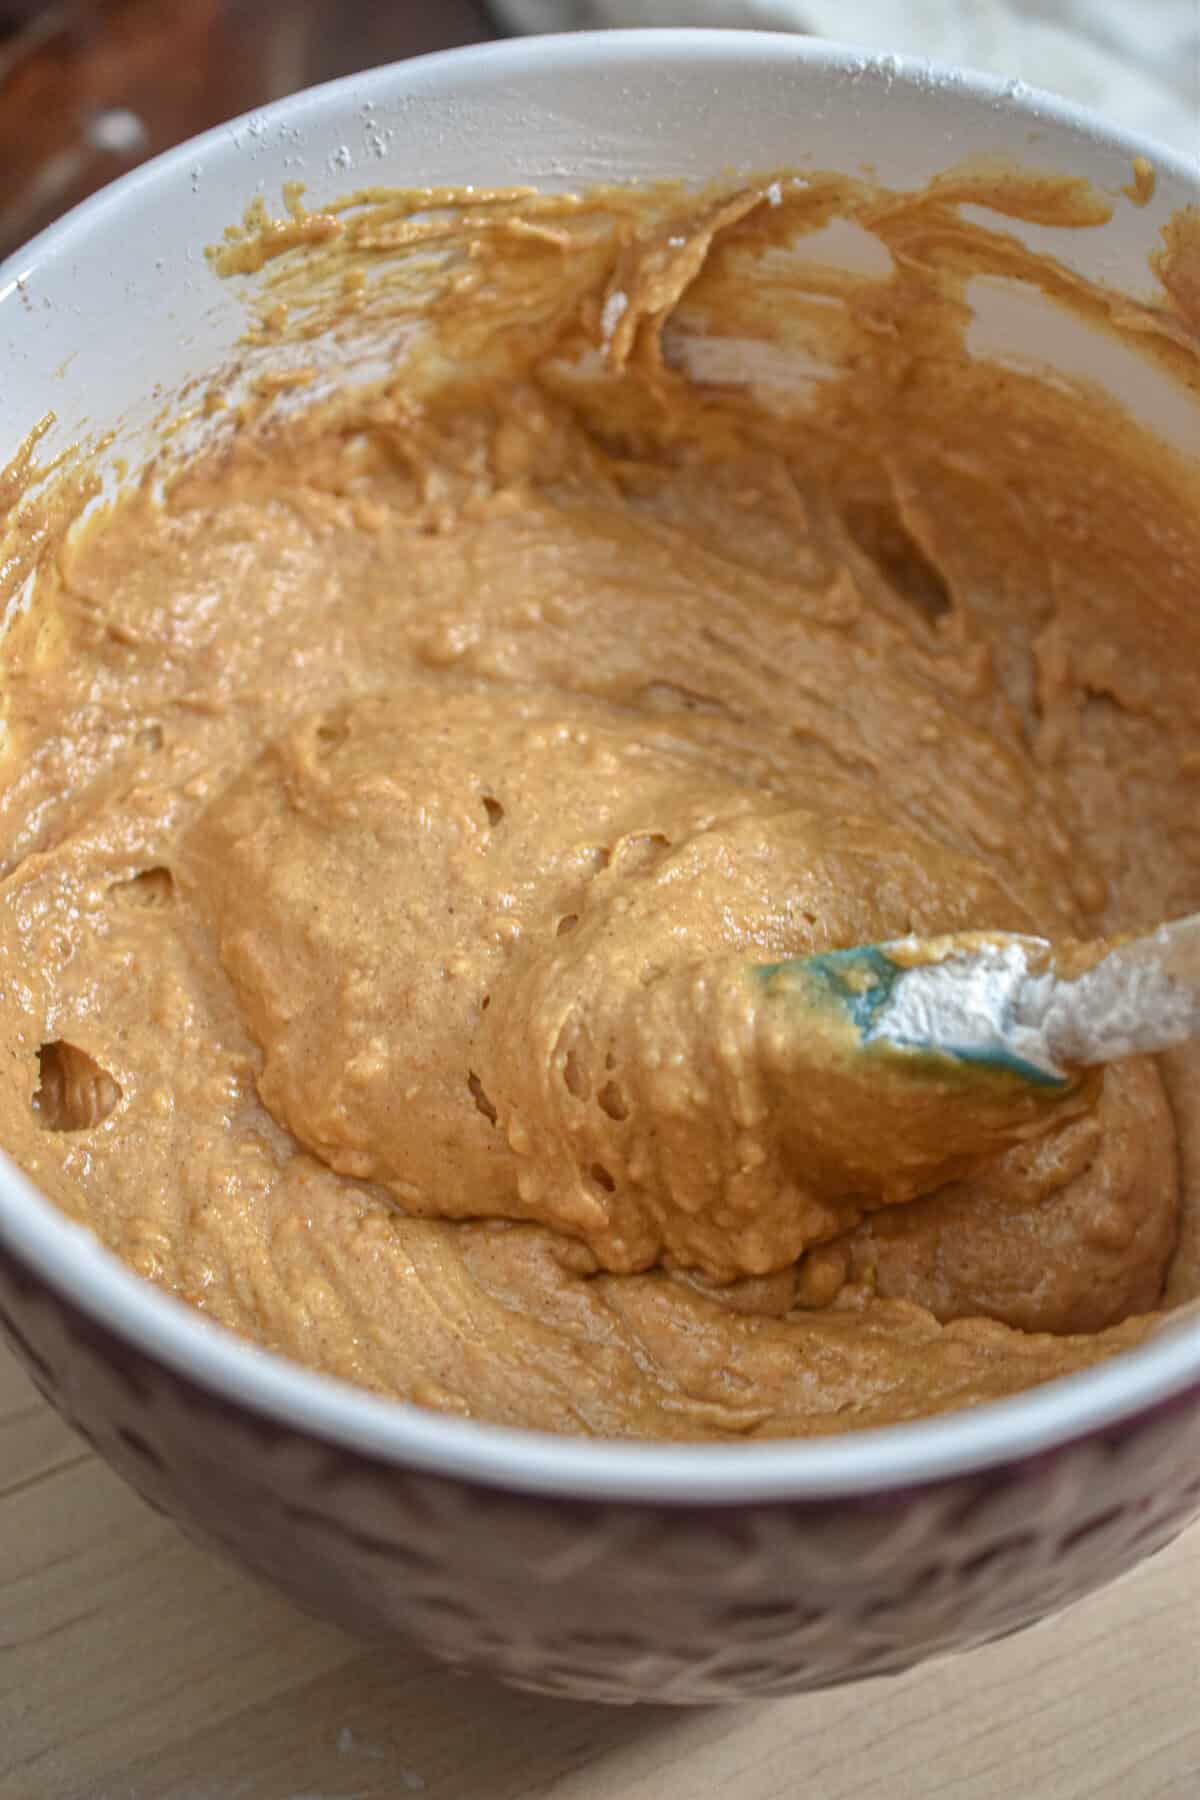
- Step 2: Sprinkle in the self-rising flour, pumpkin pie spice, cinnamon, and baking soda. Fold gently with a spatula until no dry streaks remain. A few lumps are totally fine.
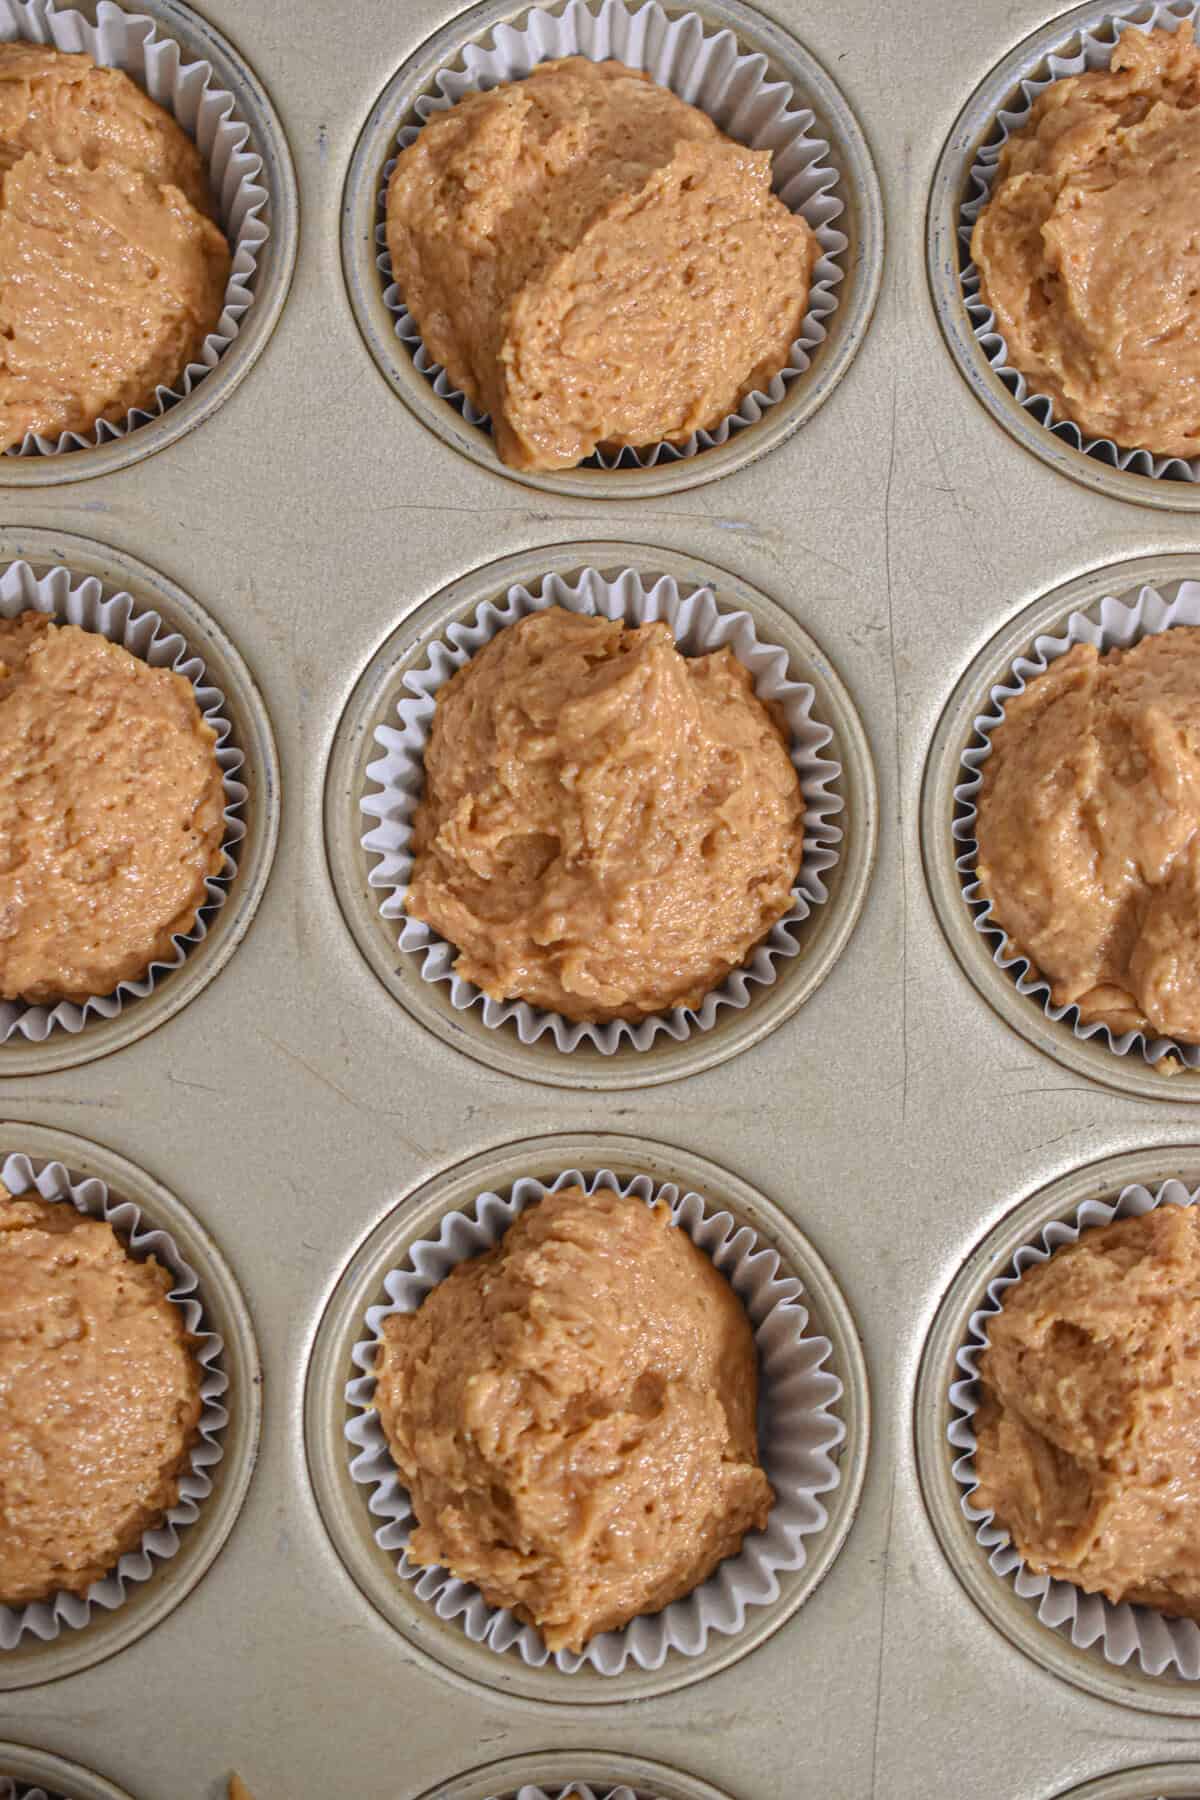
- Step 3: Fill each liner all the way to the top. That’s how you get big muffin tops.
- Step 4: Sprinkle each muffin with a little cinnamon sugar. This is an optional step, but highly recommended!
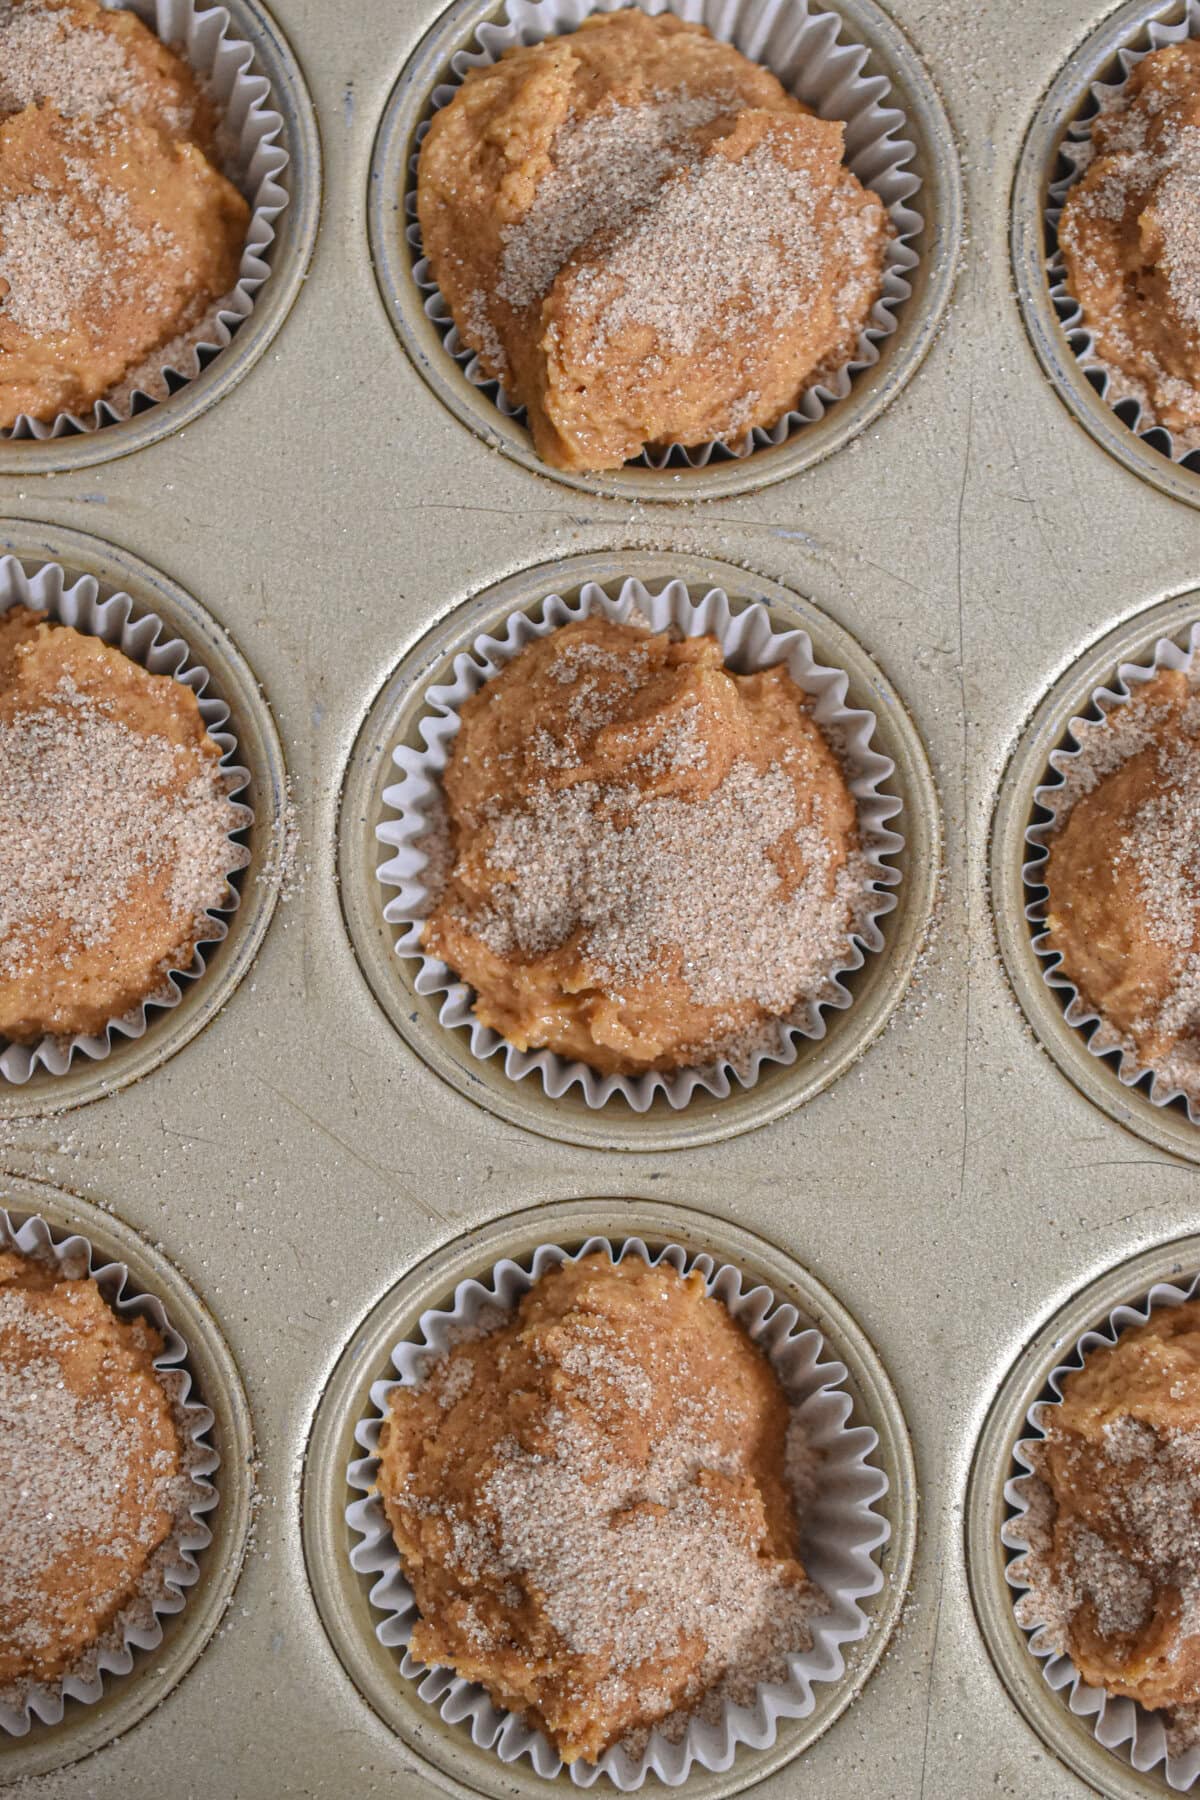
- Step 5: Bake at 425°F for 5 minutes, then lower the oven to 350°F without opening the door. Bake another 15 to 18 minutes, until a toothpick comes out clean. Let them cool in the pan for 5 minutes, then move them to a wire rack.
Tips for the Best Pumpkin Muffins
- Don’t skip the 5 minutes at 425°F. That burst of heat makes the batter rise fast before the outside sets, which gives you that tall, domed bakery look.
- Don’t overmix. Overmixing makes muffins tough and tunnel-y. Stop as soon as the flour disappears.
- Check your self-rising flour’s date. The baking powder in it loses power over time. If your bag is more than 6 months old, your muffins may not rise as well.
- Let the batter rest 10 minutes. If you have time, this helps the flour hydrate and gives even taller tops.
Storage Info
Keep muffins in an airtight container at room temperature for up to 3 days. Lay a paper towel in the container to soak up extra moisture so the tops don’t get sticky. To freeze, wrap each muffin in plastic wrap, place them in a freezer bag, and freeze for up to 3 months. Thaw on the counter or warm in the microwave for about 20 seconds.
Frequently Asked Questions
Yes. For every cup of all-purpose flour, add 1 ½ teaspoons of baking powder and ¼ teaspoon of salt. That’s the same thing self-rising flour already has mixed in.
Gummy muffins are usually underbaked or overmixed. Make sure a toothpick comes out clean from the center, and fold the batter just until the flour disappears.
You can, but fresh pumpkin puree holds more water than canned. Strain it in a fine mesh strainer for about 30 minutes first so your muffins don’t turn out soggy.
No, self-rising flour already has baking powder in it. I add just a little baking soda because pumpkin batter is heavy, and it helps the muffins rise and brown a little better.


📖 Recipe
Pumpkin Muffins with Self-Rising Flour
Ingredients
- 2 cups Self rising flour MUST be self rising flour
- 1 cup Pumpkin puree Canned
- ¾ cup Granulated sugar
- ⅓ cup Packed brown sugar
- ½ cup Melted Butter or a neutral oil like avocado oil or vegetable oil
- 2 Eggs
- ¼ cup Milk
- 2 teaspoon Vanilla extract
- 2 teaspoon Pumpkin pie spice
- ½ teaspoon Cinnamon
- ¼ teaspoon Baking soda For a little extra lift!
Cinnamon Sugar Topping
- 2 tablespoon Sugar
- ½ teaspoon Ground cinnamon
Instructions
- Preheat the oven to 425°F and line a 12-cup muffin pan with liners.
- In a large bowl, whisk together the pumpkin, oil, eggs, granulated sugar, brown sugar, milk, and vanilla until smooth.
- Add the self-rising flour, pumpkin pie spice, cinnamon, and baking soda. Fold gently just until no dry streaks remain.
- Fill each liner to the top with batter. Sprinkle with cinnamon sugar if using.
- Bake at 425°F for 5 minutes. Without opening the oven, lower the temperature to 350°F and bake 15 to 18 minutes more, until a toothpick inserted in the center comes out clean.
- Cool in the pan for 5 minutes, then transfer to a wire rack.
Notes
- You MUST use self rising flour in this recipe. All purpose flour will not work unless you add some baking powder to the recipe as well.
- Spoon and level the flour for the best texture. This makes sure that you are using the correct amount of flour and not too much which will make the muffins tough.
- Use pumpkin puree, not pumpkin pie filling. If you like to make your own pumpkin puree, use that!
- Store at room temperature for 3 days or freeze for up to 3 months.