
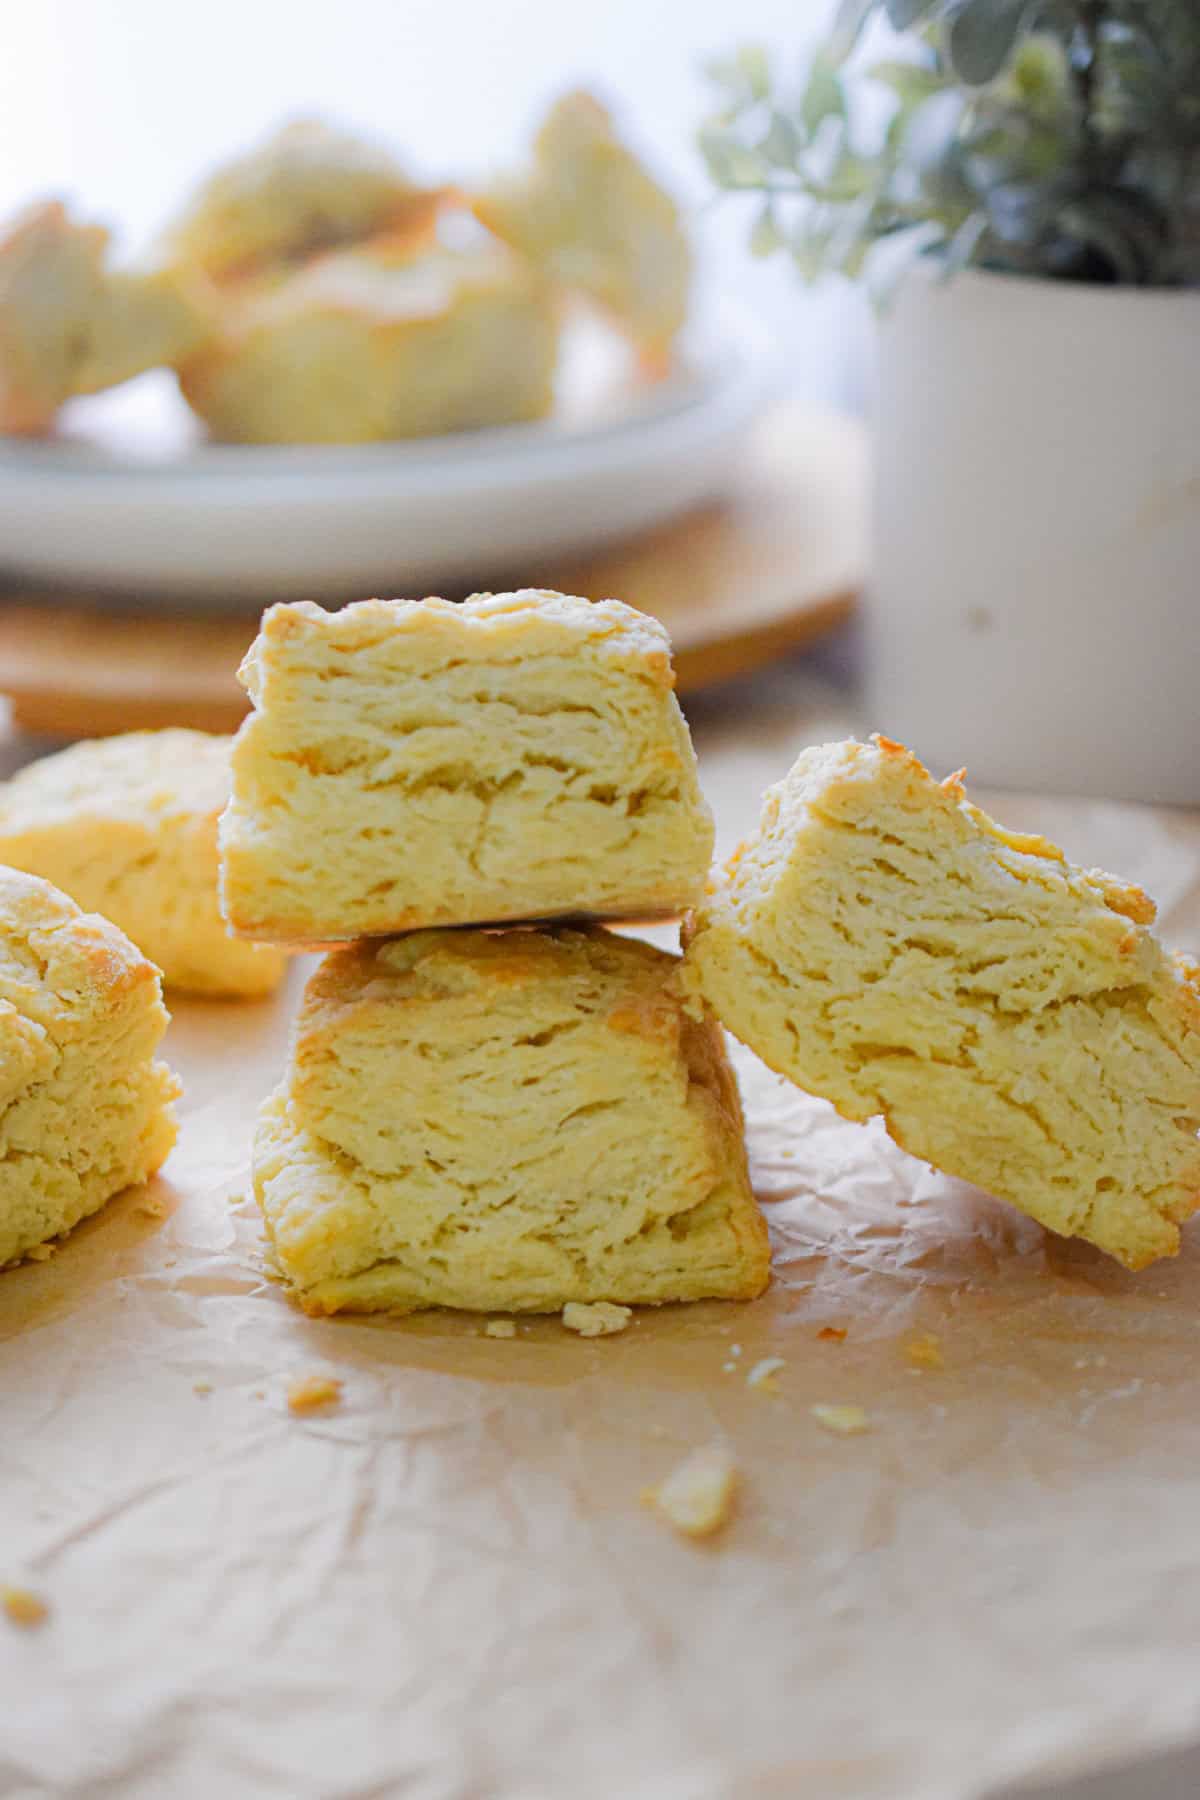
I started making these self rising flour biscuits years ago when I ran out of baking powder and needed a quick side for soup, and I’ve never looked back! Now I serve them for breakfast, brunch, or as a yummy side with dinner! These homemade biscuits with self-rising flour are always a hit!
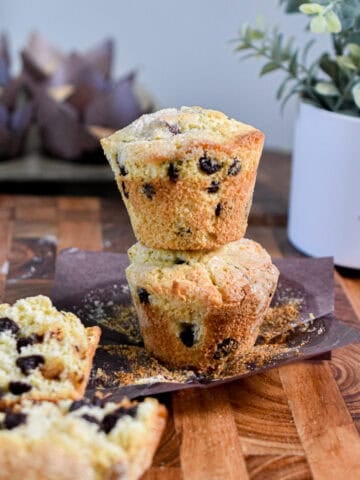
If you've got extra self rising flour, make strawberry muffins too!
I love making as many recipes as I can with self rising flour. It is always in my pantry and I have perfected and tested so many recipes with it, these biscuits included! They are fluffy, light, and a perfect side dish for any recipe! I love smearing them with butter and some mixed berry jam. YUM!
Self rising flour is great in biscuits! It is a great pantry shortcut to have in your kitchen! You can use it to make sweet potato biscuits, cream biscuits, or drop biscuits! These biscuits are a little more classic, but just as delicious! Be sure to check out all my self rising flour recipes, there's something for everyone there!
Jump to:
What Is Self-Rising Flour?
Self-rising flour (or sometimes called self-raising flour) is a shortcut ingredient that combines all-purpose flour, baking powder, and salt. Sometimes people can get confused about the difference between all purpose flour vs self rising flour, but it's really simple! It’s perfect for quick baking recipes like pancakes, banana bread, waffles, and even biscuits!
Using self-rising flour in biscuit recipes takes out the guesswork and saves time. You’ll still get that great texture and beautiful rise without needing to measure multiple dry ingredients. Just be sure not to add extra baking powder or salt if you're using self-rising flour, it’s already built in!
Did you know self-rising flour has been around since the 1800s? It was actually invented by a smart English baker named Henry Jones back in 1845. He came up with the idea to mix flour with baking powder and salt to make life easier for sailors, so they could bake fluffy breads and biscuits without needing a bunch of extra ingredients. It didn’t quite catch on with the British Navy the way he hoped, but home bakers loved the convenience. Genius! Now it is popular in England and also in a lot of southern recipes!
Ingredients to Gather
To make the best biscuits with self-rising flour, here’s what you’ll need:
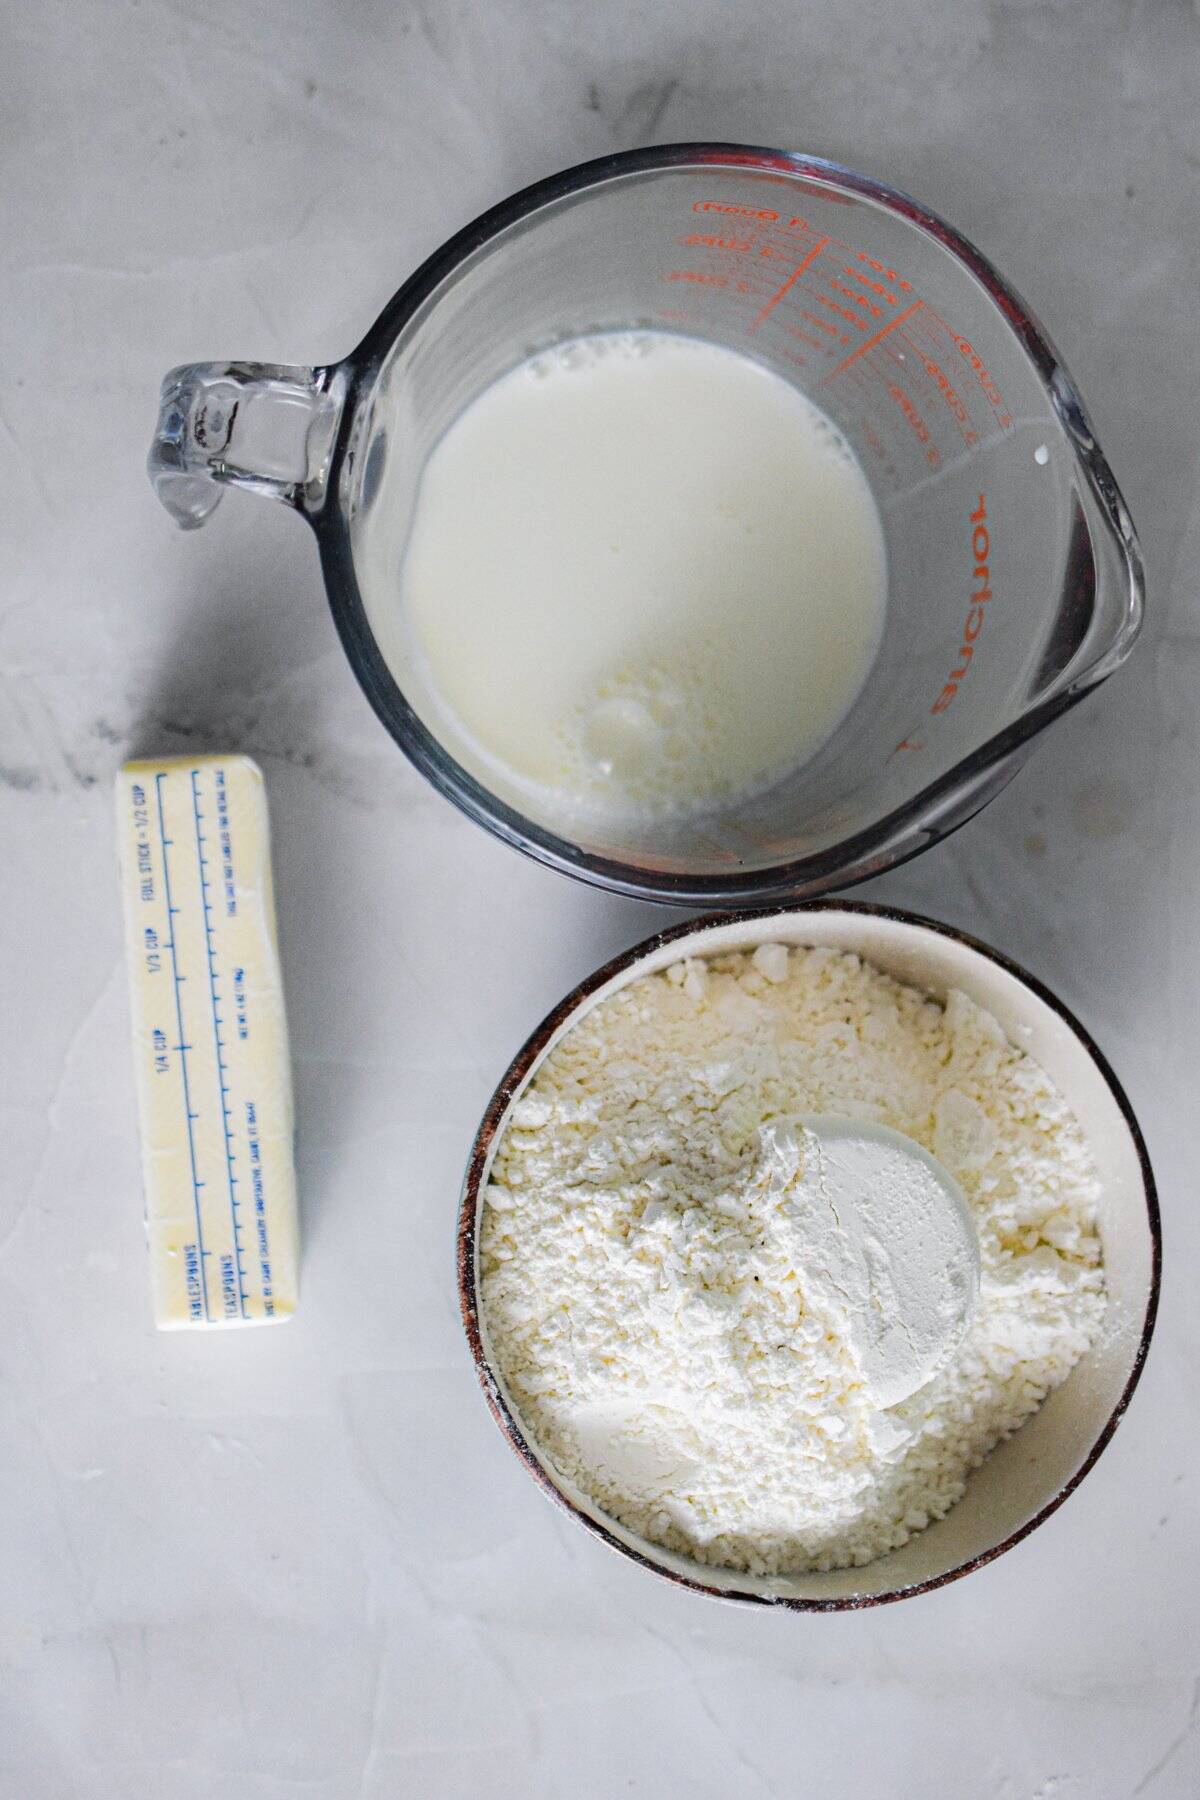
- 2 cups self-rising flour. You can make your own self rising flour or you can buy it in the grocery store right next to the all purpose flour and other flours in the baking aisle.
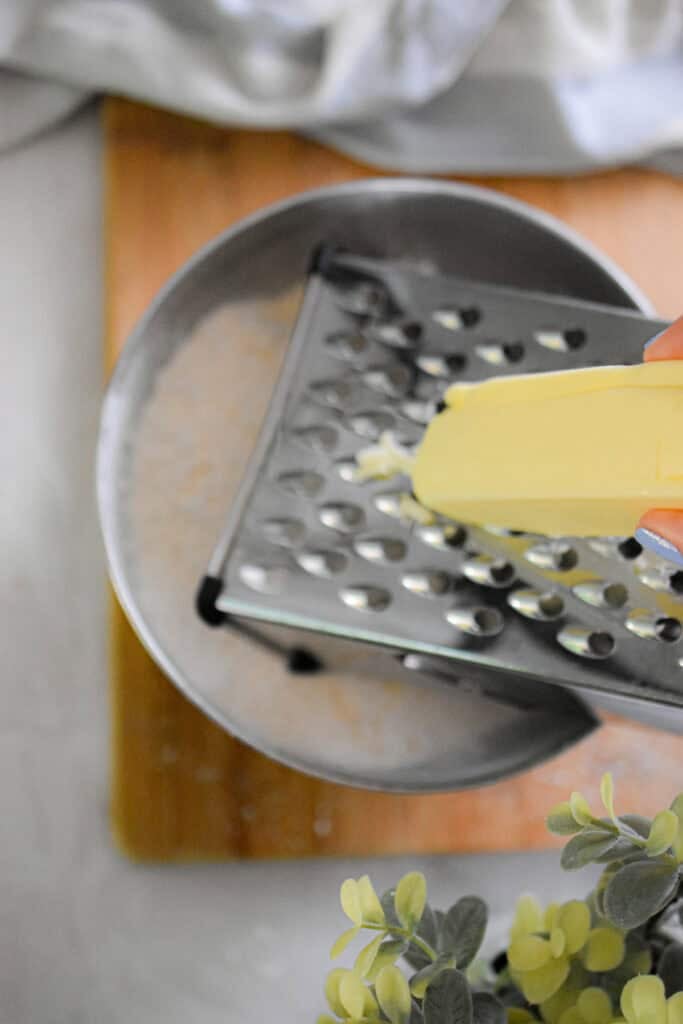
- Cold unsalted butter. It should be cut into small cubes or grated with a cheese grater to evenly distribute the butter throughout the dough. Try to use unsalted butter since the self rising flour has salt in it already, you don't want to oversalt the dough.
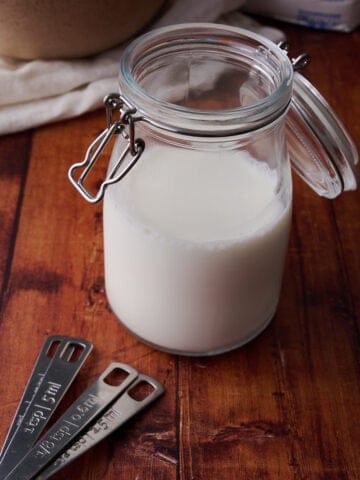
- Milk. I like to use whole milk but buttermilk both work.
Be sure to check out the printable recipe card for full recipe information on ingredients and quantities.
Substitutions and Variations
- Add herbs and cheese! Add 1 cup shredded sharp cheddar cheese and 1 tablespoon chopped fresh herbs (like chives, parsley, or thyme) to the flour before adding the butter. These are perfect with soups (like vegetable barley soup), chili, or hard boiled eggs!
- Make dessert biscuits! Add 2 tablespoons sugar and ½ teaspoon cinnamon to the flour, and top the baked biscuits with a drizzle of powdered sugar glaze. These are so good for weekend brunch, to make strawberry shortcakes, or dessert or when you don't want to wait for cinnamon roll dough to rise. Though you can use self raising flour to make cinnamon rolls too!
- Use them for strawberry shortcake! Top the biscuits with homemade whipped cream and some chopped strawberries in sugar and you've got the easiest dessert that everyone loves!
- Make them savory! Mix in ½ cup cooked, crumbled bacon (I like to make a big batch of my Instant Pot bacon) and ¾ cup shredded cheddar cheese. They’re savory, satisfying, and perfect for breakfast sandwiches.
Step-by-Step: How to Make Biscuits with Self-Rising Flour
Step 1
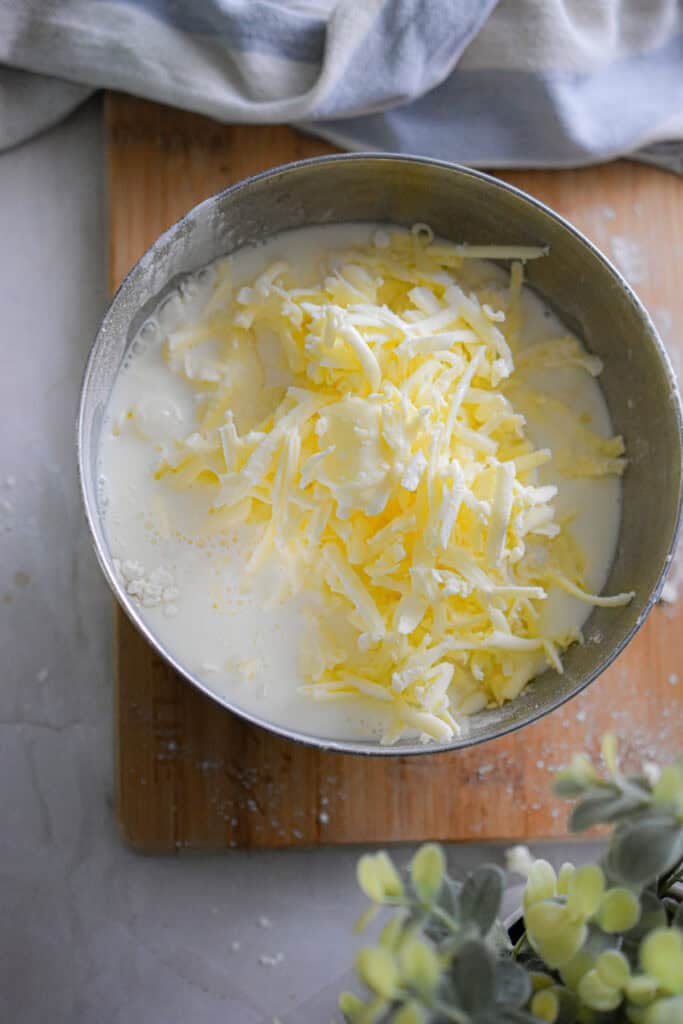
Preheat your oven to 450°F and line a baking sheet with parchment paper. In a large mixing bowl, add the self-rising flour. Cut in the cold butter using a pastry cutter, fork, or your fingers until the mixture looks like coarse crumbs. Cold butter makes the best, flaky biscuits!
Step 2
Pour in the milk and stir just until the dough comes together. It’ll be slightly sticky, and that’s okay! Don’t overmix.
Step 3
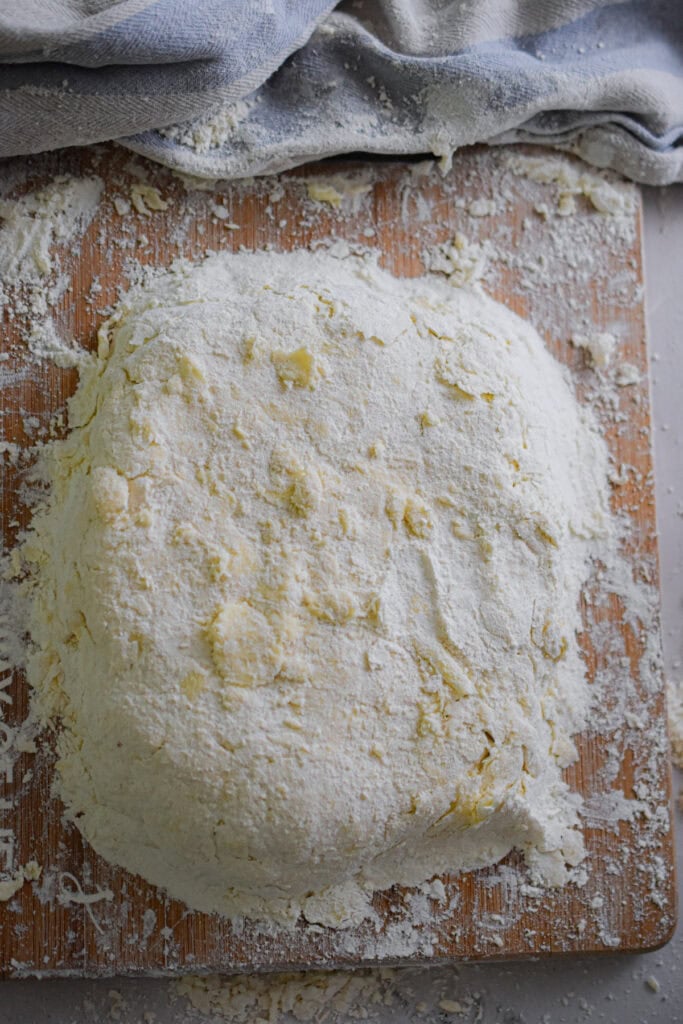
Turn the dough out onto a floured surface and gently pat it into a 1-inch thick round. Fold the dough over on itself once or twice (this helps create flaky layers), then pat it down again.
Step 4
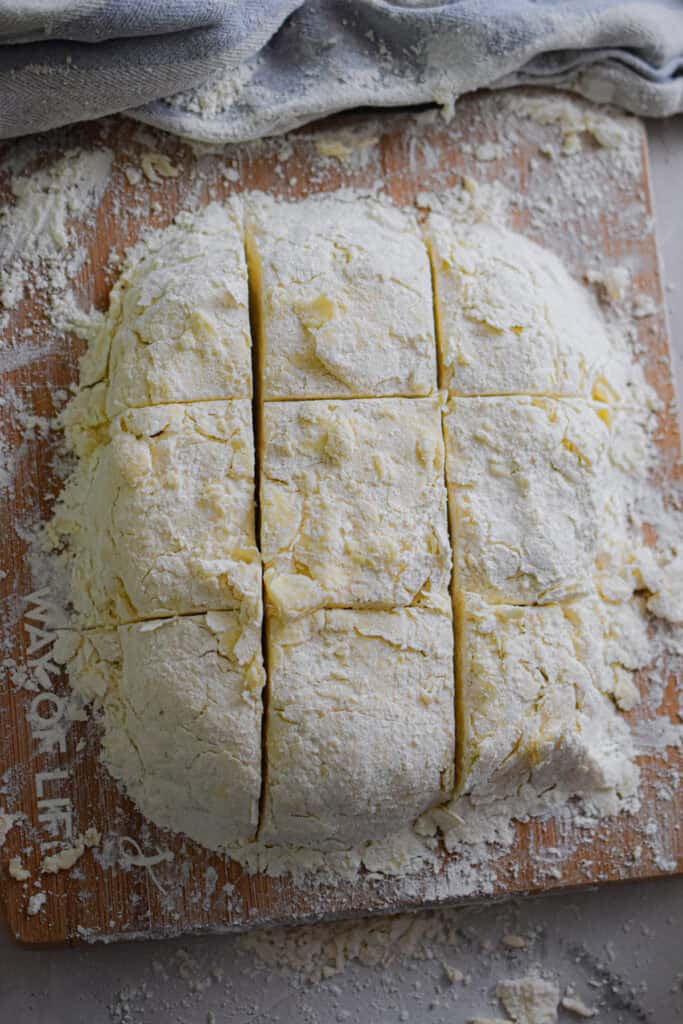
Use a biscuit cutter or glass to cut out rounds and place them on the baking sheet. Bake for 12–14 minutes, or until golden brown on top. Brush the tops with melted butter, if you like, and serve warm with your favorite spreads or toppings.
Tips and Tricks for Perfect Biscuits
- Keep your butter cold. Cold butter helps make delicious, fluffy, layered biscuits.
- Use buttermilk for extra flavor. You can substitute regular milk, but buttermilk adds that tangy richness.
- Don’t overwork the dough. Mix just until it comes together to keep the texture tender. The dough won't be smooth, it should just come together in a cohesive dough. If you overwork it, the biscuits will be tough and no one wants that!
- Want taller biscuits? Stack the dough layers by folding it once or twice before cutting.
- No biscuit cutter? Use a glass or cut into squares with a knife, no waste and just as tasty!
How to Store Biscuits
Store leftover biscuits in an airtight container at room temperature for up to 2 days, or refrigerate for up to 5 days. To reheat, pop them in a 300°F oven for about 5–7 minutes, or microwave for 15–20 seconds.
You can freeze these biscuits too! Freeze unbaked biscuits on a tray until solid, then transfer to a freezer bag. They are so easy to bake from frozen too! Just add 2–3 extra minutes to the bake time.
Frequently Asked Questions
Absolutely. Use your favorite unsweetened non-dairy milk. The texture may vary slightly, but they’ll still be delicious.
Check that your self-rising flour is fresh. Old leavening can lose its oomph! Also, be sure your oven is fully preheated before baking.
All-purpose flour needs baking powder and salt added separately. Self-rising flour already has both built in, making biscuit recipes faster and easier!


Did you make this recipe and love it?
If you did, don't forget to leave a 5-star review and comment below! Show me your creation on Instagram or Facebook. Just mention @Lynn'sWayofLife or use this hashtag #lynnswayoflife.
📖 Recipe
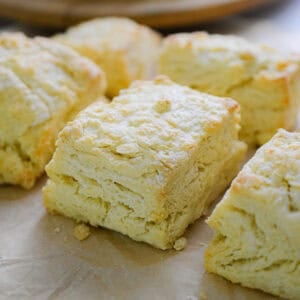
Biscuits with Self Rising Flour
Ingredients
- 2 cups Self rising flour MUST be self rising flour!
- ½ cup Unsalted Butter very cold
- ¾ cup Milk Whole milk or buttermilk
Instructions
- Preheat your oven to 450°F and line a baking sheet with parchment paper.
- In a large mixing bowl, add the self-rising flour. Cut in the cold butter using a pastry cutter, fork, or your fingers until the mixture looks like coarse crumbs. I like to grate the butter with a cheese grater. Make sure your butter is very cold to get those lovely flakey layers we are looking for.
- Pour in the milk and stir just until the dough comes together. It’ll be slightly sticky, and that’s okay! Don’t overmix.
- Turn the dough out onto a floured surface and gently pat it into a 1-inch thick round. Fold the dough over on itself once or twice (this helps create flaky layers), then pat it down again.
- Use a biscuit cutter or glass to cut out rounds and place them on the baking sheet. You can also cut them into 9 squares to make it even easier.
- Bake for 12–14 minutes, or until golden brown on top. Brush the tops with melted butter, if you like, and serve warm with your favorite spreads or toppings.
Notes
- Keep your butter cold. The colder the butter the flakier the layers!
- Use buttermilk for extra flavor. You can substitute regular milk, but buttermilk adds that tangy richness.
- Don’t overwork the dough. Mix just until it comes together to keep the texture tender. The dough won't be smooth, it should just come together in a cohesive dough. If you overwork it, the biscuits will be tough and no one wants that!
- Stack the dough layers by folding it once or twice before cutting. This will help the layers develop.
- No biscuit cutter? Use a glass or cut into squares with a knife, no waste and just as tasty!
Dee says
Wonderful flaky biscuits! So very easy to throw together. This one's a keeper.
Hester says
Can you mix biscuit dough and cut them out the night. Before. And bake them inthe morning
Lynn Polito says
Definitely!
Sharon says
This is not a new recipe! My husbands grandmother taught me how to make biscuits like this. However, no matter, it is an excellent recipe for biscuits. Tip: Buttermilk makes them much tastier
Lynn Polito says
Yes, this is not a new recipe. It's been around for a long time obviously.
OG says
New or not this is still a good recipe and the new generation may not know about this easy and great recipe, thanks for the recipe.