Homemade Ciabatta Bread
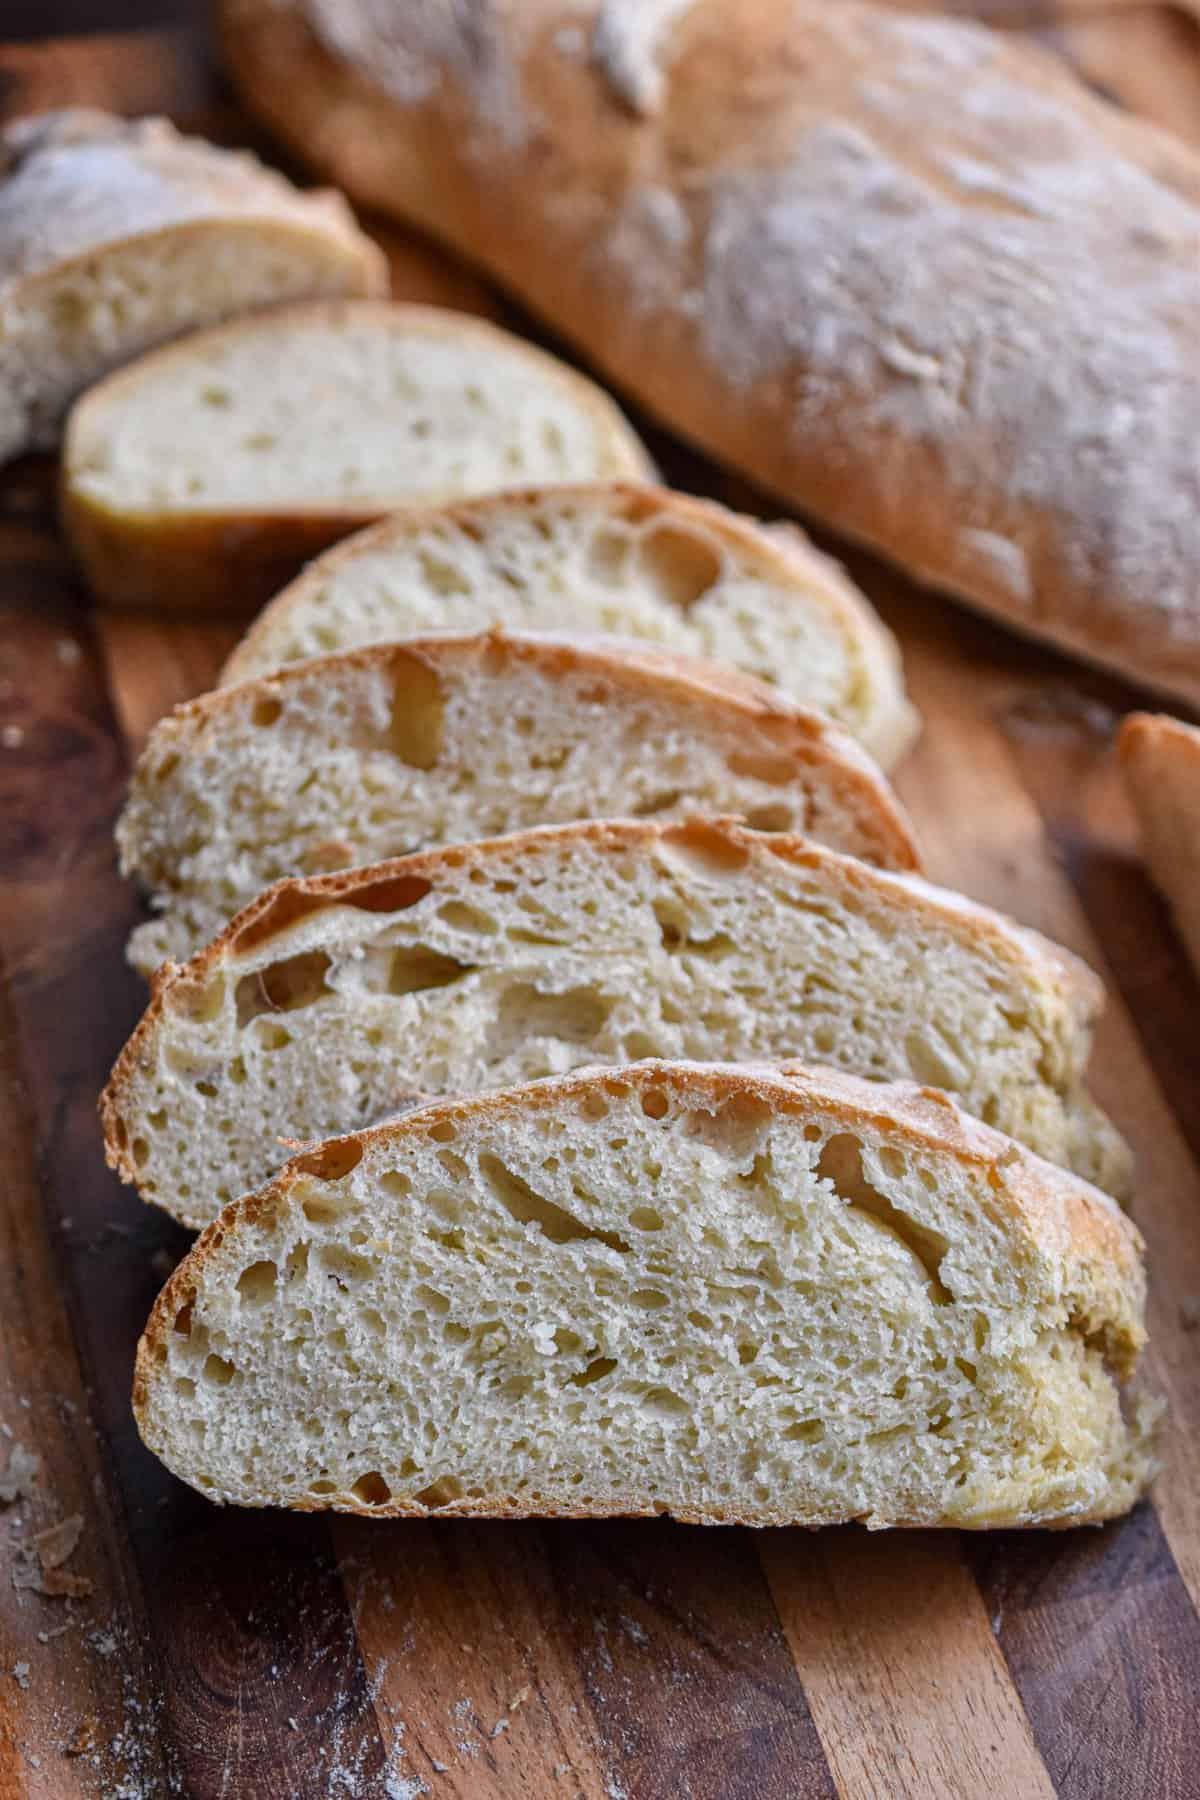
If you’ve ever dreamed of baking crusty, chewy ciabatta bread right in your own kitchen, you’re going to love this recipe! My homemade ciabatta bread is light, airy, and full of flavor, with that classic golden brown crust and soft, open crumb inside.
I’ve been baking bread from scratch for years, and I can promise you, this recipe gives you bakery-quality loaves without all the intimidation! The key is learning how to handle the wet dough and using a few simple techniques like stretch and folds to develop those gorgeous air bubbles.
I first tried making ciabatta bread when I was home with my newborn daughter and binge watching the Great British Bake Off. That Paul Hollywood ciabatta recipe looked so good so I started making it, and I never stopped!
This isn’t just another white bread recipe, it’s an artisan ciabatta that’s crisp on the outside, pillowy inside, and perfect for sandwiches, dipping in olive oil, or pairing with soups and pasta. It kind of reminds me of my sourdough French bread recipe!
I’ve tested it in different ovens, tried it on a baking stone, and even played around with adding steam by tossing a few ice cubes into the oven pan, and every time, the results are amazing!
When it comes out of the oven, the crust crackles and turns a deep golden brown, while the inside stays soft and full of those beautiful air bubbles. We slice it up and serve it warm with butter or dip it into a bowl of olive oil and herbs, it’s always gone in minutes!
Jump to:
- What Is Ciabatta Bread?
- Why You'll Love This Ciabatta Recipe
- Ingredients to Gather
- What makes ciabatta bread different from other breads?
- How to Make Ciabatta Bread
- Tips for Making Homemade Ciabatta Bread
- How to Enjoy Your Fresh Artisan Ciabatta
- Storing a Ciabatta Loaf
- Frequently Asked Questions
- More Bread Recipes
- 📖 Recipe
What Is Ciabatta Bread?
Ciabatta means “slipper” in Italian, which makes perfect sense because this bread’s shape is flat and slightly long, just like a slipper! Ciabatta bread is known for its thin, crispy crust, light flavor, and large, irregular air bubbles inside. It’s made from a high hydration ciabatta dough, which means it contains more water than typical bread recipes, giving it that signature extra-chewy interior and open crumb.
Why You'll Love This Ciabatta Recipe
This ciabatta loaf makes the perfect base for sandwiches or paninis, and it pairs beautifully with hearty stews and salads. My kids especially love when I use it to make homemade garlic bread or toast it for breakfast. Once you bake this ciabatta bread from scratch, you’ll never want to buy it from the store again!
Ingredients to Gather
Here’s what you’ll need to make your own artisan ciabatta bread:
- 4 cups (480g) all-purpose flour. Bread flour will work too if that is what you have on hand.
- 1 ½ teaspoons salt. The salt helps to control the growth of the yeast and it also gives the bread some flavor.
- 1 teaspoon instant yeast. Active dry yeast or instant yeast will both work for this recipe.
- 2 cups warm water. It should be at room temperature. Don't let the water get too hot or you will kill the yeast, but if the water is too cold it will take a long time to activate. This will cause the dough to rise really slowly.
- 1 tablespoon olive oil, this is optional but adds a ton of flavor to the dough!
That’s it—just five simple ingredients, and you’ll have bakery-quality ciabatta loaves with a crisp crust and delicious flavor.
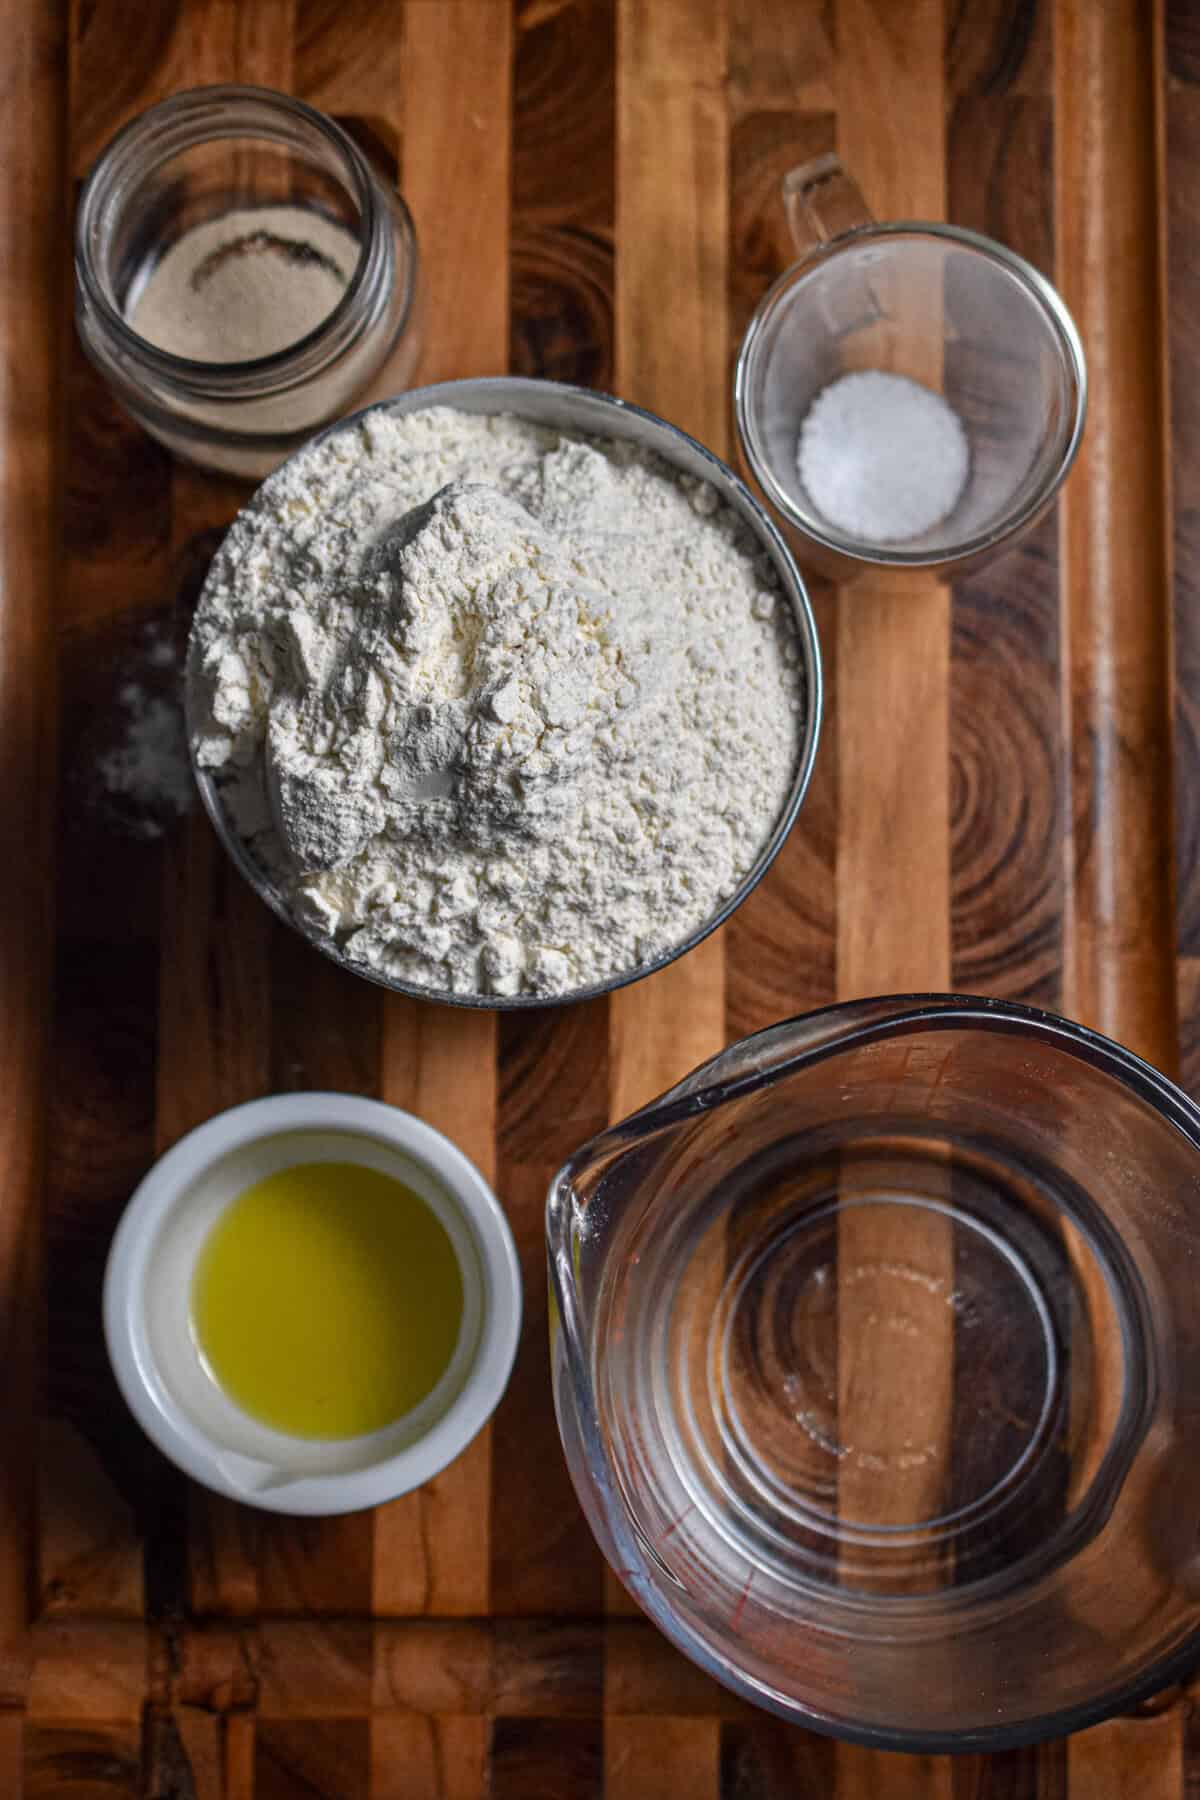
Be sure to check out the printable recipe card for full recipe information on ingredients and quantities.
What makes ciabatta bread different from other breads?
Ciabatta bread is known for its crispy crust, soft interior, and big airy holes, that signature open crumb everyone loves! Unlike traditional sourdough sandwich bread, ciabatta is made with a wet, sticky dough and often uses a preferment (like a biga or poolish) to create extra flavor and chewiness. It’s the kind of bread that tastes bakery-fresh straight out of your own oven!
How to Make Ciabatta Bread

Step 1
In a large bowl or stand mixer fitted with a dough hook, combine the flour, salt, yeast, olive oil, and warm water.
Mix on low speed to medium speed until the ciabatta dough comes together. It will be a sticky dough, that’s totally normal!

Step 2
Cover the bowl with plastic wrap or a towel and let it rest at room temperature for 30 minutes. This rest helps the yeast activate and makes the dough easier to handle.

Step 3
Every 30 minutes for the next 2 hours, use wet hands to fold the dough over itself four times (like folding a letter). This helps build the gluten structure and develop those lovely air bubbles without kneading.

Step 4
After the final fold, transfer the ciabatta dough onto a floured surface. With a bench scraper or a large knife, cut the dough into two equal portions on your counter.
Gently shape it into two rectangles on your work surface, try not to deflate the bubbles! Place each loaf on a piece of parchment paper set over a baking sheet or baking stone.

Step 5
Cover the loaves lightly and let them rise at room temperature for about 30–45 minutes until slightly puffy.
Preheat the oven to 425°F with a pan on the bottom oven rack. When ready to bake, quickly open the oven door and toss a few ice cubes into the pan to create steam. Slide the loaves (with their parchment paper) onto the middle rack or baking stone. Bake for 20–25 minutes, until golden brown and crisp.
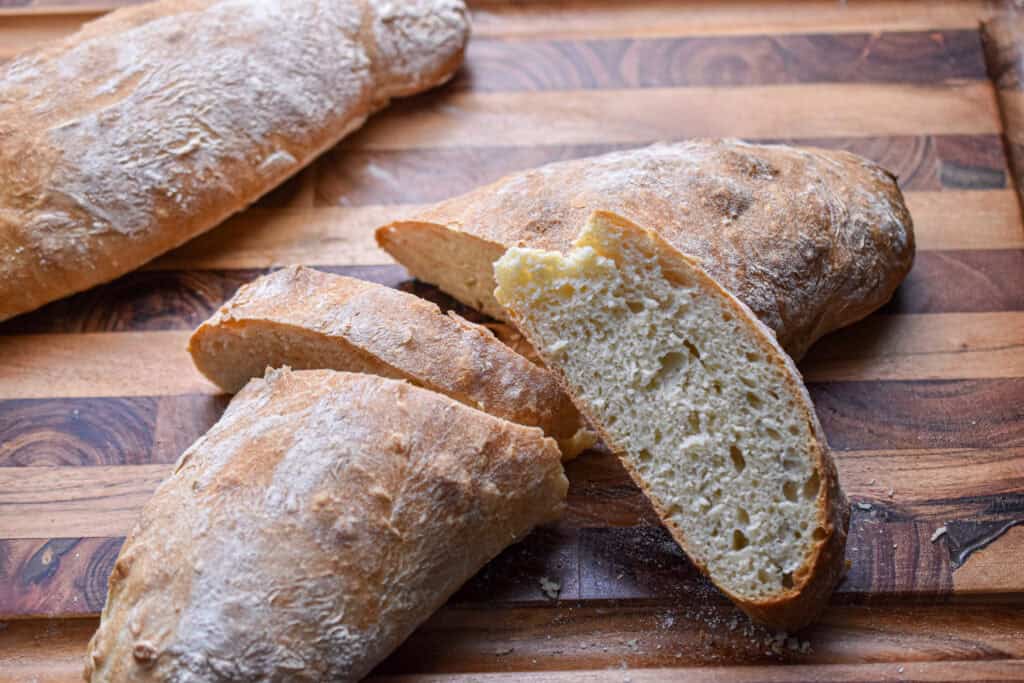
Step 8
Transfer your freshly baked ciabatta bread to a wire rack and let it cool before slicing.
Tips for Making Homemade Ciabatta Bread
- Don’t panic about sticky dough! Ciabatta dough is naturally wet. Use wet hands or a floured surface to handle it more easily.
- Stretch and folds are key just like in most other breads! This method replaces kneading and builds strength in the wet dough, creating that signature open crumb.
- Use parchment paper after you shape your loaves. It makes transferring your loaves to the oven much easier.
- Toss a few ice cubes into a pan in your oven to get that beautiful golden brown crust. As the ice cubes melt, they create steam in the oven and helps make the crust of the bread really crispy.
How to Enjoy Your Fresh Artisan Ciabatta
Freshly baked ciabatta bread is amazing on its own with a drizzle of olive oil, but it’s also perfect for sandwiches and paninis with a slather of spinach and walnut pesto or pesto rosso! Slice it open, toast it, and layer on meats, cheese, and veggies. Or serve it alongside soups, stews, and salads for a hearty, homemade touch. I love it with roasted cherry tomato soup, lasagna soup, million dollar spaghetti, or roasted broccoli and cauliflower soup!
If you want, you can make these into ciabatta rolls! Just divide the dough into 4 pieces for larger rolls or 6 pieces for smaller rolls. Both are great for sandwiches!
Storing a Ciabatta Loaf
Once completely cool, store your ciabatta bread in an airtight container or wrap it in foil. It will stay fresh at room temperature for 2–3 days. When you are ready to enjoy it, pop it in the oven for a few minutes to bring back that crispy crust.
To Freeze Homemade Ciabatta
This bread freeze beautifully too! To freeze your ciabatta loaves, let them cool completely, then wrap tightly in plastic wrap and foil. Freeze for up to 3 months. When ready to enjoy, thaw at room temperature or warm in the oven for a few minutes until crisp again.

Frequently Asked Questions
Sticky dough is exactly what you want! Ciabatta has a high hydration level, which means it contains more water than most bread doughs. That wet texture helps create the holes and light, airy texture inside the loaf. The key is to handle it gently, use floured hands or a bench scraper, and avoid adding too much extra flour.
Your ciabatta is ready when it’s a deep golden brown and sounds hollow when you tap the bottom. You can also check with a thermometer. The internal temperature should be around 200–210°F. Let it cool completely before slicing so the inside finishes setting up.
Absolutely! While a stand mixer makes things easier, you can totally make ciabatta by hand. Just be prepared for a little workout.


Did you make this recipe and love it?
If you did, don't forget to leave a 5-star review and comment below! Show me your creation on Instagram or Facebook. Just mention @Lynn'sWayofLife or use this hashtag #lynnswayoflife.
📖 Recipe

Ciabatta Loaf
Ingredients
- 4 cups All purpose flour or bread flour
- 1 ½ teaspoon Salt
- 1 teaspoon Instant Yeast or Active Dry Yeast
- 2 cups Warm water
- 1 tablespoon Olive oil
Instructions
- In a large bowl or stand mixer with a dough hook, combine the flour, salt, yeast, olive oil, and warm water. Mix on low to medium speed until the dough comes together. It will be sticky, and that’s perfectly normal!
- Cover the bowl with plastic wrap or a clean towel and let the dough rest at room temperature for 30 minutes. This allows the yeast to activate and makes the dough easier to work with.
- Every 30 minutes for the next 2 hours, use wet hands to fold the dough over itself four times (like folding a letter). This helps build gluten and creates those airy holes in the bread
- After the final fold, transfer the dough to a well-floured surface. Use a bench scraper or knife to divide it into two equal pieces.
- Gently shape each piece into a rectangle, being careful not to deflate the air bubbles. Place each loaf on parchment paper set over a baking sheet or stone.
- Cover lightly and let rise at room temperature for 30–45 minutes, until slightly puffy.
- Preheat your oven to 425°F and place a pan on the bottom rack. When it’s time to bake, toss a few ice cubes into the pan to create steam. Slide the loaves (with the parchment) onto the middle rack or baking stone and bake for 20–25 minutes, until golden and crisp.
- Transfer the ciabatta to a wire rack and let it cool completely before slicing. E
Video
Notes
- The dough is sticky, so damp hands make mixing and folding much easier.
- The stretch-and-fold steps build gluten and create those big air pockets.
- When shaping, be careful not to press out the bubbles, that’s what gives ciabatta its airy texture.
- Toss a few ice cubes into a hot pan in the oven to get that crisp, golden crust.
- You can prepare the dough up to 24 hours in advance. After the final fold, cover the bowl tightly and refrigerate overnight.
- If you’ve refrigerated the dough, let it come to room temperature (about 1–2 hours) before shaping and baking.