
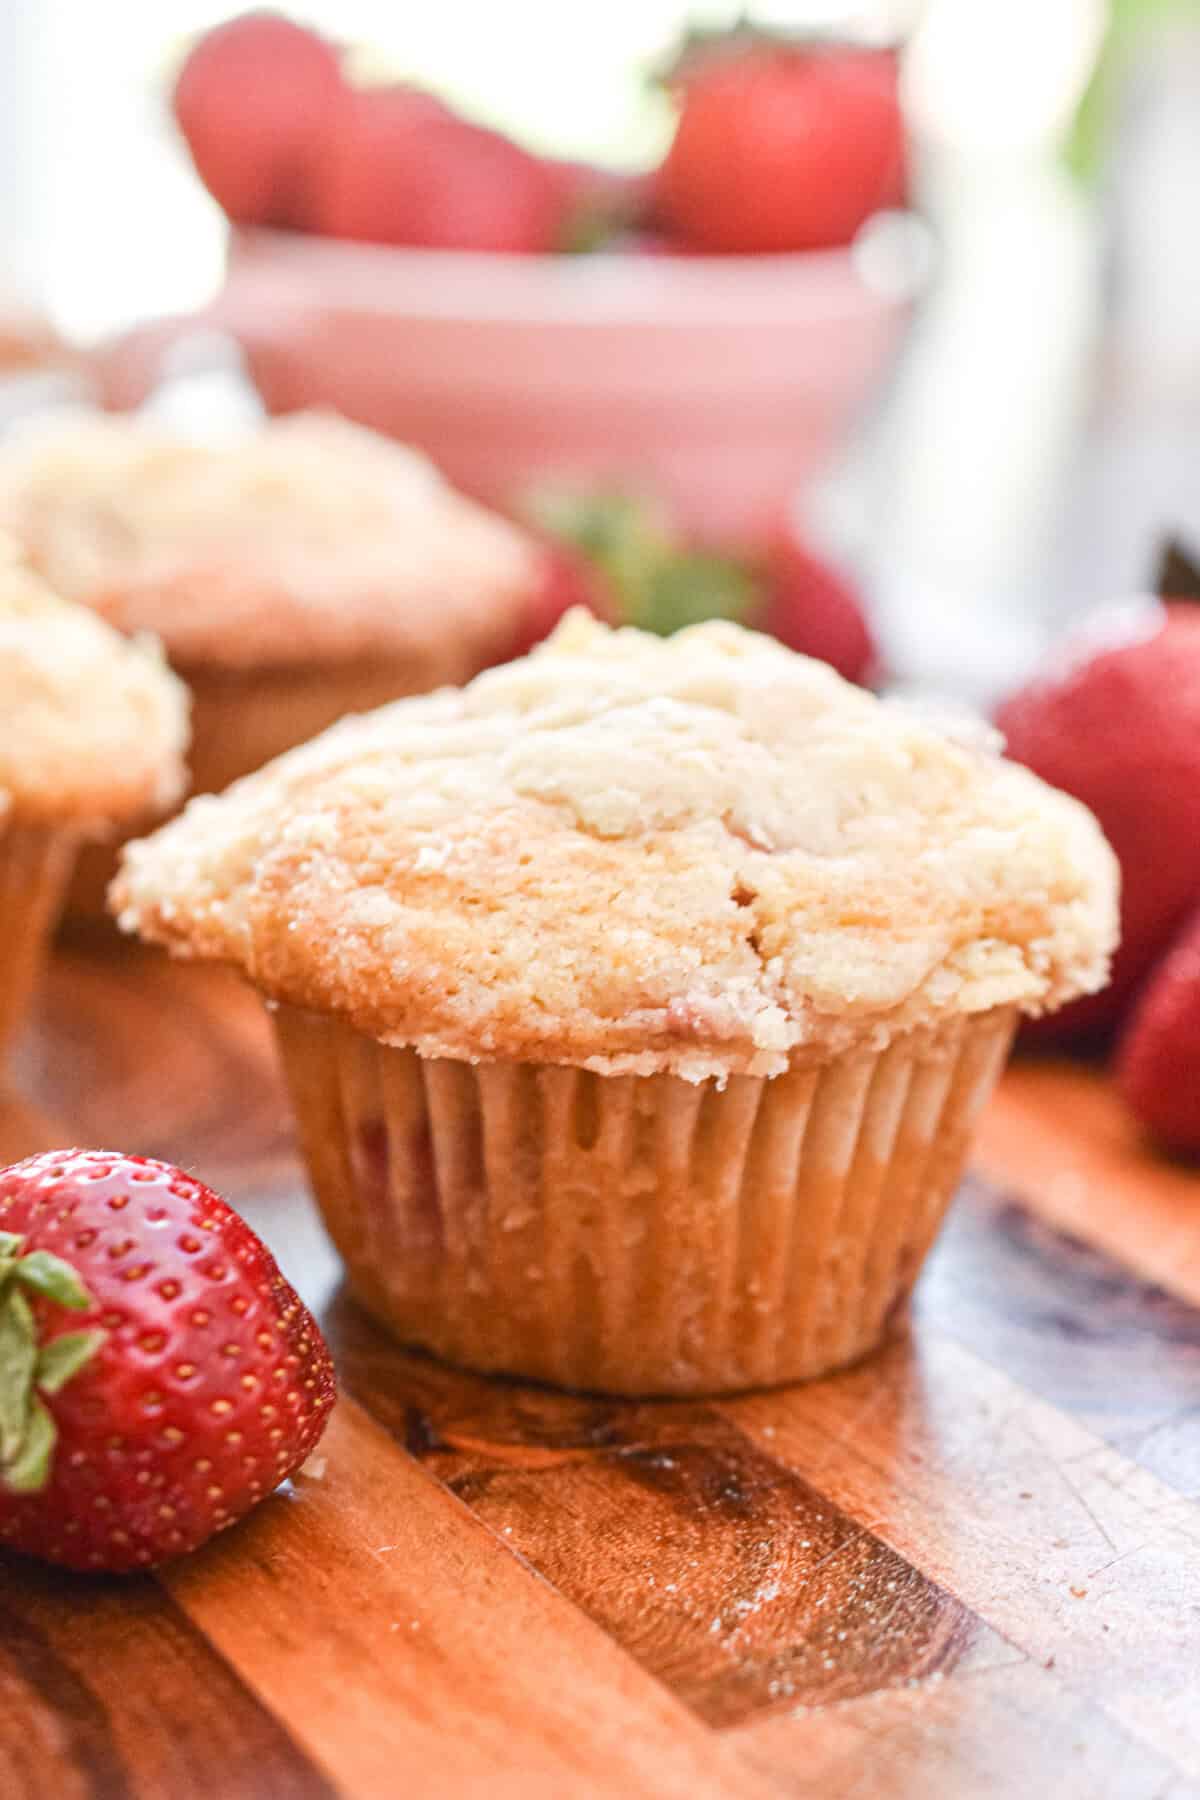
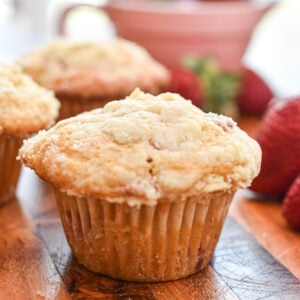
These strawberry muffins with self rising flour are the kind of recipe you will make once and immediately put on rotation for your make ahead breakfasts! I have tested this strawberry muffin recipe more times than I can count, tweaking the ratios, testing bake times, and adjusting the texture until the muffins come out soft, fluffy, and loaded with juicy pockets of fresh strawberries every single time.
Give my blueberry muffins with self rising flour a try too!
We always go strawberry picking at the beginning of Summer and grab way too many strawberries! Then I am looking to make all sorts of recipes, like strawberry icebox cake, strawberry waffles, and even my strawberry sourdough muffins. When I don't have enough discard on hand, I make these muffins instead!
This is one of those reliable, no-fail recipes you can trust whether you are baking on a random Tuesday in June when strawberries are at their peak or craving something special on a cozy fall morning. Using self rising flour keeps things beautifully simple and the buttery streusel topping takes these right into bakery-style territory. They feel special but are easy enough for any day of the week!
Jump to:
- What Makes a Good Strawberry Muffin?
- Ingredients to Gather
- What If I Don't Have Self Rising Flour?
- Substitutions and Variations
- Step by Step Instructions
- Is It Better to Use Fresh or Frozen Strawberries for Muffins?
- What Is the Secret to High Top Muffins?
- Tips and Tricks for Perfect Strawberry Muffins
- Can You Freeze Strawberry Muffins?
- Frequently Asked Questions
- More Muffin Recipes
- 📖 Recipe
What Makes a Good Strawberry Muffin?
Not all strawberry muffins are created equal and the difference between a good muffin and a truly great one comes down to a few key things.
- A moist crumb. Nobody wants a dry muffin. The secret to a tender, moist crumb is making sure your wet ingredients and dry ingredients are properly balanced. Too much flour and you get a dense, dry muffin. Too little and things get gummy. Using self rising flour helps a ton here because the leavening is already built right in.
- Real strawberry flavor. This comes from using enough fresh strawberries so you actually taste the berry in every bite.
- A streusel topping. This is what takes a homemade strawberry muffin from "nice" to absolutely bakery-style. The crumble topping adds sweetness, texture, and a little crunch that contrasts beautifully with the soft muffin underneath.
- The right amount of sweetness. The sweetness in this recipe complements the berries perfectly without making the muffins taste like dessert.
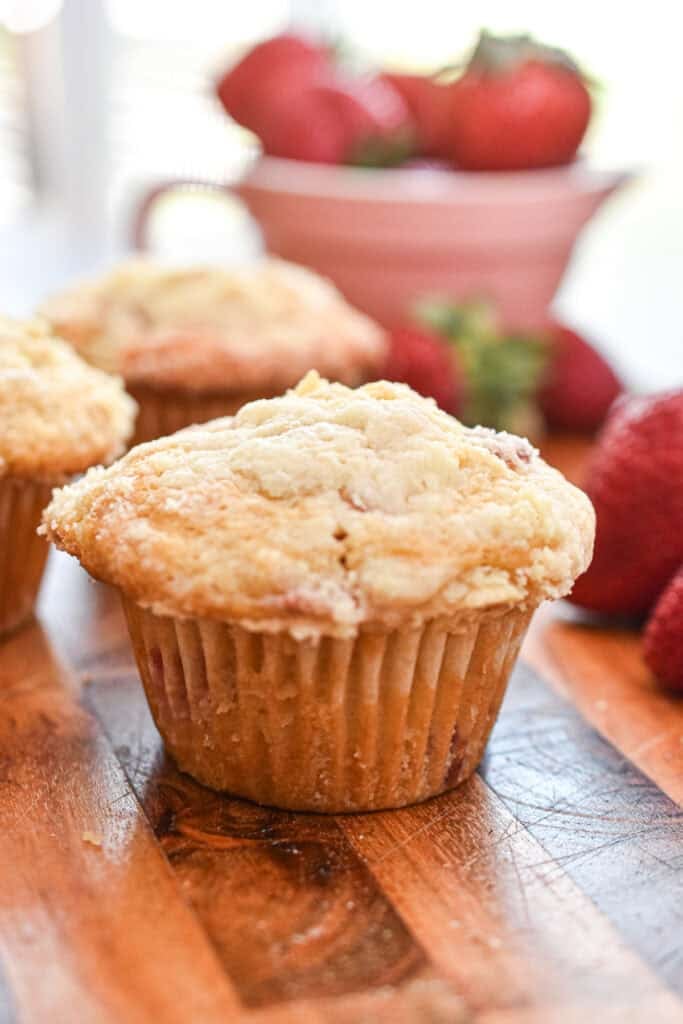
- Tall, domed tops. We are going for that beautiful bakery-style dome, and I am going to tell you exactly how to get it later in this post!
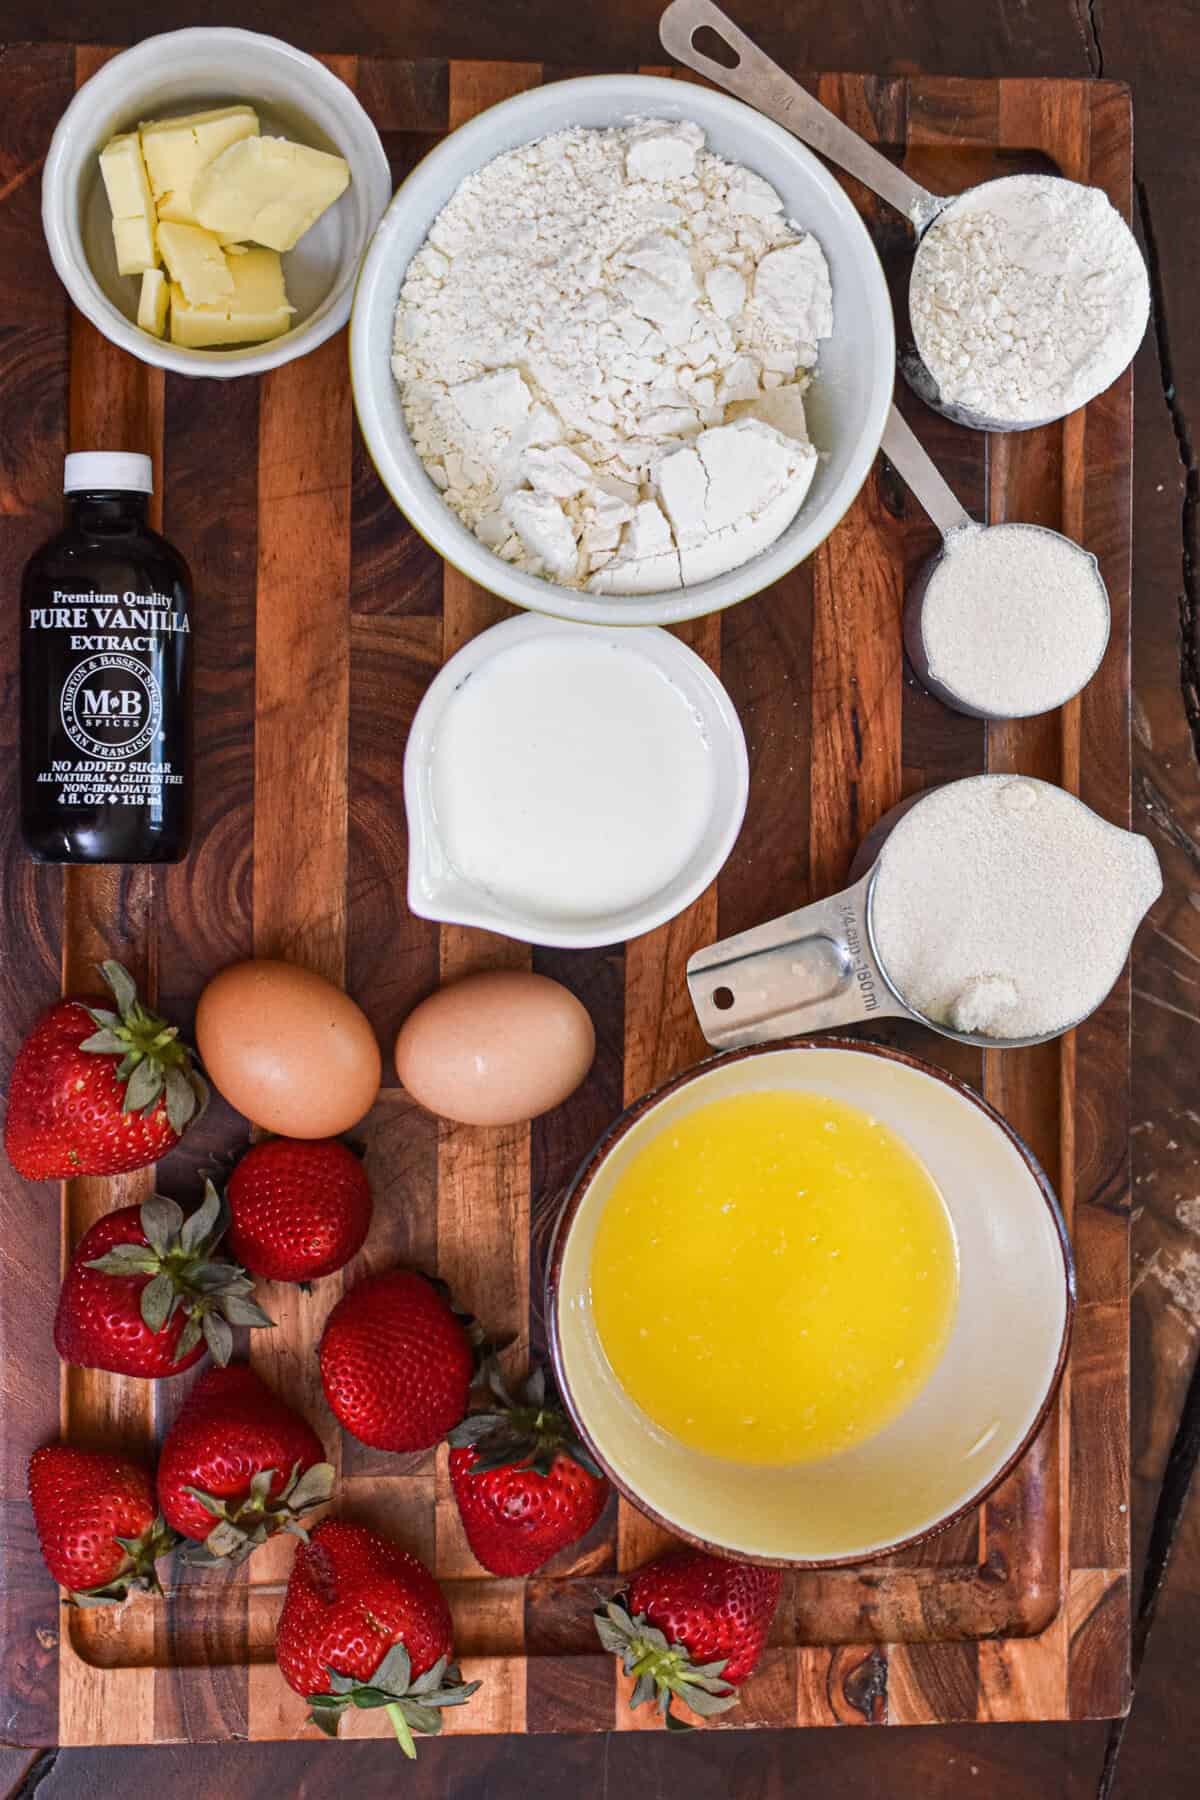
Ingredients to Gather
Here's everything you need to make these delicious strawberry muffins!
- Self rising flour - This is the star of the show! Self rising flour already has baking powder and salt mixed in, so you do not need to add them separately. It keeps things simple and gives you a perfectly risen muffin every time. I always keep a bag in my pantry.
- Granulated sugar - For sweetness that does not overpower the fresh strawberries.
- Large eggs - Make sure they are at room temperature!
- Unsalted butter - Melted and cooled slightly.
- Buttermilk - This is my secret weapon! Buttermilk adds a subtle tang and reacts with the self rising flour to create an incredibly moist crumb and tender texture. Do not skip it if you can help it.
- Vanilla extract - Two teaspoons vanilla extract is my sweet spot for flavorings. It enhances everything without being overpowering.
- Fresh strawberries - Diced into small pieces so you get strawberry in every single bite.
- All purpose flour - Yes, just regular purpose flour here for the crumble. The combination of flour, butter, and sugar creates that perfect sandy, crumbly texture.
- Butter - Cold and cut into small pieces. Cold butter is the key to a proper crumble topping.
- Sea salt - A little pinch in the streusel makes the whole thing pop.
Be sure to check out the printable recipe card for full recipe information on ingredients and quantities.
What If I Don't Have Self Rising Flour?
No self rising flour? No worries at all! You can easily make your own substitute using just a couple of pantry staples. For every cup of self rising flour the recipe calls for, use one cup of all purpose flour (purpose flour works perfectly here) plus 1 and a half teaspoons of baking powder and a quarter teaspoon of salt.
So for this recipe, you would use 2 cups of all purpose flour, 3 teaspoons of baking powder, and half a teaspoon of salt. Whisk those dry ingredients together in a separate bowl before adding to your wet ingredients and you are good to go!
I do love keeping self rising flour on hand because it saves me steps, but this swap works great and you truly cannot tell the difference in the finished muffin.
Substitutions and Variations
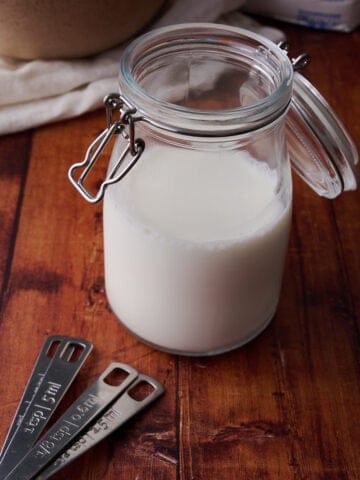
- No buttermilk? Make your own! Add 1 tablespoon of white vinegar or lemon juice to a measuring cup, then fill it with enough milk to reach the half cup line. Let it sit for five minutes until it curdles slightly. That is your buttermilk substitute! Greek yogurt thinned with a splash of milk also works beautifully.
- Swap the berry. This recipe works wonderfully with other berries too. Try a blueberry version for a classic blueberry muffin or use raspberries for a tangier, more intense fruit flavor. Mixed berry combinations are incredible too.
- Add a glaze. Skip the streusel and drizzle a simple powdered sugar glaze over the cooled muffins instead.
- Make them mini. Use a mini muffin tin and reduce the bake time to about 12 to 14 minutes. Perfect for parties, lunchboxes, or just eating ten of them in one sitting with zero judgment.
- Add lemon zest. A little lemon zest folded into the batter brightens everything up and pairs beautifully with the strawberries.
- Use a mixer. If you prefer, you can use a hand mixer or stand mixer for the wet ingredients. Just be careful not to overmix once the flour goes in!
Step by Step Instructions
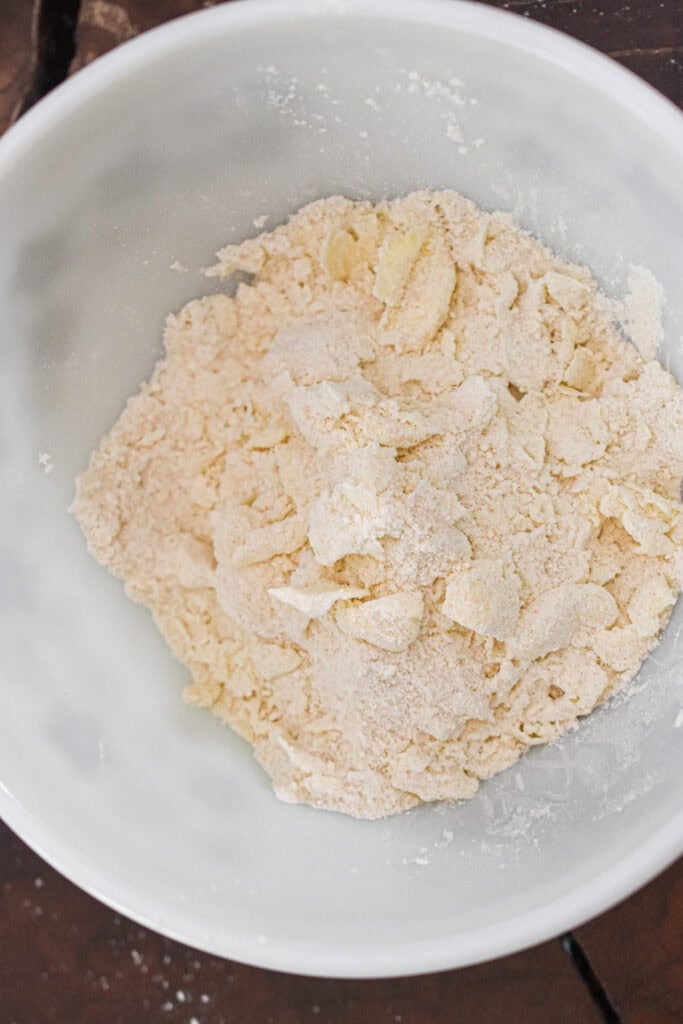
Step 1
In a small mixing bowl, combine the purpose flour, sugar, a pinch of sea salt, and the cold cubed unsalted butter. Use your fingers or a fork to work the butter into the flour mixture until it resembles coarse crumbs with some pea-sized pieces of butter still visible. Pop the streusel in the refrigerator while you make the muffin batter.
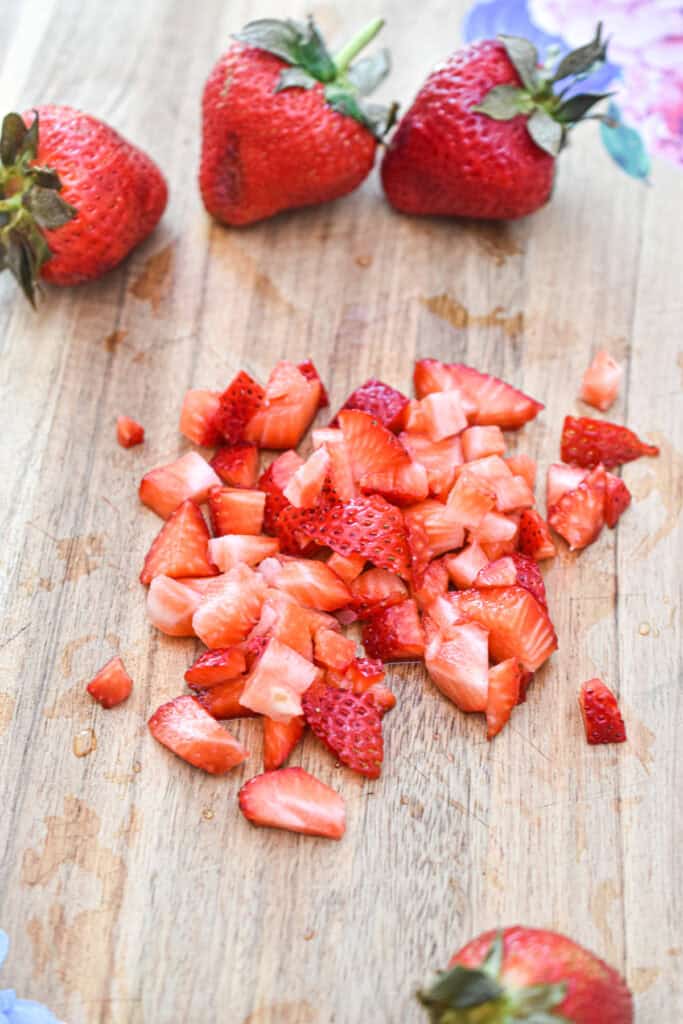
Step 2
Hull and dice your fresh strawberries into small, even pieces, roughly half an inch each. Smaller pieces distribute more evenly through the batter and give you strawberry in every bite. Toss them with a teaspoon of sugar if you like extra sweetness, or just set them aside as is.
Step 3
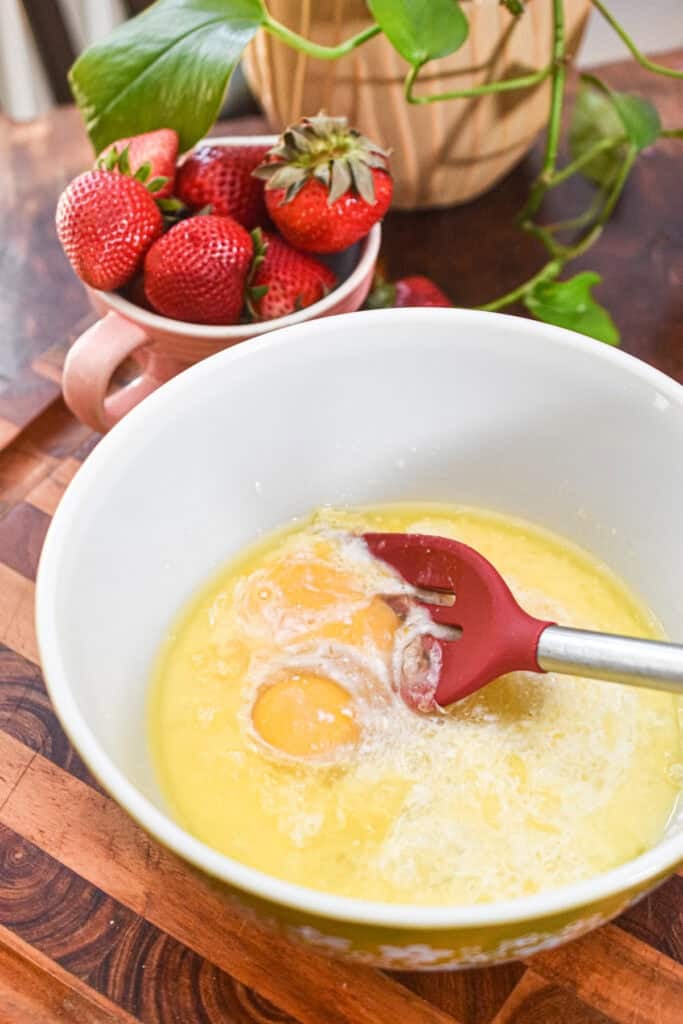
In a large bowl, whisk together the large eggs, melted and slightly cooled unsalted butter, buttermilk, and two teaspoons vanilla extract. Whisk until everything is smooth and well combined. Using ingredients at room temperature makes this step so much easier.
Step 4
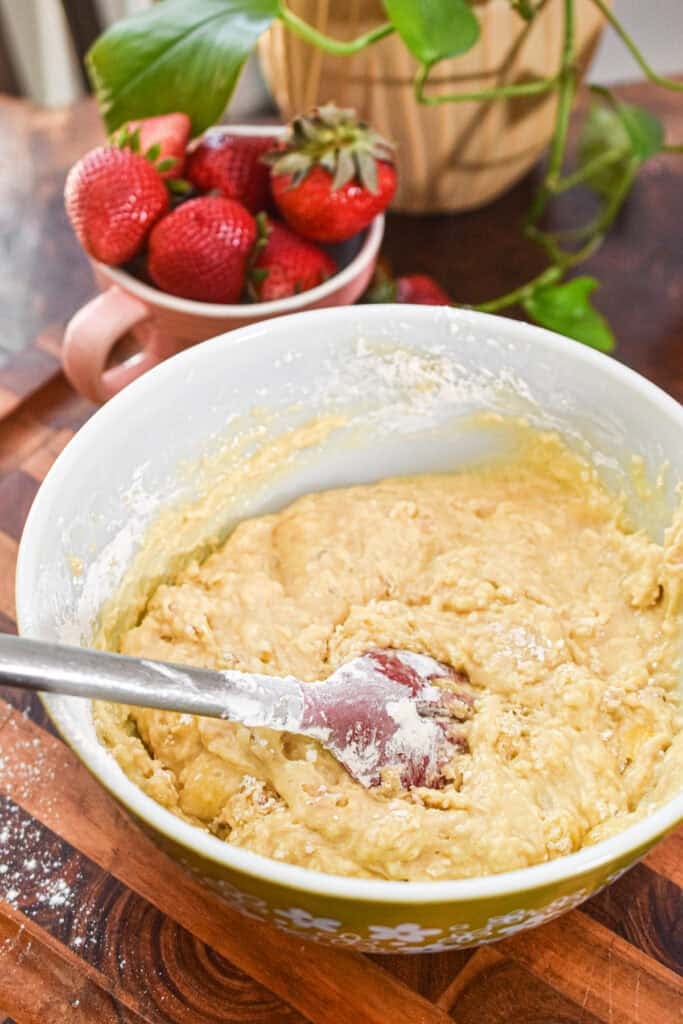
Add your self rising flour and sugar directly to the large bowl with the wet ingredients. Using a spatula or wooden spoon, gently stir until the flour mixture is just incorporated. The batter should look a little lumpy and that is perfectly fine.
Step 5
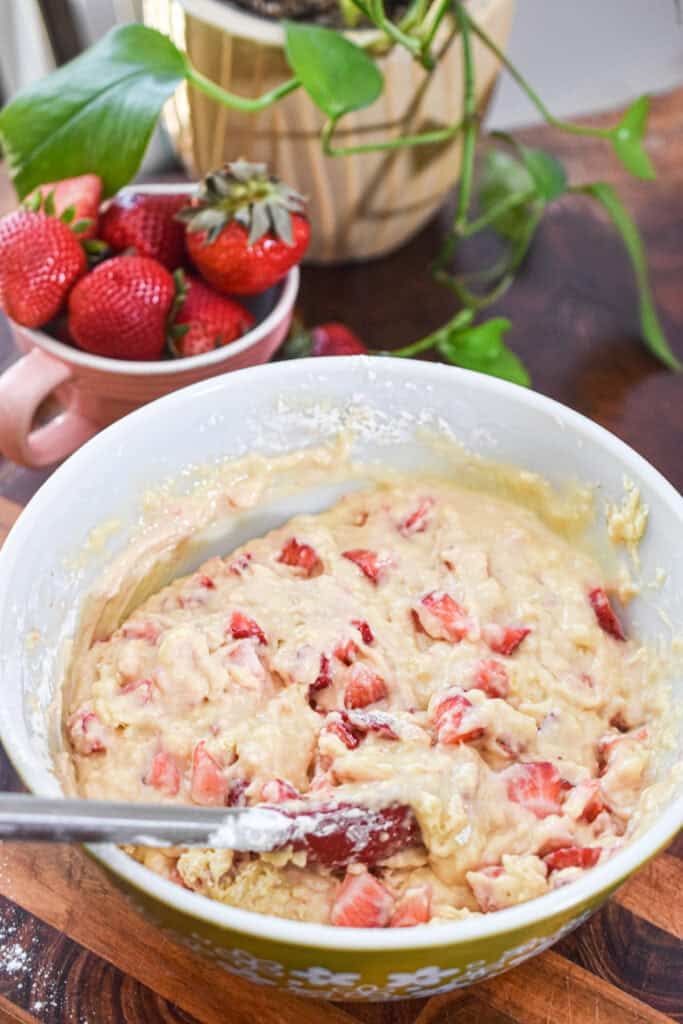
Gently fold the fresh strawberries into the batter using a spatula. Be careful and go slowly so you do not break the berries up too much or you will end up with pink batter. A few gentle folds is all you need.
Step 6
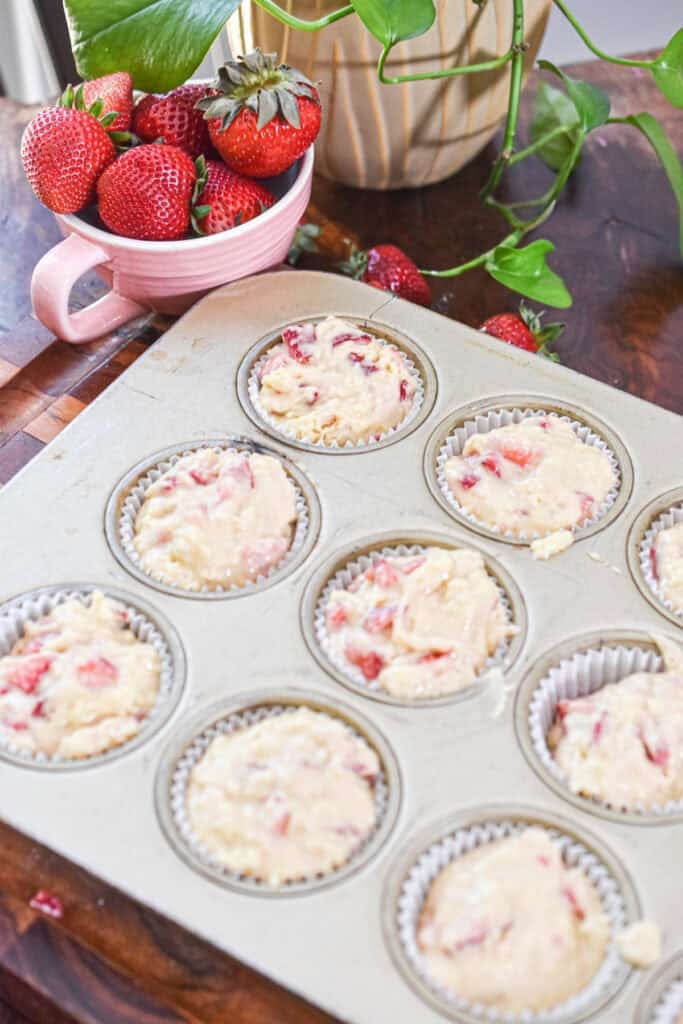
Line a 12-cup muffin tin with paper liners or muffin liners and spray them lightly with cooking spray to prevent sticking. Use a large cookie scoop or ice cream scoop to fill each muffin cup almost to the top. Remember, we want tall muffins so do not be shy about filling them up!
Step 7
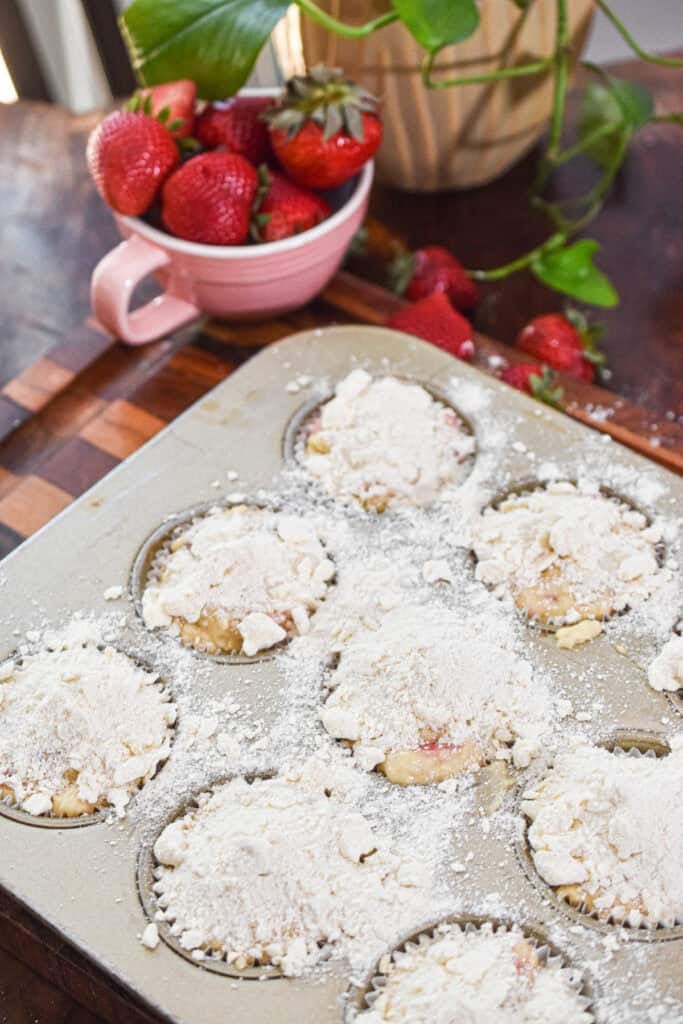
Take your chilled streusel out of the refrigerator and sprinkle a generous amount on top of each muffin. Press it down very gently so it adheres to the batter. This is the part I get really excited about because it looks so beautiful before it even goes in the oven.
Step 8
Place the muffin pan in a preheated oven at 425 degrees Fahrenheit and bake for 5 minutes. Then, without opening the oven, reduce the temperature to 375 degrees and continue to bake for 15 to 18 more minutes. The muffins are done when the tops are golden, the streusel is set, and a toothpick inserted into the center of a muffin comes out clean or with just a few moist crumbs.
Is It Better to Use Fresh or Frozen Strawberries for Muffins?
I get asked this question all the time and the honest answer is: fresh strawberries are almost always better for this particular strawberry muffin recipe. Here is why:
Fresh strawberries have a firmer texture, which means they hold up better when you fold them into the batter. They do not release as much liquid during baking, so your muffins stay perfectly domed instead of collapsing or turning soggy.
That said, I completely understand that sometimes fresh berries are not in season or you have a bag of frozen ones calling your name from the freezer. If you do use frozen strawberries, here are my tips:
- Do not thaw them completely. Let them partially thaw in the refrigerator overnight, then pat them dry with paper towels to remove as much excess moisture as possible. A full thaw releases too much liquid into your batter.
- Toss the still-cold frozen berries in a tablespoon of flour before folding them in. This helps absorb any extra juices and keeps them from sinking to the bottom of the muffin cup.
- Expect a slightly denser muffin. Frozen strawberries have more water content and even with the best prep, they will add more moisture to the batter than fresh ones will.
Fresh strawberries in peak season from late spring through early summer are going to give you the absolute best flavor and texture. But this is a judgment free zone and frozen berries will still make a delicious muffin!
What Is the Secret to High Top Muffins?
Okay, let me tell you the bakery secret that changed my muffin game completely. Getting that gorgeous tall dome on top of each muffin is all about two things: temperature and how full you fill the muffin cup.
- Start with a higher oven temperature. I bake these strawberry muffins at 425 degrees Fahrenheit for the first 5 minutes, then drop the oven temperature down to 375 degrees for the remainder of the bake time. That initial blast of high heat causes the batter to rise rapidly before the crust sets, which creates that beautiful tall dome. This is the exact technique that bakeries use and it works every single time.
- Fill your muffin cups all the way to the top. I know, I know, every recipe says fill them three quarters full. But for bakery-style tall muffins, you want to fill each muffin cup almost completely to the rim. Use a large cookie scoop or ice cream scoop to get even portions across the whole 12-cup muffin tin.
- Do not overmix. This one is so important. Overmixing the batter develops too much gluten and gives you tough, dense, flat muffins. Stir just until the dry ingredients are incorporated into the wet ingredients. A few lumps in the batter are totally fine and actually a good sign.
- Use room temperature ingredients. Room temperature large eggs and room temperature buttermilk blend into the batter much more smoothly than cold ingredients do. Pull them out of the refrigerator about 30 minutes before you start baking.
Tips and Tricks for Perfect Strawberry Muffins
- Do not overmix your batter. Seriously, this is the number one muffin mistake and it results in tough, chewy muffins. Stir until just combined and walk away.
- Use a cookie scoop for even muffin cups so all your muffins bake at the same rate.
- If your streusel is melting before you can use it, it means your butter was too warm. Pop the streusel back in the refrigerator for ten minutes and it will firm right back up.
- Toss your diced strawberries in a teaspoon of flour before folding them into the batter. This prevents them from sinking to the bottom of the muffin cup.
- For the very best flavor, let the muffins cool on the rack for at least 15 minutes before eating. The inside continues to set as it cools and the streusel gets its maximum crunch.
Can You Freeze Strawberry Muffins?
Yes! These strawberry muffins freeze beautifully and that makes them perfect for meal prep and make-ahead breakfasts. Here is exactly how to do it for the best results.
Let the muffins cool completely on the rack before freezing. This step is important because freezing warm muffins traps steam inside and you will end up with a soggy, icy muffin when you thaw it. Once fully cooled, wrap each individual muffin tightly in aluminum foil, then place them all in a heavy-duty freezer bag. Squeeze out as much air as possible before sealing. You can also stack them in an airtight container if you have one large enough. The muffins will keep beautifully in the freezer for up to 3 months.
You can leave them on the counter at room temperature for a couple of hours and they will thaw perfectly on their own. For a faster option, remove the aluminum foil and microwave the muffin for about 20 to 30 seconds until warmed through. You can also thaw overnight in the refrigerator if you know you want one in the morning.
For storage at room temperature, keep baked muffins in an airtight container at room temperature for up to three days. If you need them to last longer, pop them in the refrigerator where they will stay fresh for up to five days. I actually think these muffins taste even better on day two once all the flavors have had a chance to meld together!
Frequently Asked Questions
Yes! You can mix the muffin batter, cover the mixing bowl tightly, and store it in the refrigerator for up to 24 hours. Give it a gentle stir before scooping it into your prepared muffin pan. You may need to add a splash of extra milk if it has thickened up too much in the fridge.
The toothpick test is your best friend here! Insert a toothpick into the center of one of the middle muffins. If it comes out clean or with just a few moist crumbs clinging to it, your muffins are done. If it comes out with wet batter, give them another two or three minutes and test again.
You can use a hand mixer or stand mixer to combine the wet ingredients, but once the self rising flour goes in, put the mixer down and switch to a spatula. Using a mixer to incorporate the dry ingredients will overdevelop the gluten and give you dense, rubbery muffins.


Did you make this recipe and love it?
If you did, don't forget to leave a 5-star review and comment below! Show me your creation on Instagram or Facebook. Just mention @Lynn'sWayofLife or use this hashtag #lynnswayoflife.
📖 Recipe
Strawberry Muffins
Ingredients
Streusel Topping
- ½ cup All Purpose Flour
- ¼ cup Sugar Turbinado or Regular white sugar
- 4 tablespoon Butter Cut into small cubes
- Pinch of salt
For the Muffins
- 2 cups Self Rising Flour
- ¾ cup Granulated Sugar
- 2 large Eggs
- ½ cup Butter Melted
- ½ cup Buttermilk
- 2 teaspoon Vanilla Extract
- 1 ½ cups Strawberries Hulled and diced small
Instructions
- Preheat your oven to 425 degrees Fahrenheit. Line a12-cup muffin tin with paper liners and spray lightly with non-stick cooking spray. Set aside.
- In a separate bowl, combine the all purpose flour, turbinado sugar, sea salt, and cold cubed unsalted butter. Use your fingers or a fork to work the butter into the flour mixture until it forms coarse crumbs. Place in the refrigerator while you make the batter.
- In a large bowl, whisk together the large eggs, melted butter, buttermilk, two teaspoons vanilla extract, and almond extract until smooth.
- Add the self rising flour, granulated sugar, and a pinch of sea salt to the large bowl with the wet ingredients. Using a spatula, gently stir until the dry ingredients are just incorporated. Do not overmix! A few lumps in the batter are perfectly fine.
- Gently fold the diced fresh strawberries into the batter with a spatula.
- Use a large cookie scoop to fill each muffin cup almost to the top of the muffin liner. This helps create tall, bakery-style domed tops.
- Remove the streusel from the refrigerator and generously sprinkle on top of each muffin, pressing lightly.
- Place the muffin pan in the oven and bake at 425 degrees for 5 minutes. Without opening the oven door, reduce the temperature to 375 degrees Fahrenheit and continue baking for 15 to 18 more minutes.
- The muffins are done when the tops are golden, the streusel is set, and a toothpick inserted into the center comes out clean. Let the muffins cool in the pan for five minutes, then transfer to a wire rack to cool.
Video

Notes
- No self rising flour? Use 2 cups all purpose flour, 3 teaspoons baking powder, and ½ teaspoon salt whisked together.
- No buttermilk? Add 1 tablespoon of white vinegar or lemon juice to a measuring cup, then add enough milk to reach the ½ cup line. Let sit for 5 minutes.
- Keep muffins in an airtight container at room temperature for up to 3 days or in the refrigerator for up to 5 days.
- Cool completely, wrap individually in aluminum foil, place in a heavy-duty freezer bag, and freeze for up to 3 months. Thaw at room temperature or in the refrigerator overnight.
- Do not overmix the batter once the dry ingredients are added. Overmixing leads to dense, tough muffins.
- Toss diced strawberries in 1 teaspoon of flour before folding them in to prevent sinking.
Leave a Reply